

Wix Editor: Adding and Setting up a Popup
5 min
In this article
- Step 1 | Add a popup
- Step 2 | Customize your popup
- Step 3 | Adjust the popup settings
- FAQs
Add a popup to grab your visitors' attention and showcase important announcements and information. You can add elements to the popup message, decide when it's triggered, and even choose how visitors close it.
Step 1 | Add a popup
Add a popup to begin creating something interactive and informative for your site visitors. There are a range of templates and types to choose from, such as "Welcome" and "Contact".
To add a popup:
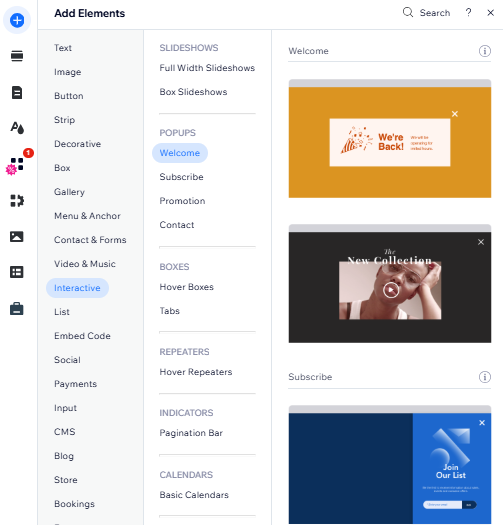
- Click Add Elements
on the left side of the editor.
- Click Interactive.
- Select a category under Popups.
- Click or drag your chosen popup to add it to your site.
Step 2 | Customize your popup
Next, start building the popup and designing the way it looks. You can customize existing elements and add elements like text, buttons, forms, images and much more. Make sure that the elements you add are smaller than the popup so that they fit inside of it.
To add elements to a popup:
- Click Pages & Menu
 on the left side of the editor.
 - Click Popups.
- Select the relevant popup to view it.
- Click the popup on the canvas.
- Start customizing your popup:
- Add more elements.
Tip: When dragging the element from the Add Elements panel, drop it when you see the "Attach to Popup" message. - Click existing elements to edit them.
- Change the popup background and the overlay around it.
- Add more elements.
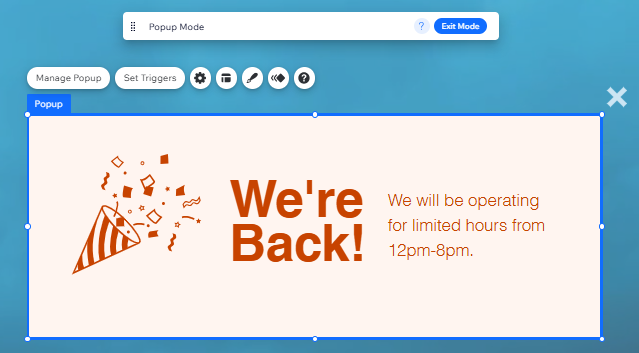
Note:
When you add a popup, you enter Popup Mode. This allows you to set up and edit your popup. To go back to the regular editor, click Exit Mode on the top bar.
Step 3 | Adjust the popup settings
After designing your popup message, decide when, where and how it appears to visitors. You can set the popup to show automatically once the page loads, or link it to an element that visitors need to click.
You can also schedule your popup to appear at a certain time (e.g. a specific holiday season), and decide how visitors exit the popup.
To adjust the popup settings:
- Click Pages & Menu on the left side of the editor.
- Click Popups.
- Select the relevant popup to view it.
- Click the popup on the canvas.
- Click Set Triggers.
- Adjust the popup settings:
Choose where and when the popup appears
Schedule the popup for certain dates and times
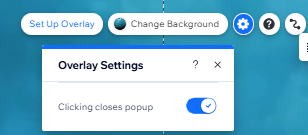
Decide how visitors close the popup


What's next?
Customize your popup's design and position to further personalize your site's announcements. Learn how to customize a popup
FAQs
Click below to read answers to our most frequently asked questions about popups:
Can I set multiple popups to show on a page?
Can I preview my popup before making the changes live?
Can I share a link to the popup?
