Wix Bookings: Making Credit Card Payments for Your Clients
2 min
In this article
- Making credit card payments on a client's behalf
- Charging clients for custom bookings
Collect payment for unpaid or partially paid bookings by entering your clients' credit card details over the phone, by email or in-person. You can also charge custom amounts for late cancellations or no-shows. You can even charge for extras or add tips to your bookings.
Important:
Entering credit card details manually is the least secure way of accepting card payments. We recommend accepting manual payment only from clients you trust. Note that in case of fraud, it is the merchant who is liable. Learn more about best practices for accepting card payments.
Making credit card payments on a client's behalf
Allow clients to pay for their sessions over the phone, by email or in-person by entering their credit card details for them. Flexible payment options are a great way to keep clients booking more sessions.
To make a credit card payment on a client's behalf:
- Go to Booking Calendar in your site's dashboard.
- Click the relevant session.
- Click Manage to view the participant list for the session.
- Hover over the relevant client.
- Click Collect Payment.
- Click Charge with Credit Card.
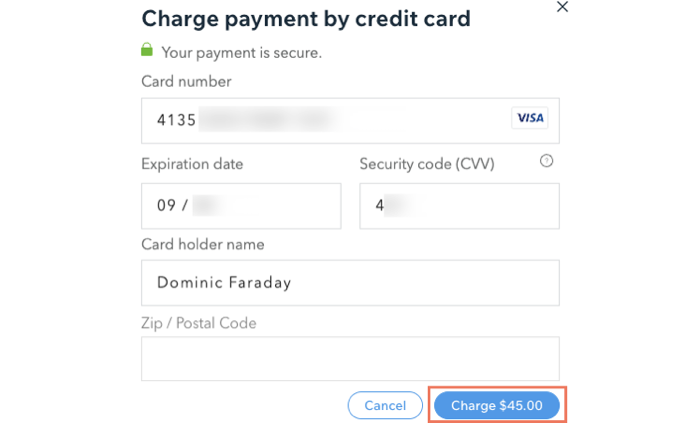
- Enter the client's credit card details.
- Click Charge.

Tip:
Charging clients for custom bookings
With credit card payments, you can give clients the opportunity to book special sessions outside of your normal services. They can also tip your staff or pay for extras that aren't included in the service.
To make a custom order for a client:
- Go to Orders in your site's dashboard.
- Click + Add New Order at the top.
- Click Add Custom Item.
- Enter the following:
- Title: Give the custom item a title. This item can be a special session or an add-on to an existing service.
- Price: Enter the price for the item.
- Item Info: Add the item description explaining what the charge is for. For example, when a client requests a private session outside of your normal services.
- Click Add.
- Click to select an existing contact or click + Add New to create a new contact.
- (Optional) Make a discount for your client:
- Click Add discount
- Enter the Discount value.
- Enter the Discount reason if applicable (customers do not see this)
- Click Apply.
- Click Create Order.

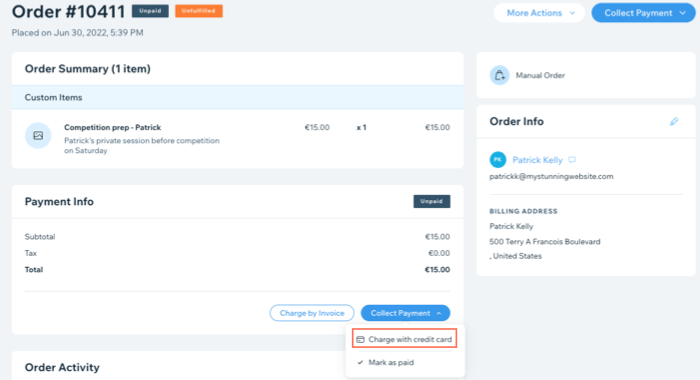
- Click Collect Payment on the Order page.
- Click Charge with credit card.

- Enter your client's credit card information.
- Click Charge.


