Wix Music: Managing Tracks
7 min
In this article
- Adding tracks to an album, single, or playlist
- Editing track information
- Deleting tracks
- Permanently deleting music files
- FAQs
After you've created an album, track or playlist, you can add more tracks as necessary and manage them directly from your music library. This helps you keep your site engaging and up-to-date with fresh music and the latest podcast episodes.
Adding tracks to an album, single, or playlist
Add a track to your pre-existing albums, singles or playlists, by uploading it to your music library. You can upload a track from a number of locations, including your Wix account, Dropbox, and Google Drive.
To add a track:
- Go to Music Library in your site's dashboard.
- Click the album, single or playlist to which you want to add the track.
- Hover over + Add Tracks and select an option:
- Upload New Tracks: Select a track from your computer and click Open.
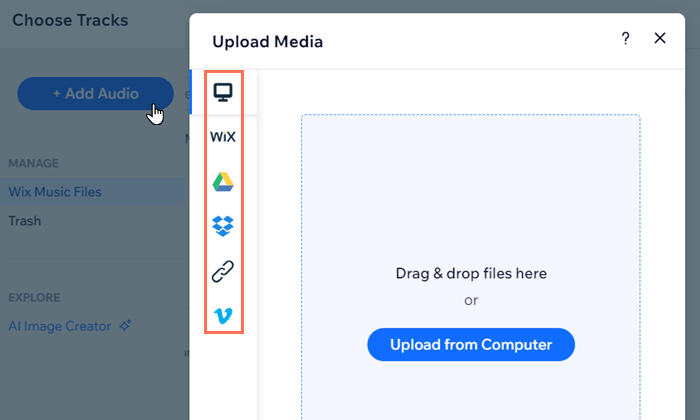
- Select Tracks: Select existing files to add or click + Add Audio and upload from your computer, Wix account, Google Drive, Vimeo, or by entering the URL of a file.
- Click Add Tracks.

Editing track information
Manage the tracks in your music library by editing what information and options are available to your listeners.
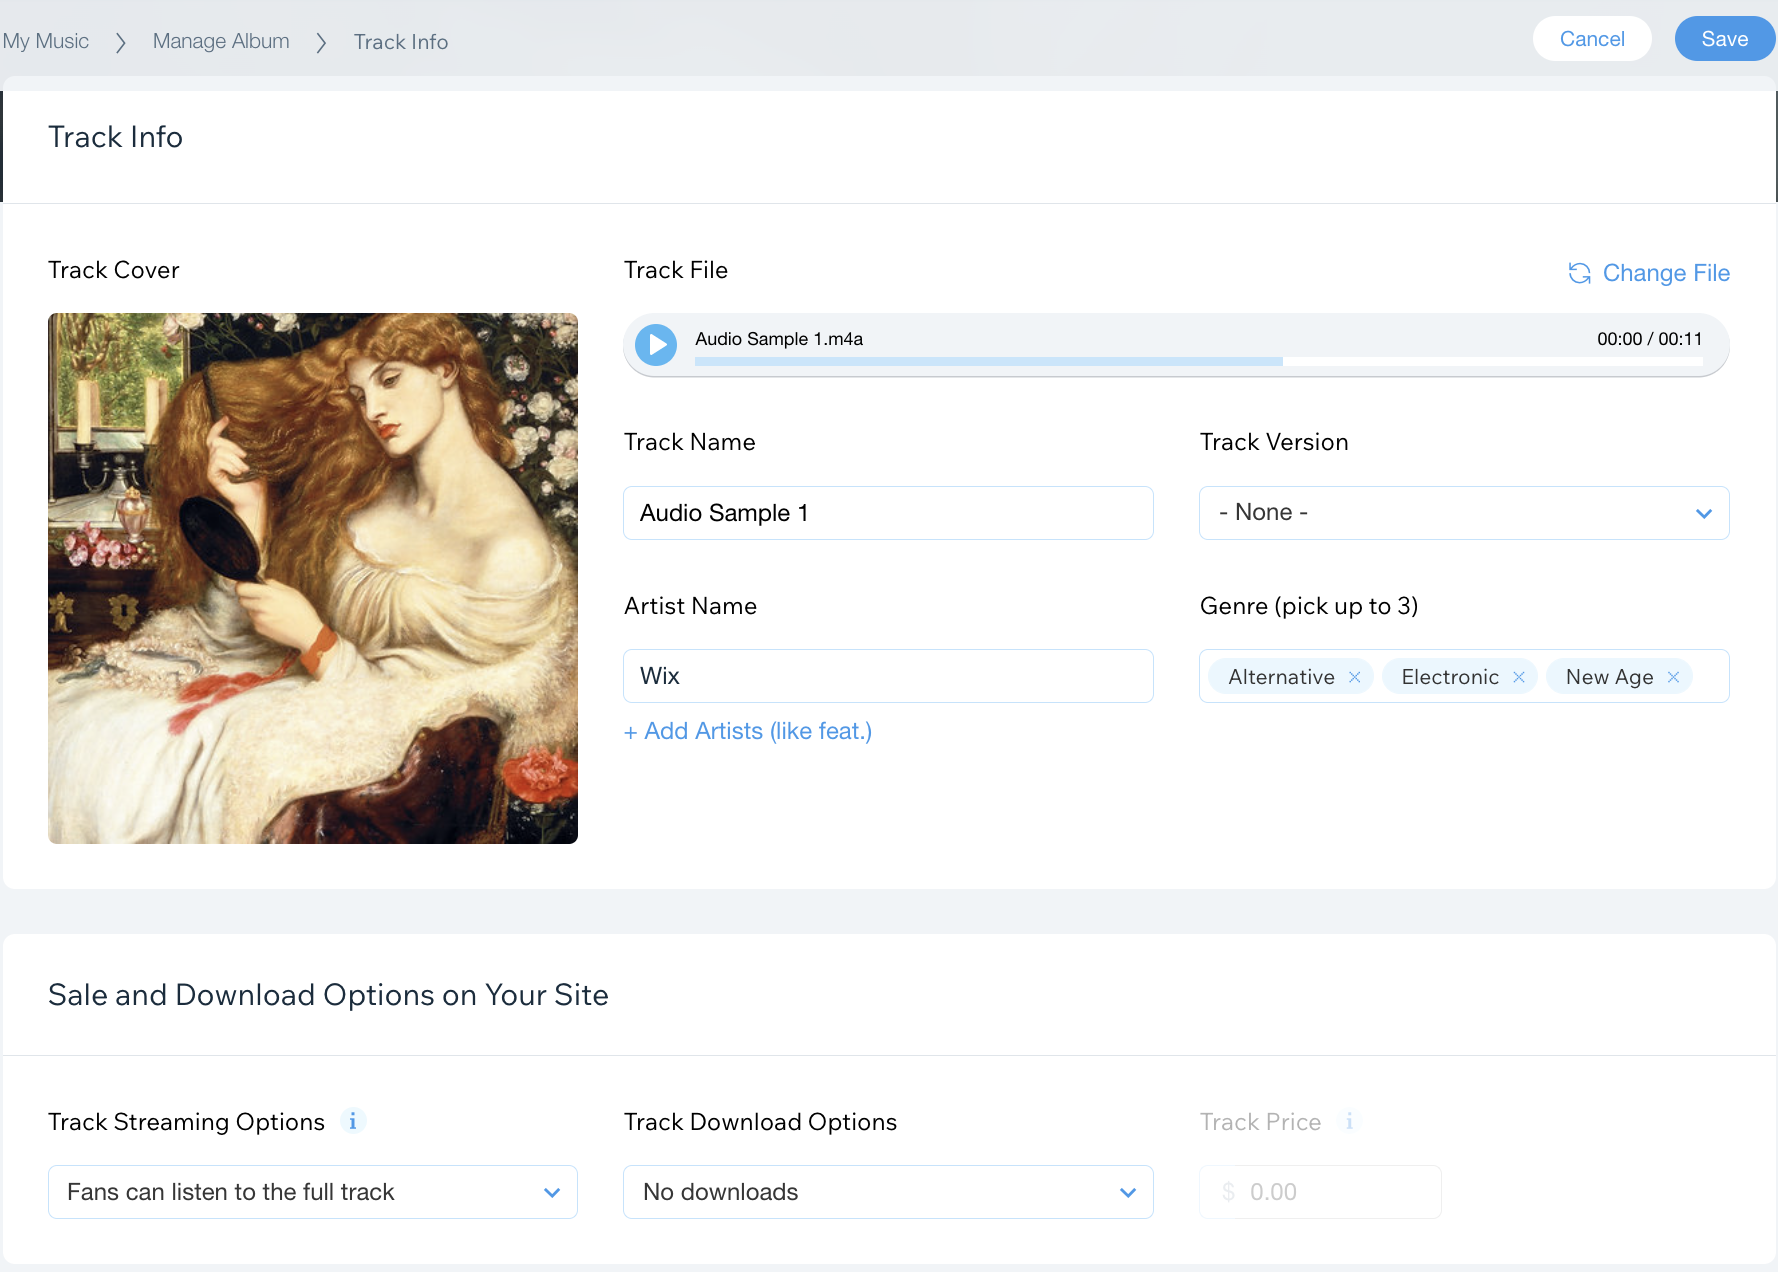
You can manage key features of your track, such as the name, genre, the download and streaming options, and other information you may want to add.

To edit track information and content:
- Go to Music Library in your site's dashboard.
- Click the relevant album, single or playlist.
- Hover over the track and click the Edit Track Info icon
 .
. 
- Customize your track using the following options:
Track Info
Sale and Download Options on Your Site
Links to Other Music Platforms
Extra Info
4. Click Save in the top right corner.
Deleting tracks
You can delete a single track or multiple tracks from at once in Wix Music.
Note:
Deleting tracks from Wix Music does not delete the files from your Music Media Manager. Learn how to permanently delete music files from your site in the next section.
To delete track(s):
- Go to Music Library in your site's dashboard.
- Click the relevant album, single or playlist.
- Depending on how many tracks you want to delete, follow the relevant instructions below:
- To delete a single track:
- Hover over the track you want to delete.
- Click the Delete Track icon
 .
. - Click Remove.
- To delete multiple tracks:
- Select the checkbox next to the tracks that you want to delete.
- Click Delete.
- Click Remove.
- To delete a single track:

Permanently deleting music files
To permanently remove a track from your site, you must first delete it from the album, single, or playlist and then delete it from the Music Media Manager. This permanently deletes the music files from your account and frees up storage space.
To permanently delete music files:
- Go to Music Library in your site's dashboard.
- Click the relevant album, single or playlist.
- Hover over the + Add Tracks.
- Click Select Tracks to open the Music Media Manager.
- Hover over the relevant track and click the More Options
 icon.
icon. - Click Move to Trash.
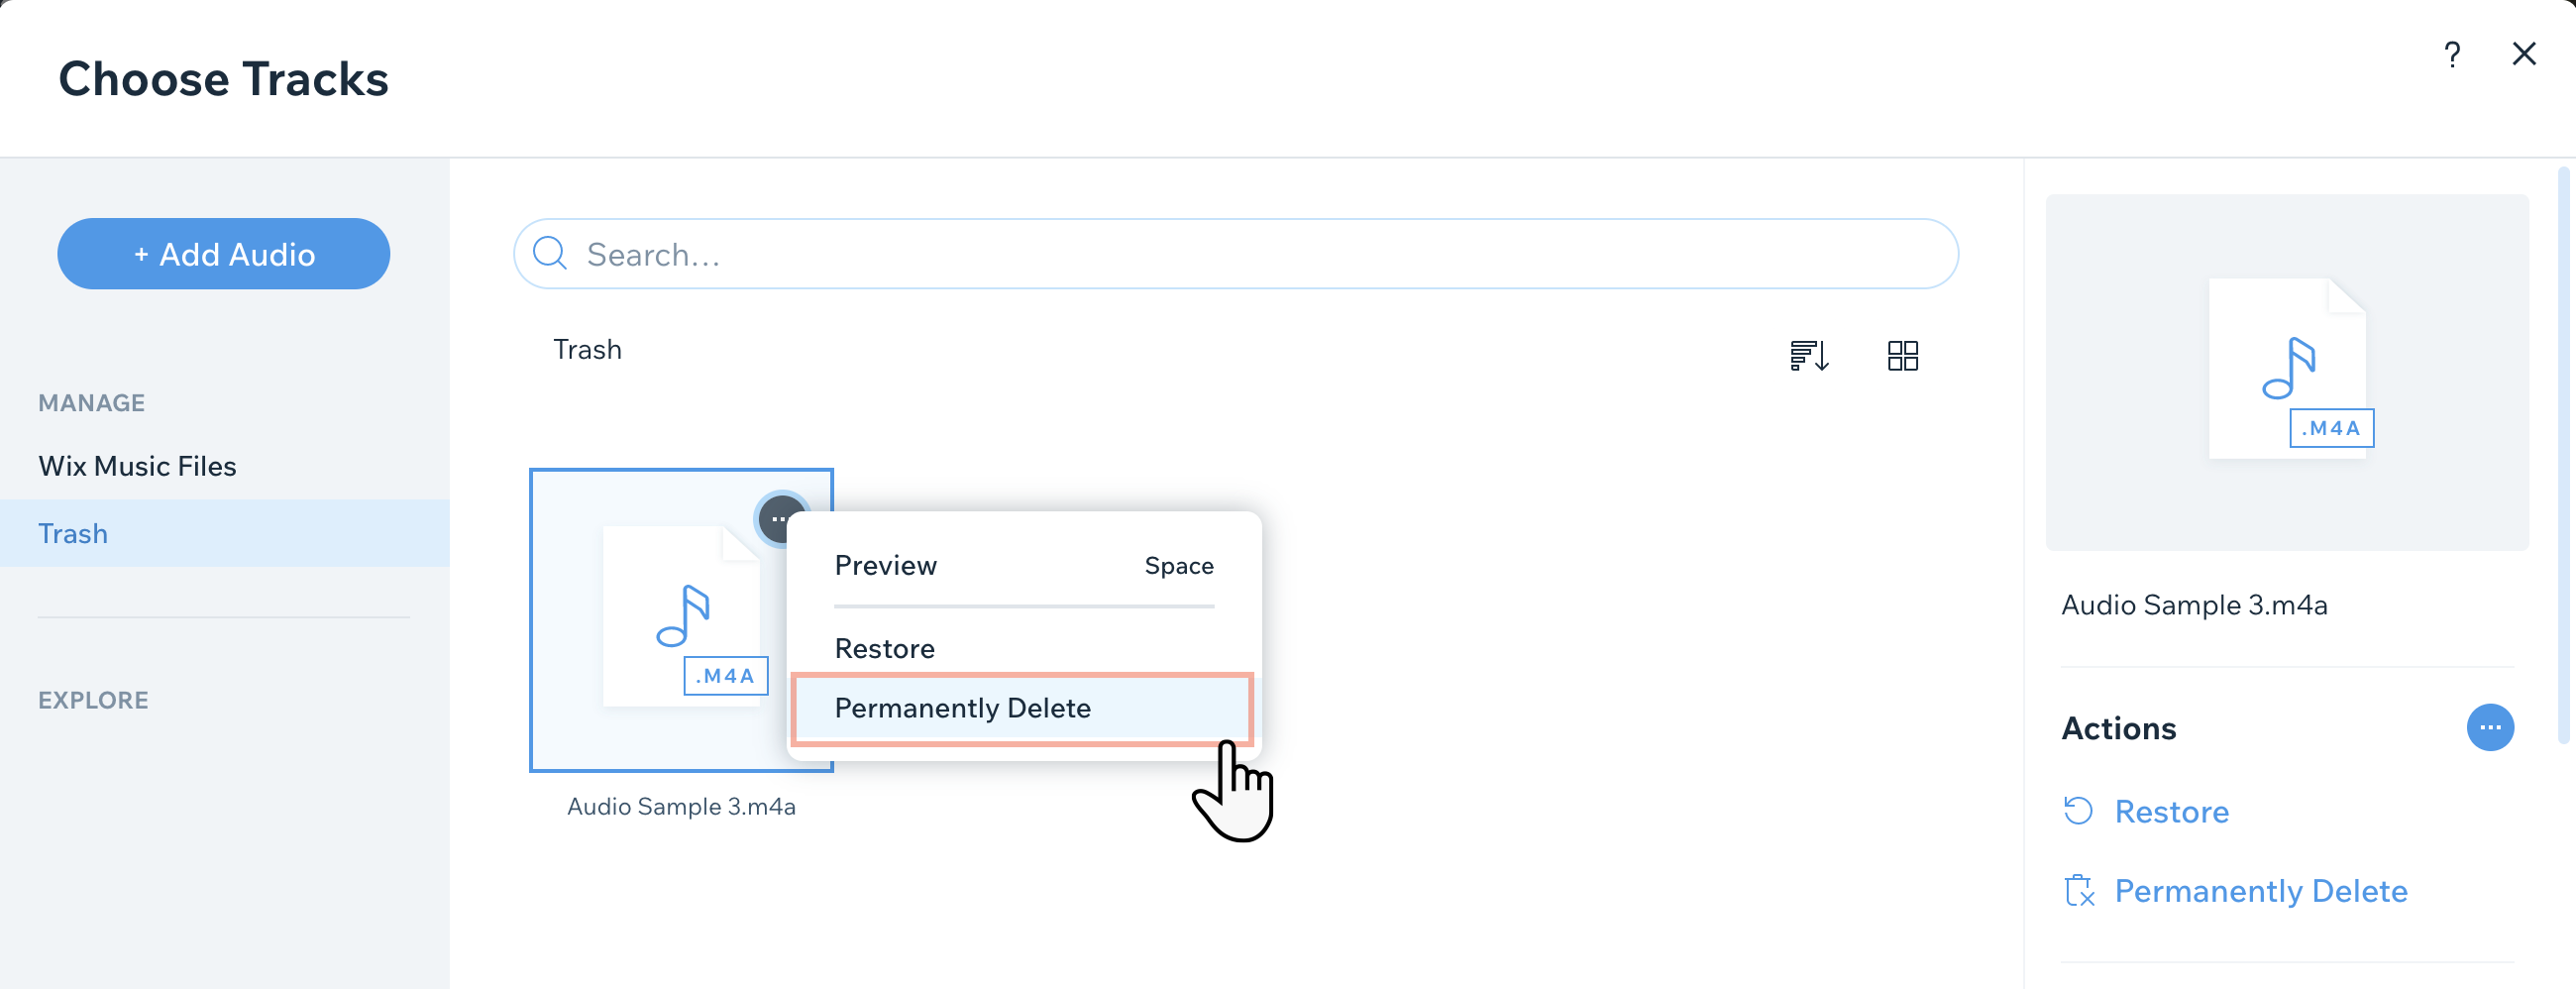
- Click Trash on the left.
- Hover over the relevant track and click the More Options
 icon.
icon. - Click Permanently Delete.
- Select the checkbox next to I'm sure I want to delete it.
- Click Permanently Delete.

FAQs
Click a question below to learn more about managing tracks.
What file types does Wix support?
What is an ID3 tag?
In what formats can my fans download my music?
What upload limits are on tracks, albums and playlists?
Does deleting an entire album or playlist remove the individual track files from my site?


