Wix Pro Gallery: Adding Frames to Your Gallery Items
2 min
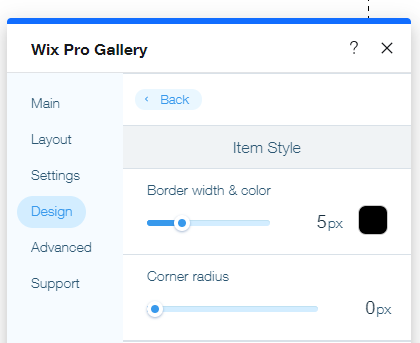
Highlight your gallery items by adding frames to them. You can create unique, colorful frames using the Border and Corner Radius options available in your gallery's Design settings.

To add frames to your Wix Pro Gallery items:
- Go to your editor.
- Click the pro gallery element on your page.
- Click Settings.
- Click the Design tab.
- Click Item Style and customize your frame using the following options:
Border width & color
Corner Radius

Note:
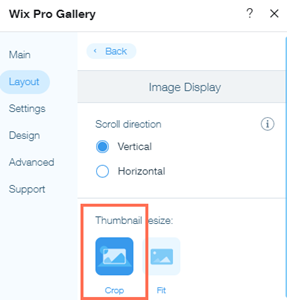
The Border width & color and Corner radius design options are only available when you choose Crop as your thumbnail resize option in the Customize Layout panel.


