Wix Editor: Displaying Navigation Buttons and Arrows on Your Slideshow
2 min
In this article
- Displaying buttons and arrows on your slideshow
- Customizing your buttons and arrows
Add navigation tools to your slideshow to let your visitors click through the slides manually. You can add:
- Slide buttons: These are circular icons that your site visitors can click to move between your slides. When your site visitors click a slide button, the relevant slide is displayed.
- Navigation arrows: These are arrows that are displayed either side of your slideshow, and allow your visitors to click through the slides at their own pace.

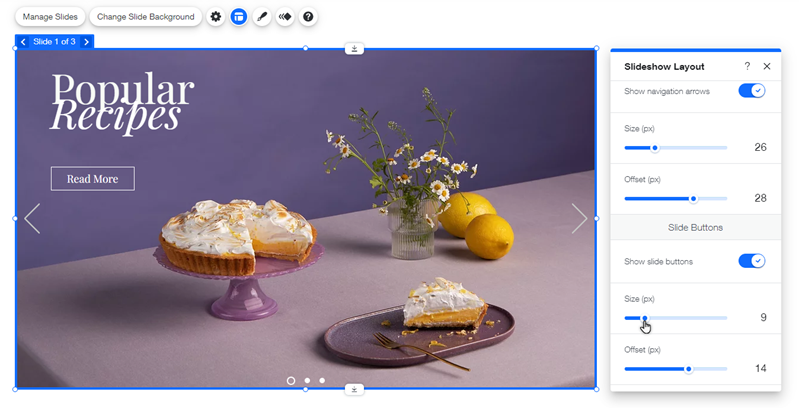
Displaying buttons and arrows on your slideshow
From Layouts, you can choose to show or hide the slide buttons and navigation arrows on your slideshow.
To display buttons or arrows on your slideshow:
- Click your slideshow in the editor.
- Click the Layout icon
 and choose what you want to display:
- Show navigation arrows: Enable the toggle to display the arrows.
- Drag the sliders to customize the size and offset.
- Show slide buttons: Enable the toggle to display the buttons.
- Drag the sliders to customize the size, offset and spacing.
- Show navigation arrows: Enable the toggle to display the arrows.
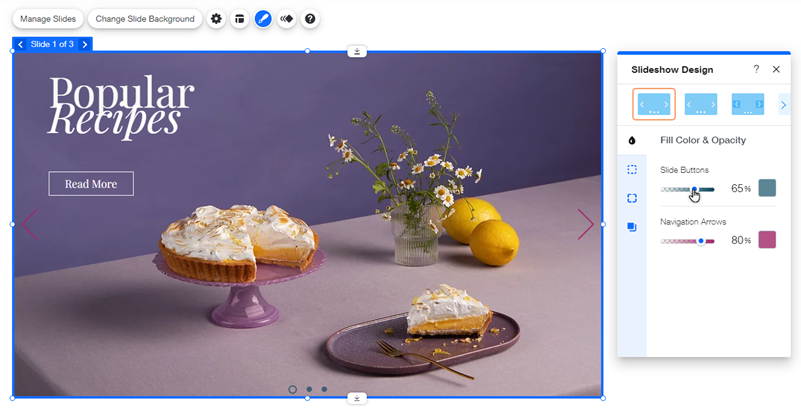
Customizing your buttons and arrows
Customize your slide buttons and navigation arrows to look exactly as you want, by selecting a color and adjusting the opacity.
To customize the slide buttons and arrows:
- Click your slideshow in the editor.
- Click the Design icon
 .
. - Click the Fill Color & Opacity tab.
- Customize the design of the buttons or arrows:
- Slide Buttons: Select a color and set the transparency of the buttons.
- Navigation Arrows: Select a color and set the transparency of the arrows.