Wix Editor: Using Rulers and Guides
3 min
In this article
- Showing or hiding the rulers
- Adding guides to rulers
- Changing the position of a ruler guide
- Deleting a ruler guide
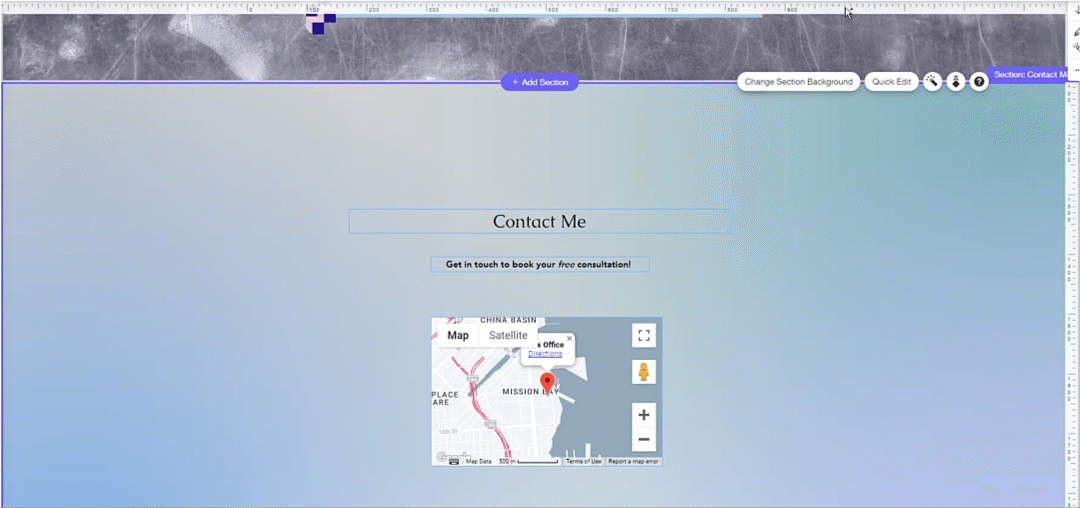
Rulers help you accurately place elements on your page as you can see their exact position in pixels. You can show or hide the editor rulers at any time, and add guides to mark specific positions you need to see while planning the page's layout.
Showing or hiding the rulers
According to your needs, you can decide to show or hide the editor rulers. This doesn't only control the horizontal and vertical rulers, but also any guides you've added.
To show or hide the rulers:
- Go to your editor.
- Click Tools
 on the top bar.
 - Select or deselect the Rulers checkbox:
- Selected: The rulers are shown in your editor.
- Deselected: The rulers are hidden from your editor.
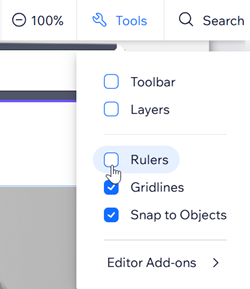
Tip:
You can also use Shift+R on your keyboard to show or hide the rulers.
Adding guides to rulers
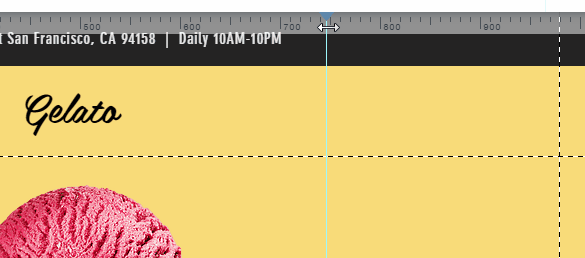
Guides act as personal position markers, which aren't visible on your live site, so you can align your elements with accuracy. Your elements snap to the guides as you move them around or resize them.
- To place a new guide, click the horizontal / vertical ruler at the position (in pixels) it should appear.
Tip:
If you ever hide the rulers, your guides aren't lost. Showing the rulers will also show the guides you've previously added.
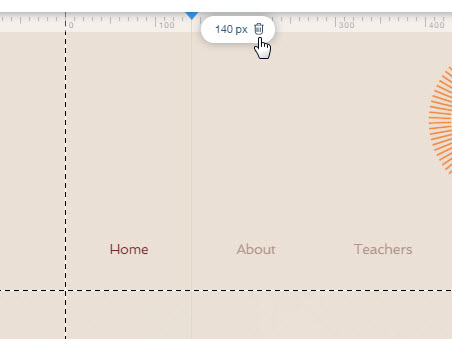
Changing the position of a ruler guide
After placing a ruler guide, you can always change its position to one that meets your needs more accurately.
To re-position a ruler guide:
- Click the guide on the ruler.
- Drag the guide to the new position or use the arrow keys on your keyboard to move it.
Tip:
- Move the guide to a specific location by clicking the text field and entering a value (in pixels).
- Move the guide in increments of 10px at a time by clicking the Shift + arrow keys.
Deleting a ruler guide
No longer need a guide you've previously added to a ruler? You can delete it at any time.
To delete a ruler guide:
- Click the guide on the ruler.
- Press Delete on your keyboard, or click the Delete icon.