

Adding an ads.txt File to Your Site
2 min
In this article
- Adding an ads.txt File
- Editing an ads.txt File
- Deleting an ads.txt File
Control who can use the digital ad space on your site by adding an ads.txt file (Authorized Digital Sellers file). You can manually create an ads.txt file by compiling a list of sellers and publisher IDs separated by commas, or by retrieving personalized ads.txt files from third parties such as Outbrain or Google Adsense.
Learn more
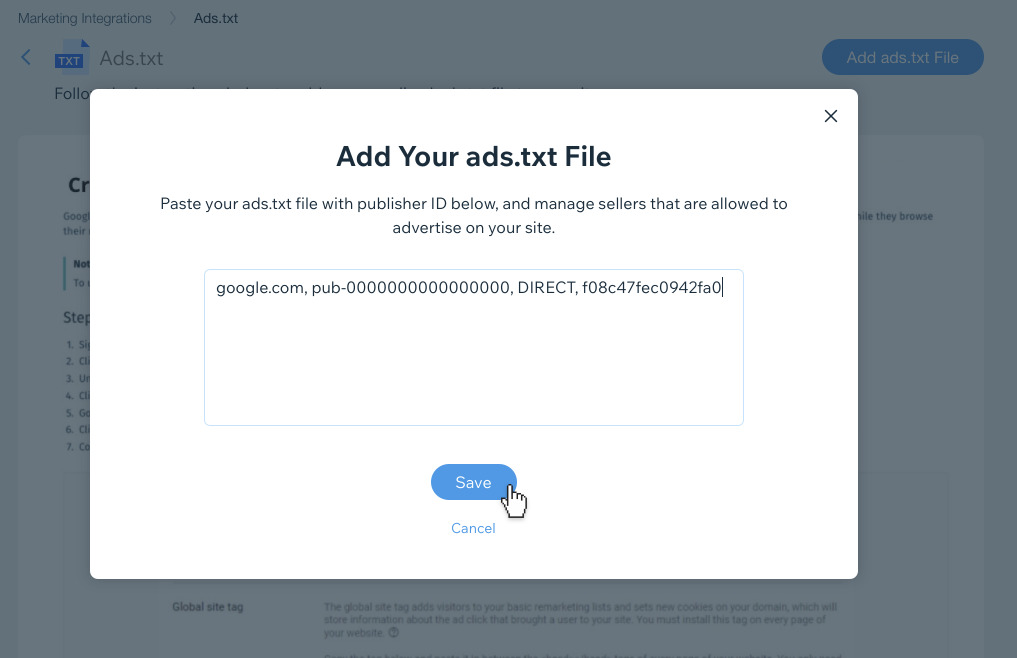
Adding an ads.txt File
- Go to the Marketing Integrations in your site's dashboard.
- Click Connect under Ads.txt.
- Click Add ads.txt.
- Paste your list of sellers and publisher IDs.
- Click Save.
You can view the ads.txt file by visiting your site and adding "/ads.txt" to the end of the URL. For example: https://www.mystunningwebsite.com/ads.txt
Editing an ads.txt File
- Click the Show More
 button near the top of the page.
 - Click Edit.
- When you've finished editing your ads.txt file, click Save.
Deleting an ads.txt File
- Click the Show More button near the top of the page.
- Click Delete.
- Click Delete to confirm deletion.
