Wix Video: Managing Your Channels
3 min
In this article
- Adding a video to a channel
- Filtering the channels in your video library
- Reordering the videos in a channel
- Changing the featured video in a channel
- FAQs
Wix Video lets you efficiently manage your channels by filtering content based on its name or the date it was last modified. Reordering the videos in your channels gives you the ability to organize it to your liking and make it easier to locate your content.
Adding a video to a channel
You can add as many videos to a channel as you want. A video can appear in more than one channel.
To add a video to a channel:
- Go to Channels in your site's dashboard.
- Click the channel you want to add videos to.
- Click Add Videos.
- Choose what you want to do:
Add videos you've already added to Wix Video
Add new videos
Important:
For optimum performance, limit the videos per channel to 50. If you have over 50 videos in a channel, the channel may load slower than expected.
Filtering the channels in your video library
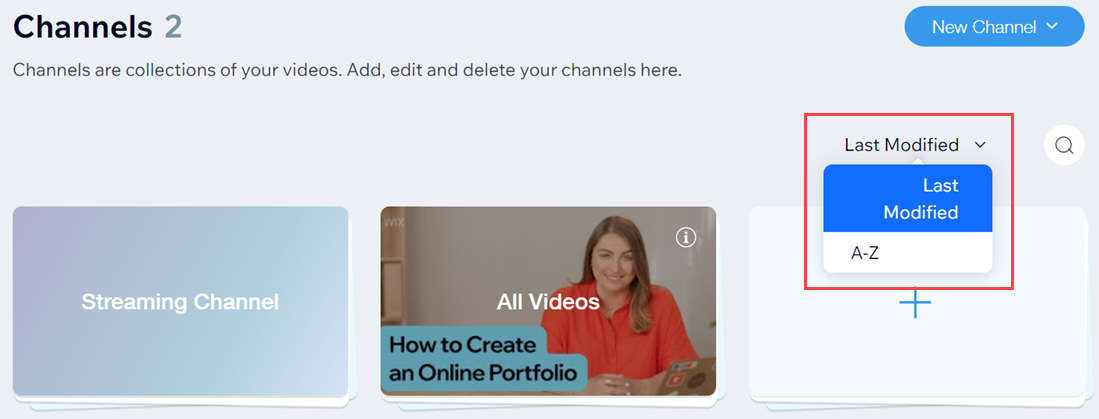
Filtering the channels in your video library by name or the date it was last modified helps you to locate certain channels easier.
To filter the channels in your video library:
- Go to Channels in your site's dashboard.
- Click the drop-down menu and select an option:
- Last modified
- A-Z

Reordering the videos in a channel
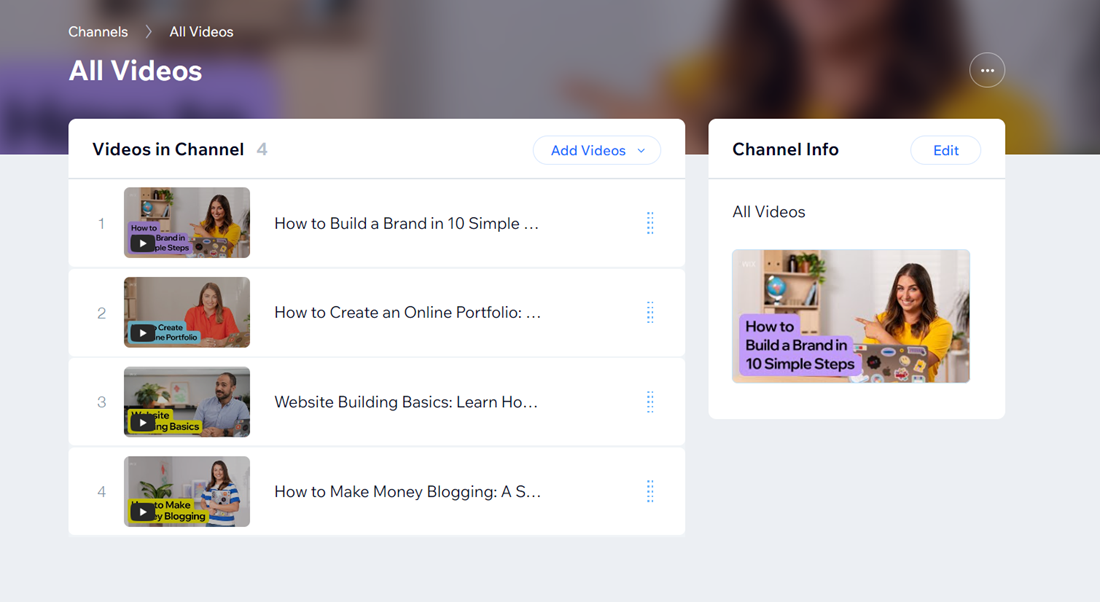
Change the order of the videos in your channels to help you get organized and find them quicker.
To change the order of videos in a channel:
- Go to Channels in your site's dashboard.
- Select the relevant channel.
- Click and drag the videos to the new order.

Changing the featured video in a channel
You can choose a featured video to appear at the top of the video channel widget on your site. We recommend featuring your most recent or most popular video.
To change the featured video in a channel:
- Go to Channels in your site's dashboard.
- Click the relevant channel.
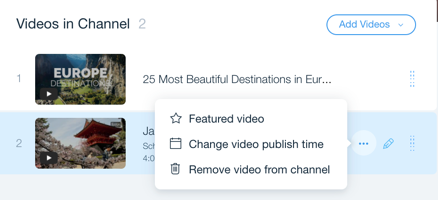
- Hover over the video you want to feature and click the More Actions icon
 .
. - Select Featured video.
FAQs
Click a question below to learn more about managing your channels:
Can I choose when a video will be published in a channel?
How do I remove a video from a channel?


 .
.

