Wix Stores: Setting Up Shipping By Price
4 min
In this article
- Step 1 | Create or Select a Shipping Region
- Step 2 | Set Up a Rate by Price Range Rule
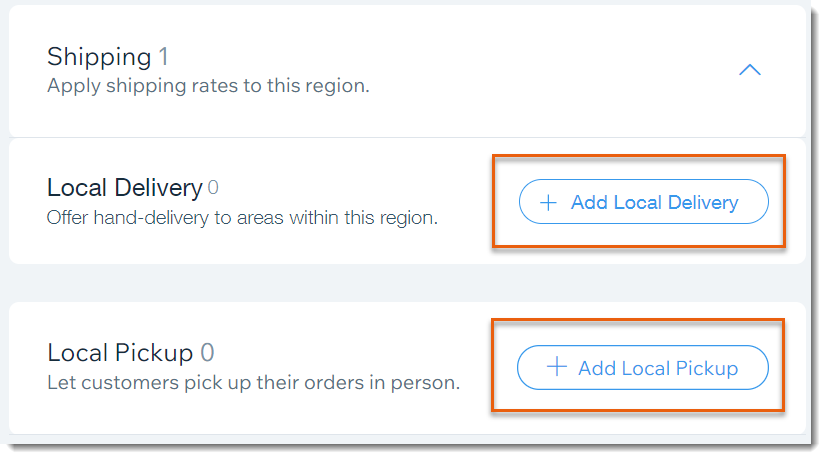
- Step 3 | Offer Local Delivery or Pickup options
Important:
This article refers to the previous version of the Wix Stores shipping page.
You can set your shipping fees so that the price of the order determines how much customers pay for shipping.
Step 1 | Create or Select a Shipping Region
To start, create the region the shipping rule applies to.
Tip:
If you already created the shipping region, just select it and move on to step 2.
A region can be made of one or more countries. Alternatively, it can be made of one or more regions within a country. You can set up different shipping regions for your store. For example, a merchant might set up 4 shipping rules: a local shipping region for California, a region for the rest of the US, another for Mexico and Canada, and finally one for the rest of the world.
Important:
- If there is no rule for a region, customers from that region cannot make store purchases.
- If you previously set up shipping (and tax) in a merchant account (e.g. in PayPal), remove these settings before starting.
- Can't find a shipping region you need? Contact us to let us know which region is missing.
Show me how
Step 2 | Set Up a Rate by Price Range Rule
Now that you've selected a region, it's time to set up the Rate by Price Range rule for that region. To do so, you'll set up at least 2 price ranges, each with its own shipping rate.
Note:
You can set up to a maximum of 30 ranges.
Show me how
Note:
If you want to offer free shipping for orders over a certain price, simply type "0" in the Rate field for that price range.
Step 3 | Offer Local Delivery or Pickup options
After saving your shipping rule, you can select the region again and add local delivery or pickup options.

What to learn more?
Check out the full Wix Learn course on getting started with Wix eCommerce. Skip to the fourth video to learn more about setting up shipping.


