

Wix Stores: Setting Up Dropshipping with Printify
2 min
In this article
- Step 1 | Create Products and Add them to Your Store
- Step 2 | Set Up Shipping
- Step 3 | Add a Billing Method in Printify
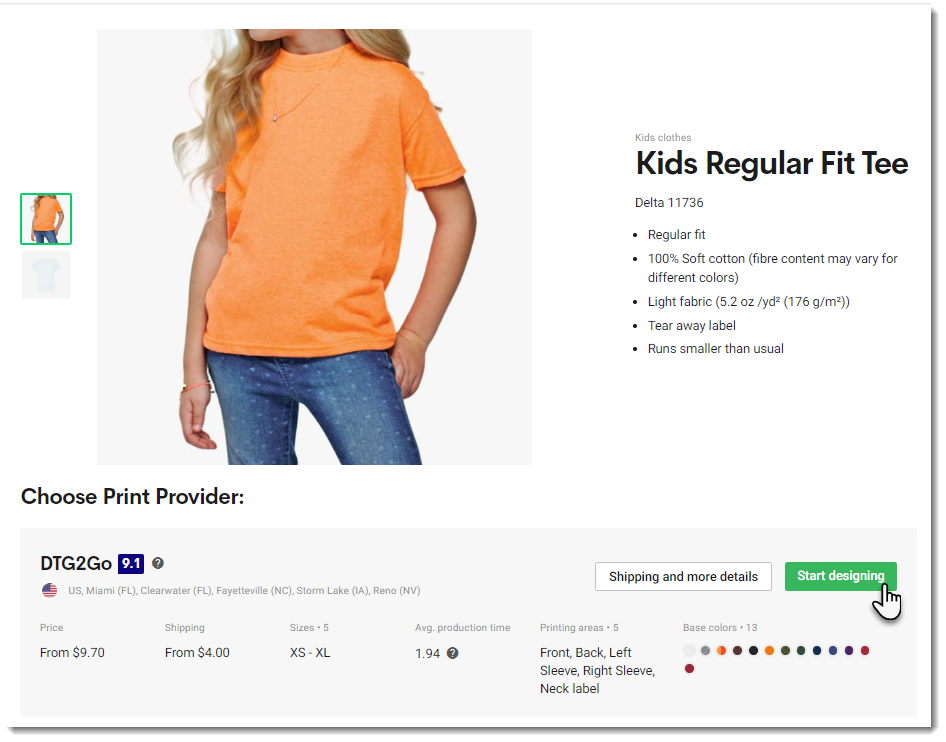
After you connect your store to Printify, you can select a product and start designing it!
Printify is a print on demand (POD) service. You pay no subscription fees and there is no need to purchase inventory. You only pay when a customer places an order.
Step 1 | Create Products and Add them to Your Store
Step 2 | Set Up Shipping
Make sure you set up shipping in your Wix dashboard. Take into consideration Printify's shipping costs. You can charge for shipping separately or you might want to increase the product price so that it covers the shipping cost and then offer free shipping - the choice is yours.
Step 3 | Add a Billing Method in Printify
After a customer purchases a Printify product in your Wix store, you'll need to pay Printify for it. After this is done, Printify creates the product and ships it to your customer.
You can handle the payment to Printify in two ways:
- Automatic: Set up automatic payment by adding a payment method (PayPal or credit card) in the Printify dashboard. Learn How
When a paid order comes in, (or when you mark an order as "Paid"), your payment to Printify is processed automatically and the order is fulfilled. You won't need to do a thing. - Manual: When you receive an order, you can go to the Orders tab in the Printify dashboard and click Fulfill orders to pay for the order manually. It is then fulfilled by Printify.
To learn more about fulfilling Printify orders, click here.
To learn how dropshipping affects tax collection, click here.
