

Exporting Orders
2 min
Important:
This article is relevant for Wix Stores, Wix Bookings, Wix Restaurants Orders (New) orders, Wix Donations, and is in the process of becoming available for Pricing Plans.
You can export the data you need and remove the data you're not interested in at the moment.
Choose whether you prefer to display each item purchased as a separate row (even if they are part of the same order).

Alternatively, you can display each order in a separate row, even if it contains multiple items.

To export your orders:
- Go to the Orders tab in your site's dashboard.
- Select the orders you want to export:
- Select the checkboxes next to the relevant order(s).
- Choose the checkbox next to Order at the top left to select all orders.
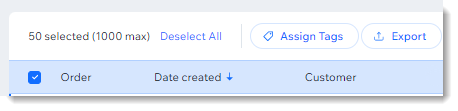
- Click Export.

- Select how you want to display exported orders:
- Item purchased: Each item purchased is displayed in a separate row, even if they are part of the same order.
- Orders: Each order is displayed in one row, even if multiple items were purchased.
- Deselect the columns that you do not want to include (e.g. deselect billing and payment columns if they are not relevant at the moment).
- Save the file to your computer:
- Chrome: The CSV file downloads and appears on the bottom of your screen.
- Firefox: Select Open with to open or Save File to save.
- Internet Explorer: Click Save at the bottom of your screen.
- Safari: The file opens. Click cmd + s on your keyboard to save the file (with a .csv extension, and Page Source format).
Note:
The time of purchase recorded in the CSV file is always given in Coordinated Universal Time (UTC). For instance: January 01, 5.00PM (PST) = January 02, 1.00AM (UTC).
