Wix Stores: Allowing Customers to Add Messages to a Purchase
3 min
In this article
- Adding a text box to a product
- Adding a text box to the Checkout page
- Viewing customer messages
Important:
We're in the process of releasing a brand-new product creation page. If the first field you see is 'Images and videos', you have the previous version and should follow these instructions on allowing customers to add a message.
Let customers leave you messages about their products or orders. Whether they enter specific instructions about how to customize an item or a note about what text to write in a gift card, added text boxes make it easy for customers to communicate their needs.
Adding a text box to a product
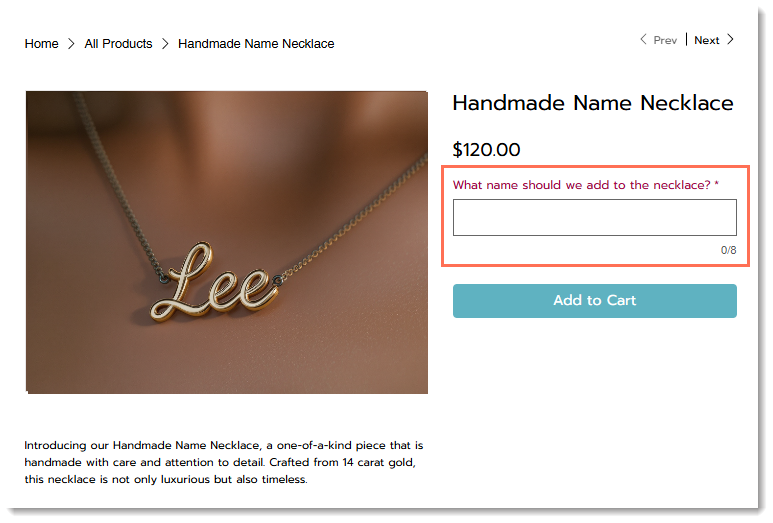
You can use modifiers to add a text box to a product. Customers then see the text box on the Product page. You can decide if this is a required field and set a limit to the length of the message.
To add a text box modifier:
- Go to Products in your site's dashboard.
- Click +New Product or select an existing product.
- Scroll down to Modifiers and click Add Modifier.
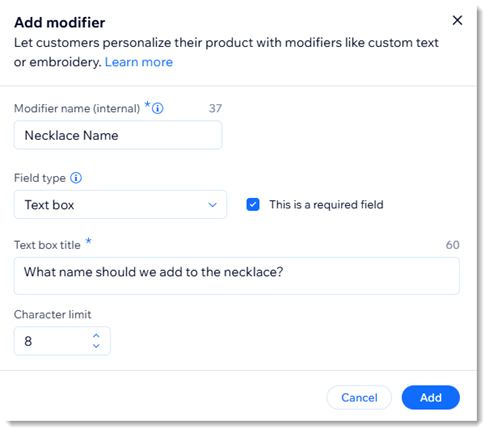
- Enter a Modifier name.
Tip: Customers won't see this name. - Select Text Box from the field type drop-down.
- (Optional) Select the This is a required field checkbox.
- Enter a descriptive Text box title for customers (e.g. “What name do you want engraved?”).
- Enter the maximum number of characters customers can enter.
- Click Add.
Adding a text box to the Checkout page
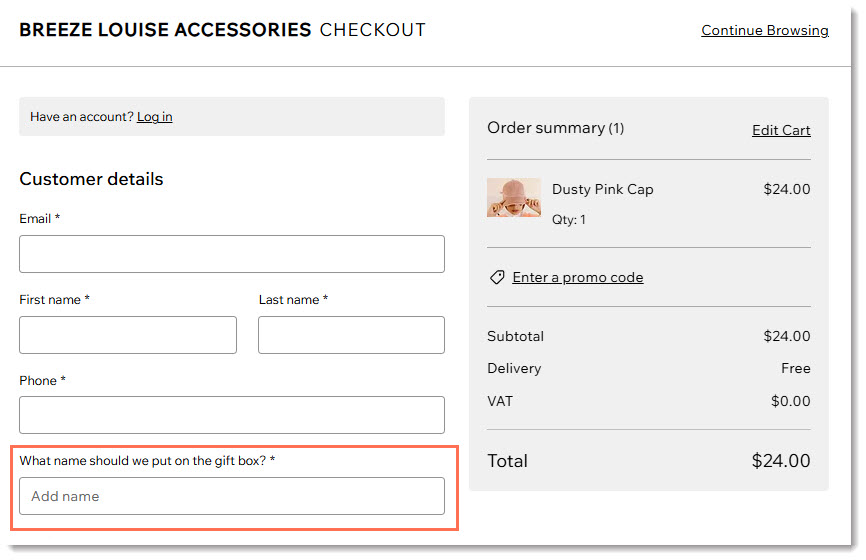
You can collect information for an order by customizing the checkout fields. This may include gift messages, delivery instructions, or additional preferences.
To add a text box at checkout:
- Go to Checkout settings in your site's dashboard.
- Click Edit under Checkout form.
- Click Create Field on the left.
- Select Short answer or Long answer.
- Enter a title (e.g. Name).
- (Optional) Enable the Required field toggle to make the field mandatory.
- (Optional) Add text that appears in the field to guide customers:
- Enable the Placeholder text toggle.
- Enter the text (e.g. What name should we add?).
- (Optional) Add a field description:
Tip: This information is displayed under the field.- Enable the Field description toggle.
- Enter a description.
- If the customer is going to input personal identifiable information (e.g. an address or passport number), click the Personal information toggle to enable it.
Note: This adds an additional layer of security. - Limit the number of characters customers can enter:
- Select the Advanced tab.
- Enable the Limit characters toggle.
- Enter the minimum and maximum characters.
- (Optional) Edit the default Field key:
Note: Developers can use this key to reference the form field. The key can only be changed before you save your changes.- Select the Advanced tab.
- Enter a key.
- Click Save.
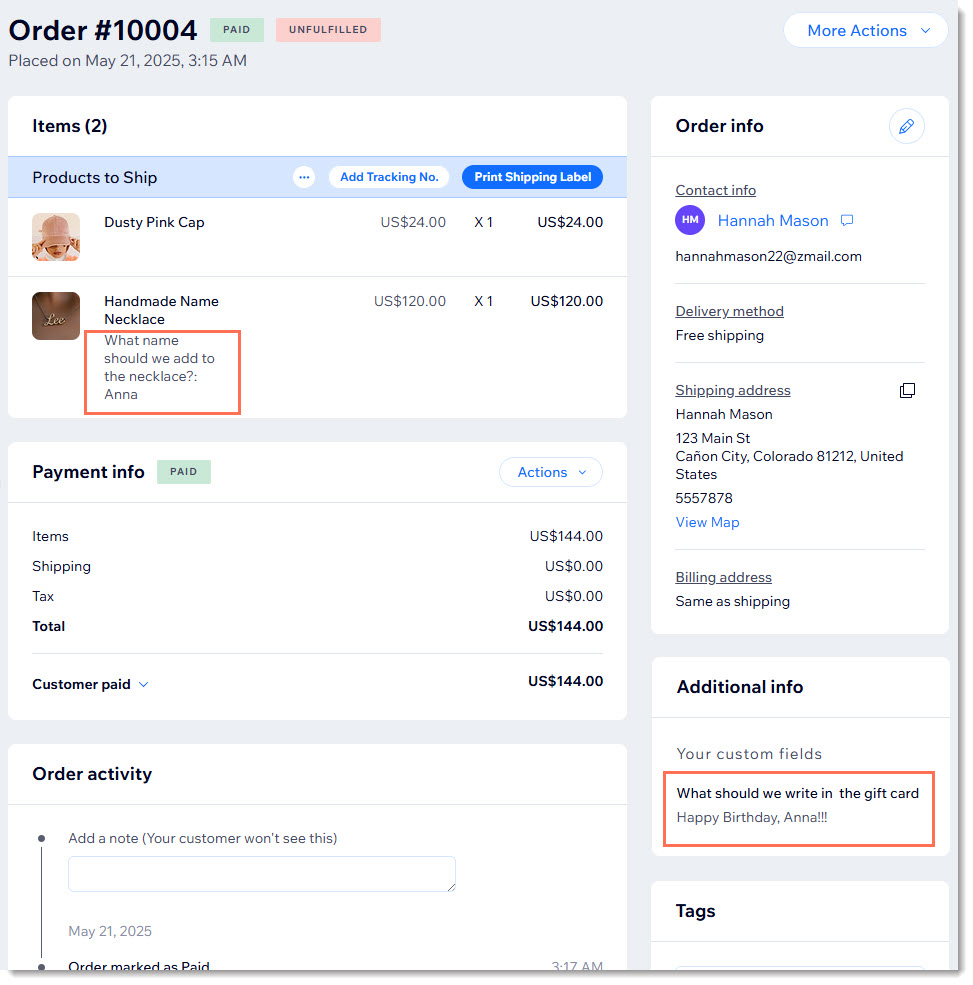
Viewing customer messages
In the Order page in your dashboard, you'll see the answer to product questions under the product name. Answers to Checkout page custom fields appear on the right in the Additional info section.