


Wix Stores: Adding and Setting Up a Wishlist
In this article
- Step 1 | Adding a wishlist option to your store
- Step 2 | Displaying the wishlist button in other store elements
- Step 3 | Customizing the wishlist button
- Step 4 | Customizing the My Wishlist page
Let customers keep track of their favorite products by adding them to a wishlist. You can display wishlist buttons on any or all of the following store elements: Store galleries, the Category page, and the Product page.

Later, customers can review wishlisted items and choose which ones to purchase.
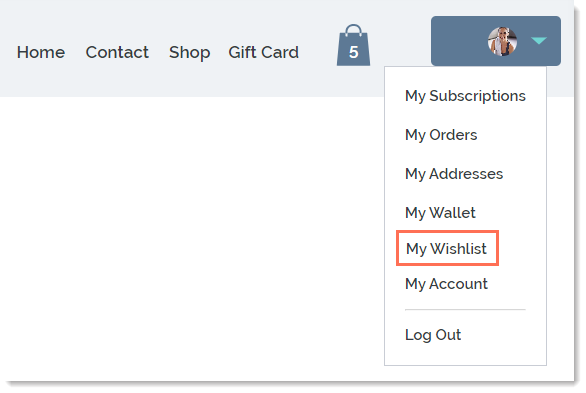
Step 1 | Adding a wishlist option to your store
When you add the wishlist to your store once, it becomes available for store galleries, the Category page, and the Product page.
Wix Editor
Studio Editor
Wix Harmony Editor
Tip: The instructions below show you how to add the wishlist to the Product page. It's also possible to add it from the Category page or a gallery.
- Go to your editor.
- Go to your Product page:
- Click Pages & Menu
 on the left side of the editor.
 - Click Store Pages.
- Click Product Page.
- Click Pages & Menu
- Click the Product page element on your page.
- Click Settings.
- Click the Settings tab.
- Click Add Wishlist.
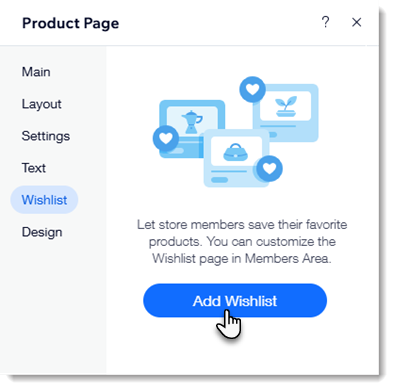
- Click the Show 'Add to Wishlist' button toggle:
- Enabled: The wishlist button appears on the Product page.
- Disabled: The wishlist button doesn't appear on the Product page.
Step 2 | Displaying the wishlist button in other store elements
Now that your store has the wishlist, you can display the wishlist button in other elements.
Wix Editor
Studio Editor
Wix Harmony Editor
- Go to your editor.
- Go to any of the following elements:
- Product page
- Category page
- Grid gallery
- Slider gallery
- Click the element on your page.
- Click Settings.
- Click the Settings tab.
- Click Wishlist button.
- Click the Show 'Add to Wishlist' button toggle:
- Enabled: The wishlist button appears in this element.
- Disabled: The wishlist button doesn't appear in this element.
Step 3 | Customizing the wishlist button
To get the perfect look for the wishlist button, customize it using the layout and design settings. Note that on the Product page, the wishlist button appears next to the 'Add to Cart' button. In other elements, it's found on the product image.

Wix Editor
Studio Editor
Wix Harmony Editor
- Go to your editor.
- Go to any of the following elements:
- Product page
- Category page
- Grid gallery
- Slider gallery
- Click the element on your page.
- Click Settings.
- Click the Layout tab and select Wishlist button.
- Customize the spacing.
- Click the Design tab and select Wishlist button.
- Customize the design using the available options.
Step 4 | Customizing the My Wishlist page
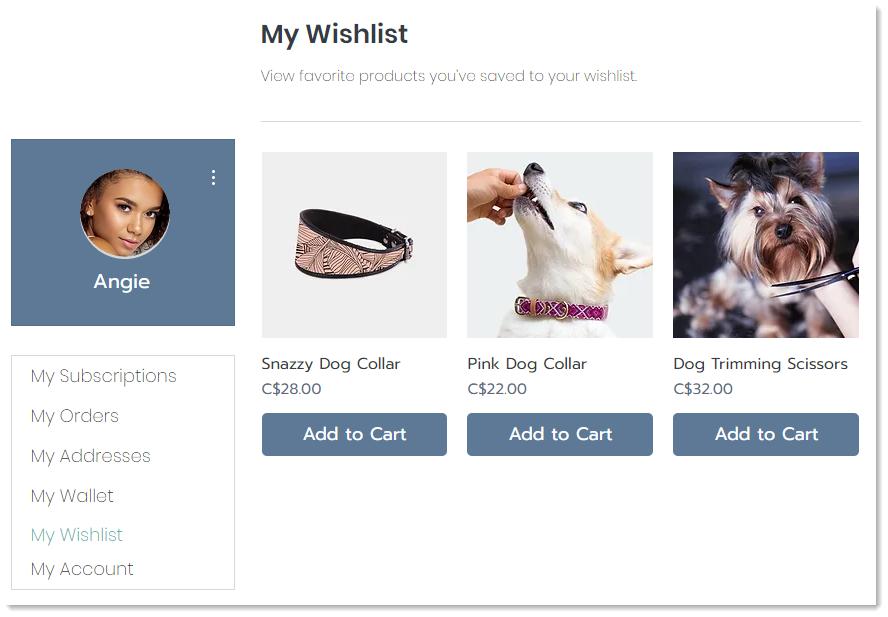
The My Wishlist page is where customers can view and keep track of their favorite products. You can optionally add an 'Add to Cart' button to make it easy for customers to make purchases.
Wix Editor
Studio Editor
Wix Harmony Editor
- Click Pages & Menu on the left side of the Editor.
- Click Members Area.
- Click the My Wishlist page.
- Click the My Wishlist page in the editor.
- Click Settings.
- Customize the My Wishlist page using the available options.
