Wix Restaurants: Printing Your Menu
2 min
Important:
Make sure you update the Menus app to the latest version in your editor.
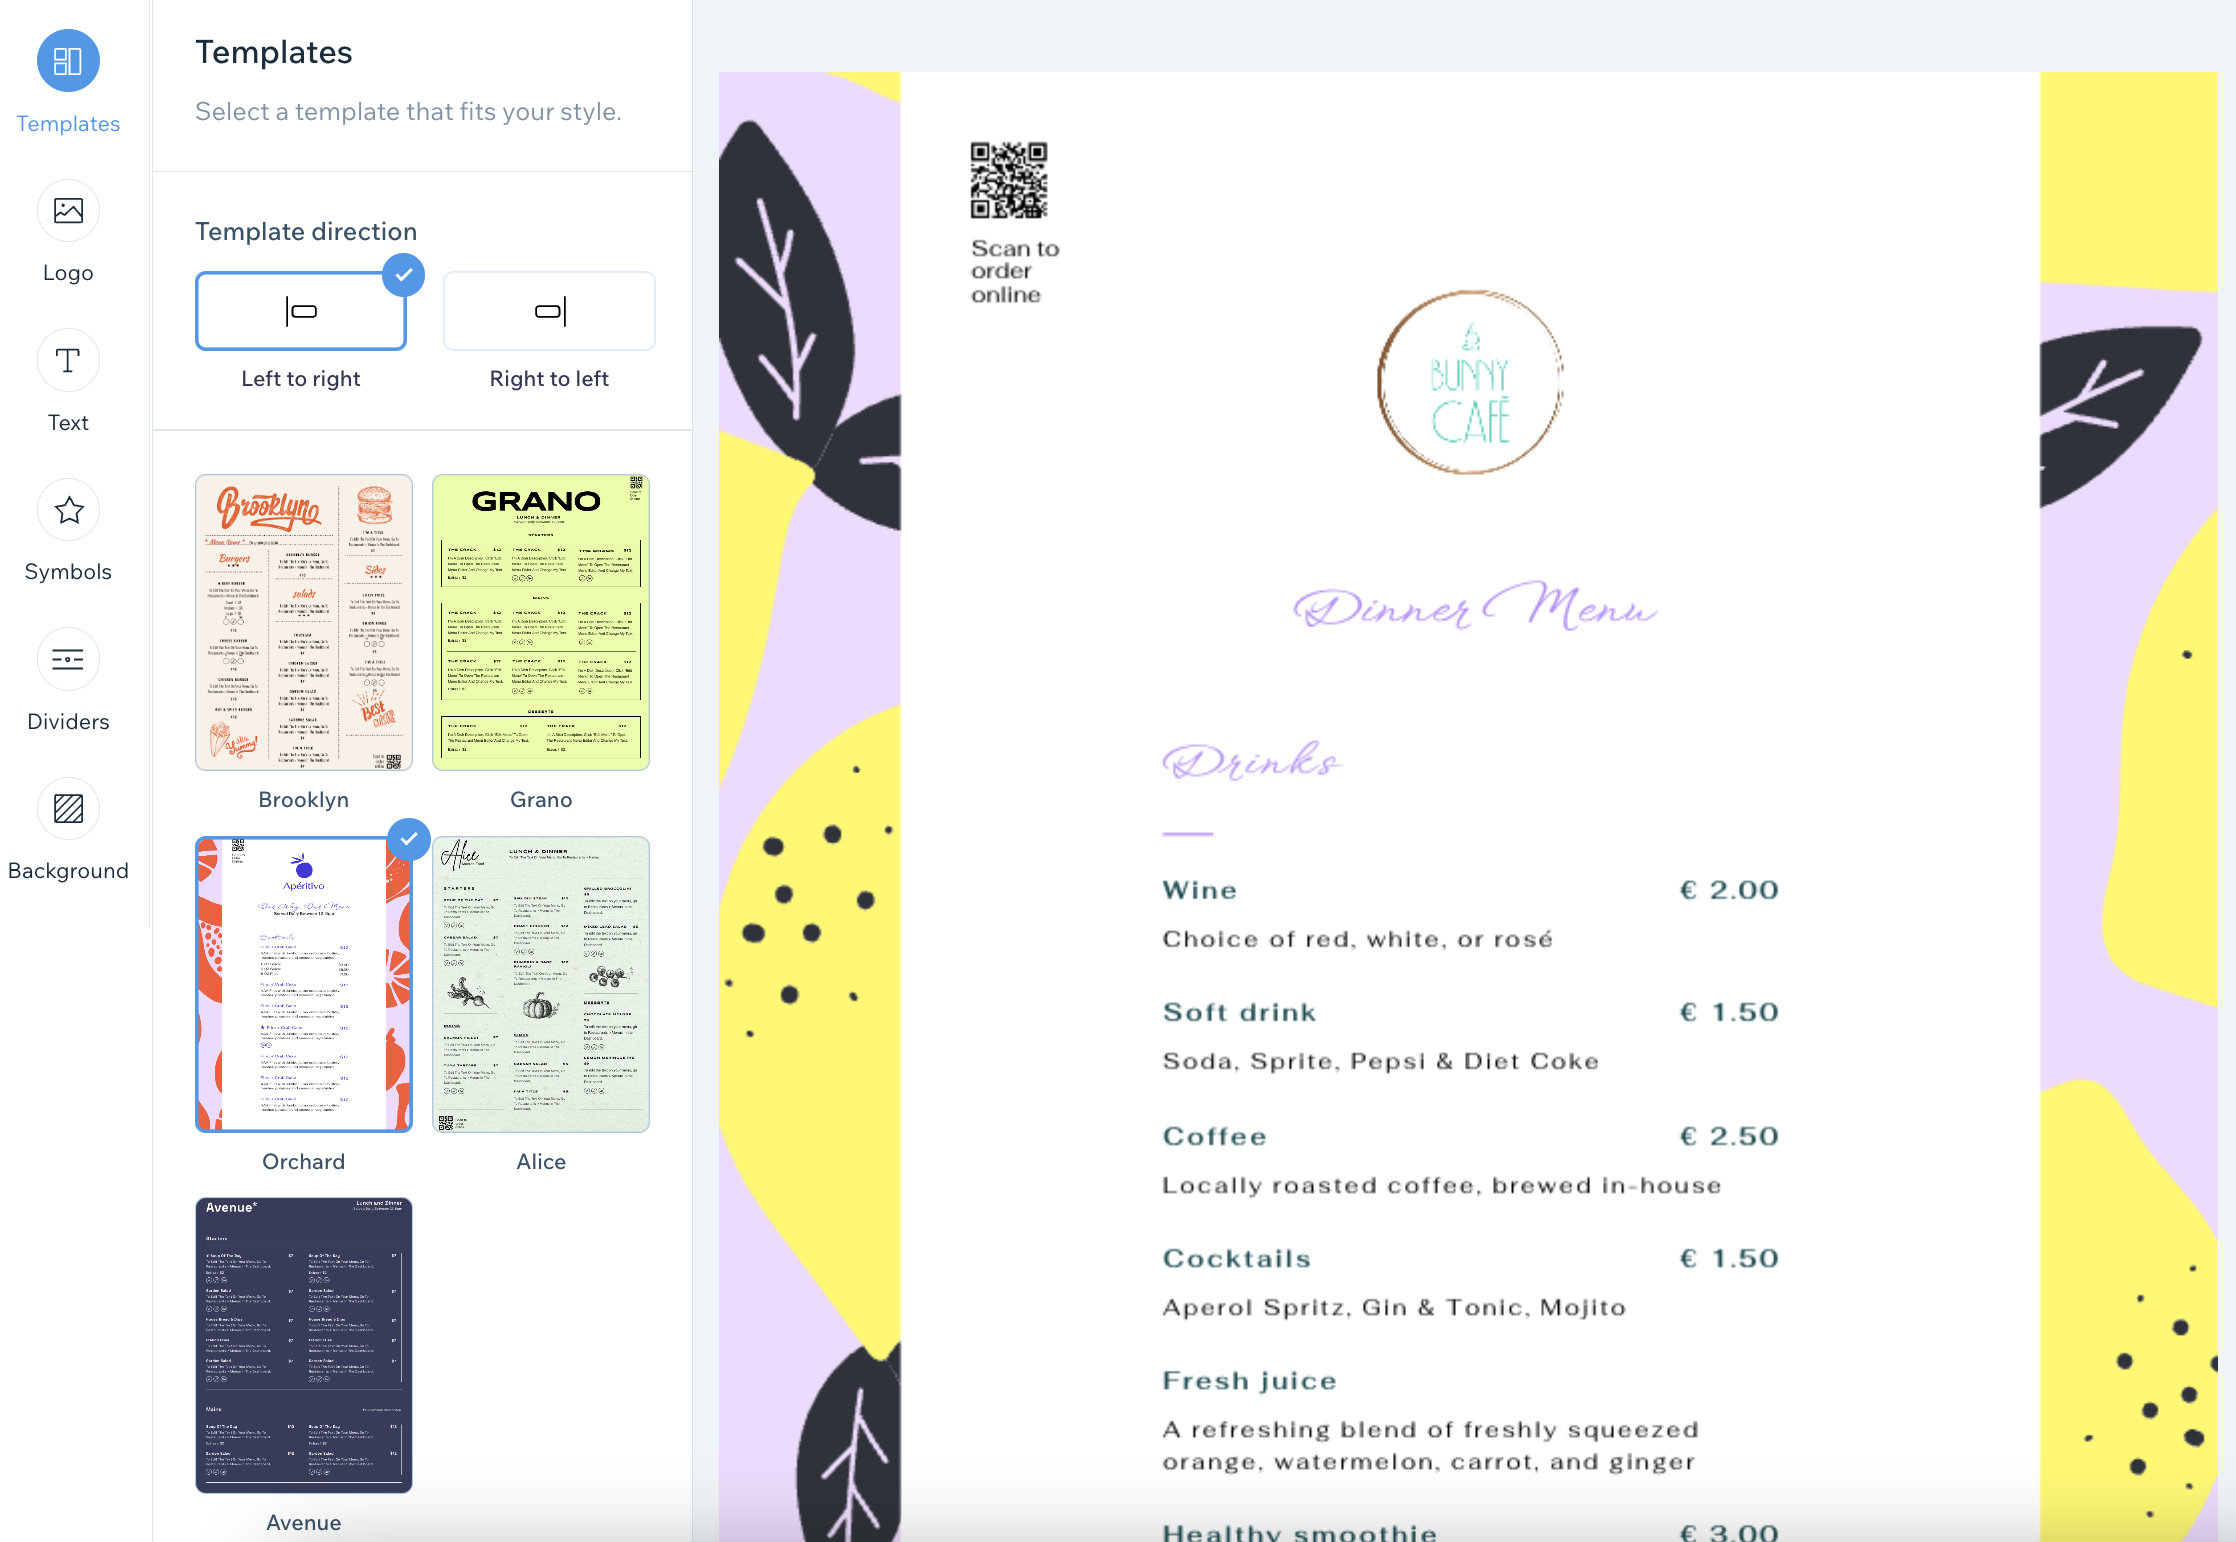
Select one of our pre-designed templates and customize a printable menu for your restaurant. You can adjust the font style, colors, and add your restaurant logo.
Additionally, you can include a scannable QR code for customers to scan and order online. When you're finished, click Download Menu to save your menu as a PDF.
To design and print your menu:
- Go to Menus (New) in your site's dashboard.
- Click the More Actions icon
 next to the relevant menu and select Design print menu.
 - Customize your printable menu using the design options:
- Templates: Select a template that suits your restaurant.
- Logo: Add your restaurant's logo and QR code for online orders:
- Click Upload to upload your restaurant's logo from your computer. You can also click Create a Logo to create one with the Wix Logo Maker.
- Enable the QR Code toggle to include a scannable QR code on your menu for customers to scan and order online.
- Text: Hover over the relevant text style and click Customize to set the styles for text on your menu (menu, section and dishes):
- Dish description: Click the toggle to show or hide descriptions of dishes in your menu.
- Font: Click Change Font and choose a font for your menu.
- Text style: Click to bold, italicize or underline the text.
- Alignment: Choose to align the text to the left, center or right.
- Text color: Choose a color for the text or enter a hex code.
- Size (px): Set a size for the text or drag the slider.
- Symbols: Select a set of symbols and set their colors.
- Dividers: Use dividers to separate the different sections on your menu.
- Background: Choose a background color for your menu. You can also enter a hex code.
- Click Download Menu to download your menu in PDF format.


