

Wix Restaurants: Designing and Printing Your Menu
2 min
Important:
This article is about the original Wix Restaurants Menus App. Try out our new, improved menu app. Learn how to add and set up Wix Restaurants Menus (New) app.
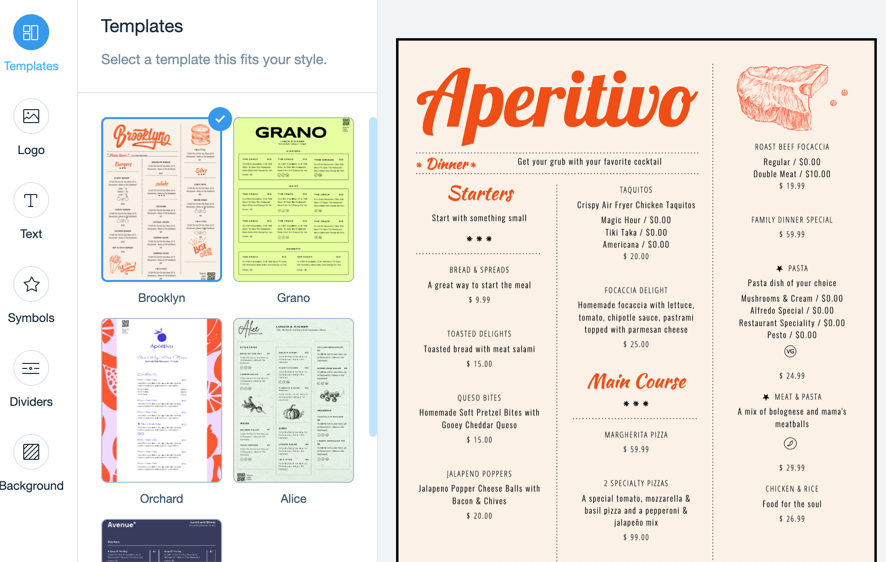
Choose one of our designed templates and customize a printable menu for your restaurant. You can set the font style and colors, add your restaurant logo and a scannable QR code for your customers to scan and order online. Once you're done, click Download Menu to download your menu in PDF format.
To design and print your menu:
- Go to Menus in your site's dashboard.
- Hover over the menu you want to customize and click the Print icon
 .
. - Customize your printable menu:
- Templates: Click on a template that suits your restaurant.
- Logo: Add your restaurant's logo and QR code for online orders:
- Click Upload to upload your restaurant's logo from your computer.
You can also click Create a Logo to create one with the Wix Logo Maker. - Enable the QR Code toggle to include a scannable QR code on your menu for customers to scan and order online.
- Click Upload to upload your restaurant's logo from your computer.
- Text: Hover over the relevant text style and click Customize to set the styles for text on your menu (menu, section and dishes):
- Dish description: Click the toggle to show or hide descriptions of dishes in your menu.
- Font: Click Change Font and choose a font for your menu.
- Text style: Click to bold, italicize or underline the text.
- Alignment: Choose to align the text to the left, center or right.
- Text color: Choose a color for the text or enter a hex code.
- Size (px): Set a size for the text or drag the slider.
- Symbols: Select a set of symbols and set their colors.
- Dividers: Use dividers to separate the different sections on your menu.
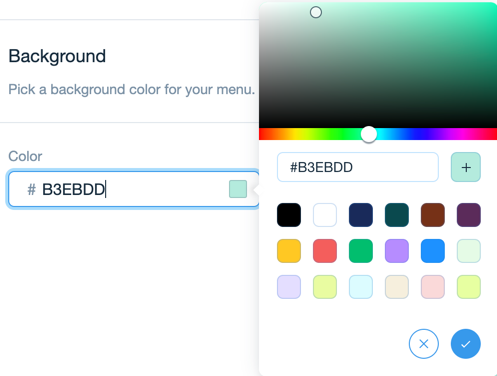
- Background: Choose a background color for your menu. You can also enter a hex code.
- Click Download Menu to download your menu in PDF format.
