

Wix Pro Gallery: Adding a Custom Button to Your Gallery
3 min
In this article
- Adding a custom button to your Pro Gallery items
- FAQs
Create your own custom call-to-action (CTA) buttons to encourage visitors to click on your Pro Gallery items. You can customize the text, design and more to make it your own.
Adding a custom button to your Pro Gallery items
Creating a custom button helps draw your visitors' attention to click on a gallery item. You can make it stand out by changing the text and customizing how the button looks on your gallery.
To add a custom button:
Wix Editor
Studio Editor
- Go to your editor.
- Click the pro gallery element on your page.
- Click Settings.
- Click the Design tab.
- Click Buttons.
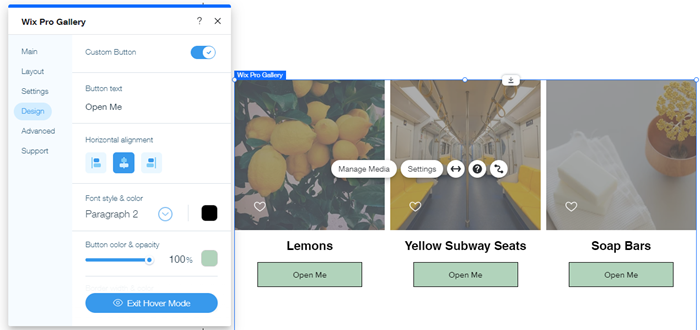
- Enable the Custom Button toggle.
- Customize the following:
- Button text: Enter the text that appears on the button.
- Horizontal alignment: Choose how your text is aligned when visitors hover over an item.
- Vertical alignment: Choose how your text is aligned when visitors hover over an item.
- Font style and color: Select the font and color of the button text.
- Button color and opacity: Select the color and opacity of the button
- Border width and color: Select the border width and color of the button
- Corner radius: Drag the slider to change the corner radius.
FAQs
Click a question below to find out more about buttons.
Can I make my custom button the only part of my gallery that is clickable?
Can I place my button in a different placement away from the text?
