Wix POS Register: Setting Up Inventory Management in Multiple Locations
9 min
In this article
- Step 1 | Understanding how to set up inventory management for multiple locations
- Step 2 | Add additional inventory locations
- Step 3 | Assign products and variants to locations
- Step 4 | Select an inventory location in the POS tablet
- FAQs
Important:
The ability to manage inventory in multiple locations is available for merchants with the new Wix Stores product catalog.
With Wix POS Register, you can manage inventory across one or more physical locations in addition to your online store. Start by setting up inventory locations in your dashboard and choosing which products are available at each location.
Important:
Your online store is always considered an inventory location. You can manage inventory for your online store separately or together with a physical location.
Step 1 | Understanding how to set up inventory management for multiple locations
Your business might have different types of physical locations (in addition to your online store). For example:
- Brick-and-mortar stores
- Warehouses
- Offices
Before you set up inventory management for multiple locations, you need to be clear about how many inventory locations (as opposed to physical locations) you have.
Important:
If you manage inventory for your online store and a physical location together, they count as 1 inventory management location.
Example setup: Merchant whose online store inventory is managed together with a physical location
Example setup: Merchant whose online store inventory is managed separately from their brick-and-mortar stores

Step 2 | Add additional inventory locations
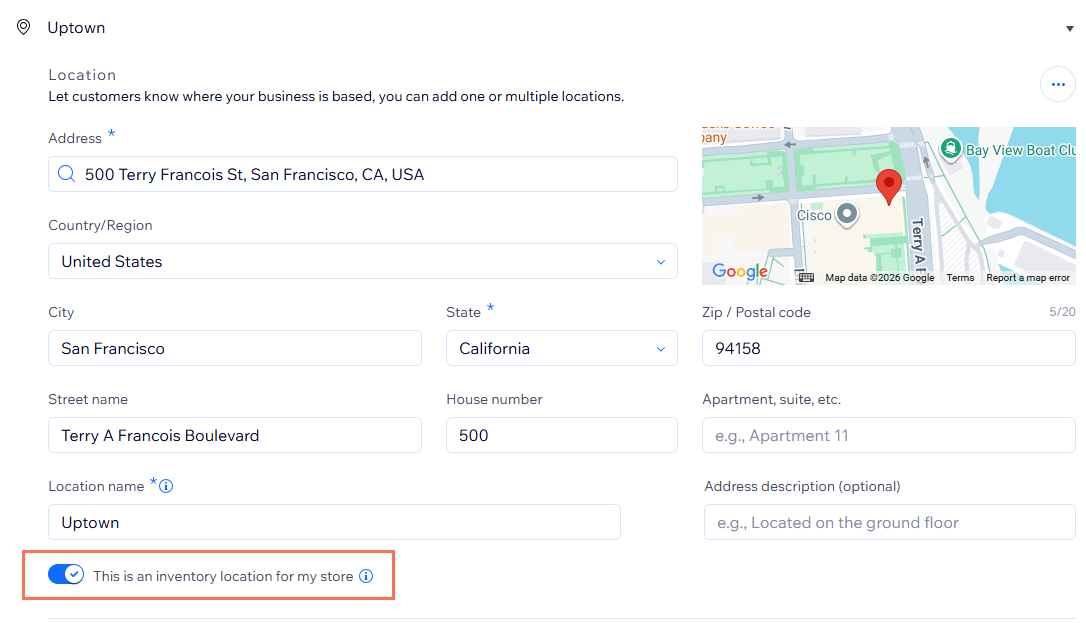
To start managing inventory for multiple locations, add your additional location(s) in the Business Info page. A location can be a store branch, warehouse, office, or any other business location.
To add additional inventory locations:
- Go to Business info in your site's dashboard.
- If you haven't done so already, enter the details of the first location.
- Click + Add Second Location.
- Enter the location address.
- (Optional) Enter a location name and description.
Tip: If you don't enter a location name, the street will serve as the location name. - Click the This is an inventory location for my store toggle to enable or disable it:
- Enabled: You'll be able to track inventory separately for this location.
Important: Do not enable if this location is used both as a physical store and as the inventory location for your online store. - Disabled: This is a business location where you don't track inventory separately.
- Enabled: You'll be able to track inventory separately for this location.
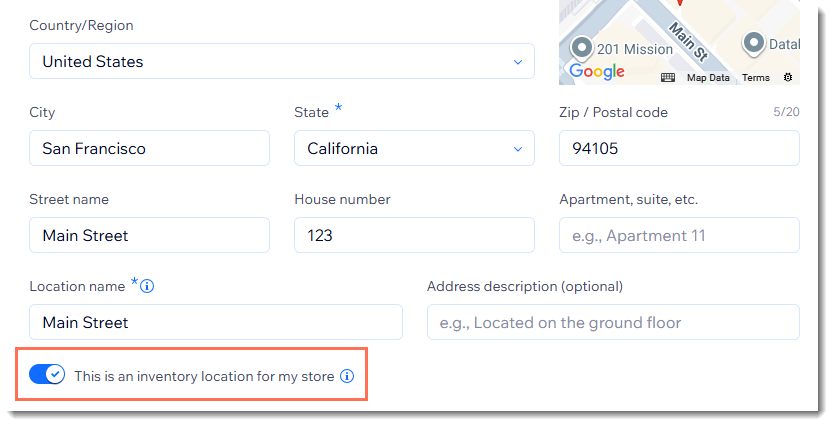
- Enter the rest of the details and click Save.
Important:
After you add 1 inventory location and enable the toggle, you'll see 2 locations in the Inventory tab in the dashboard - your online inventory and your physical location inventory.
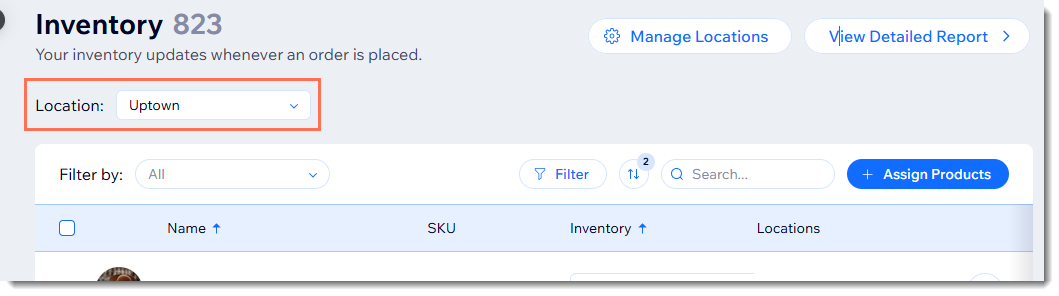
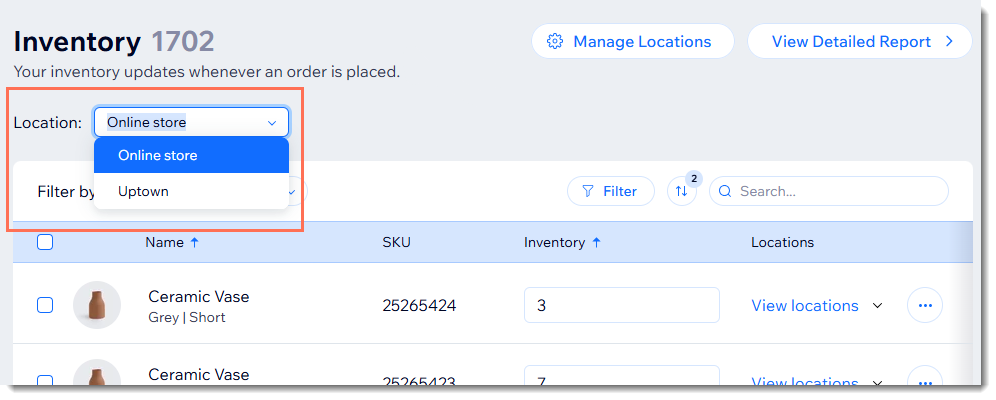
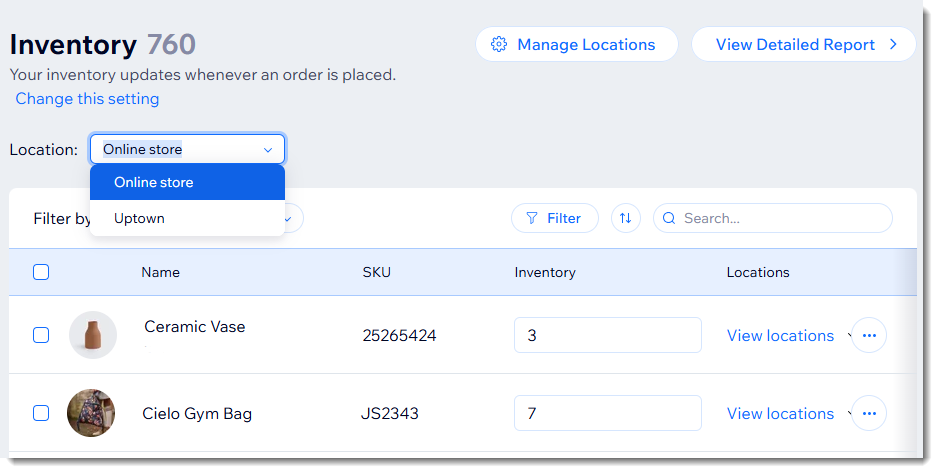
Step 3 | Assign products and variants to locations
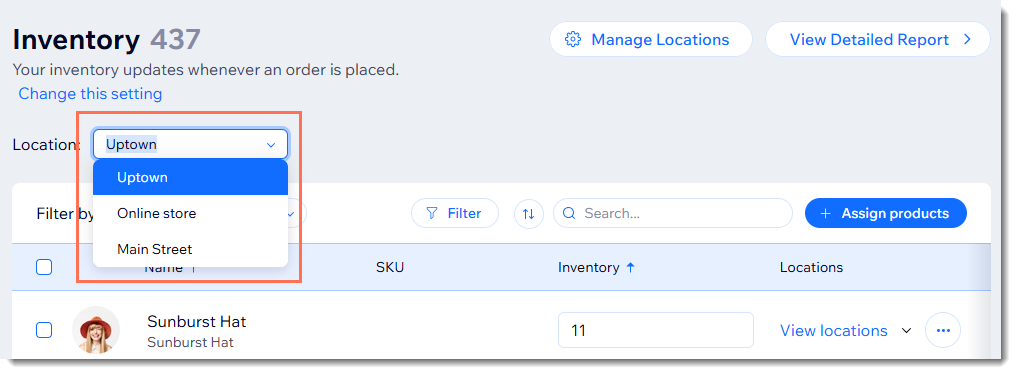
Now you can select the products for which you manage inventory at each location. If a product has variants, choose which variants you stock at each location. Start by selecting the location you want to manage from the Location drop-down.
Warning:
If you go back to Business Info in your site's dashboard and disable the toggle after you assign products and inventory amounts to that location, your inventory data will be lost.
To assign products:
- Go to Inventory in your site's dashboard.
- Select a location from the Location dropdown.
- Click Assign Products.
- Select the checkboxes next to the products and variants you want to assign to this location.
- Click Assign to location.
- Enter the inventory amount for each product.
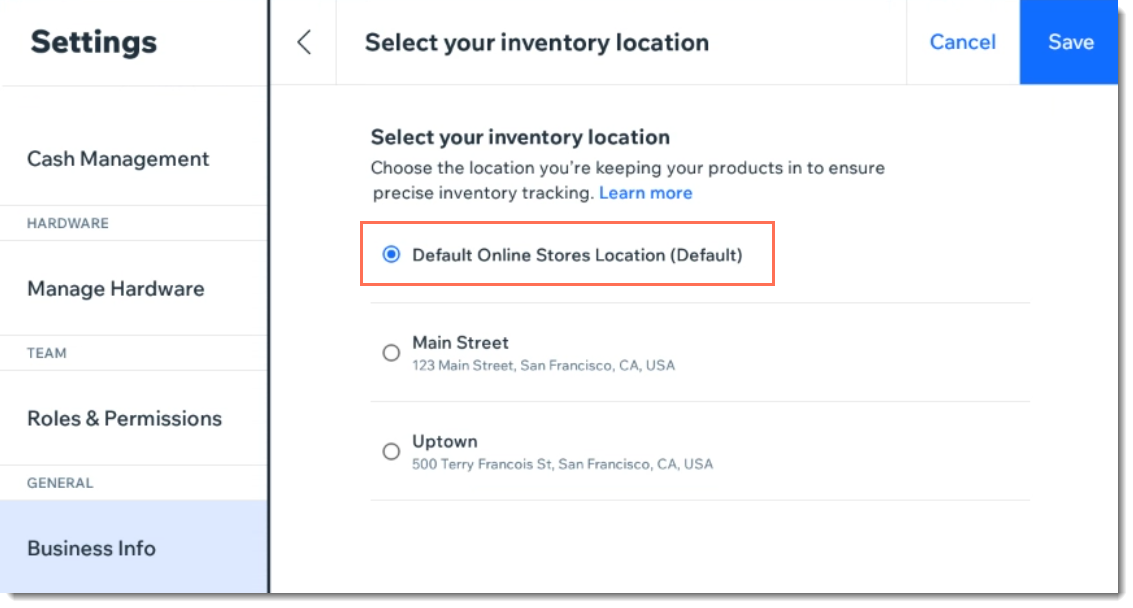
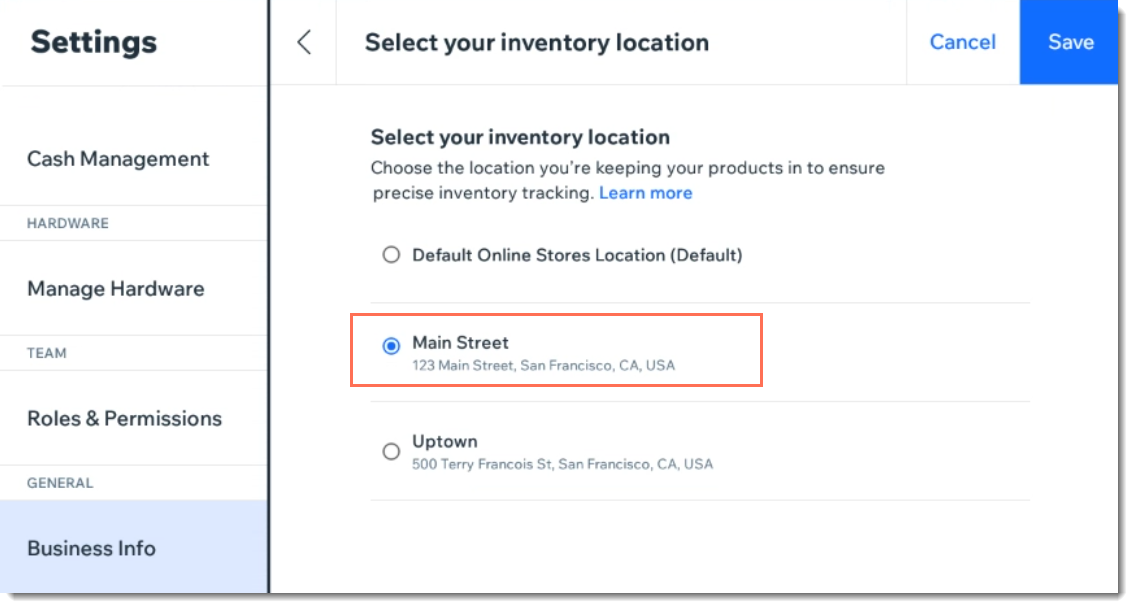
Step 4 | Select an inventory location in the POS tablet
When you first set up the POS Register, you'll be asked to select the business location associated with the tablet as well as an inventory location. You can go back anytime to Business Info on the tablet to update these selections.
Tip:
The inventory location you select determines which store products are displayed in the tablet.
To assign an inventory location in POS Register:
- Open the POS tablet.
- Tap the Menu icon
 at the bottom left.
 - Tap Settings.
- Scroll down and tap Business Info.
- Tap Edit location next to Your inventory location.
- Select the location where you manage inventory and tap Continue.
Tip: If you manage inventory for your online store at this physical location, select Online store.
FAQs
Click a question to learn more.
Why should I not disable the 'This is an inventory location' toggle after setting up inventory?
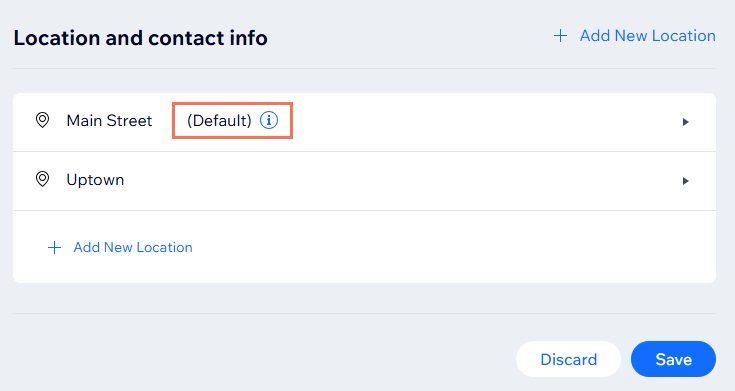
What is the default location used for?
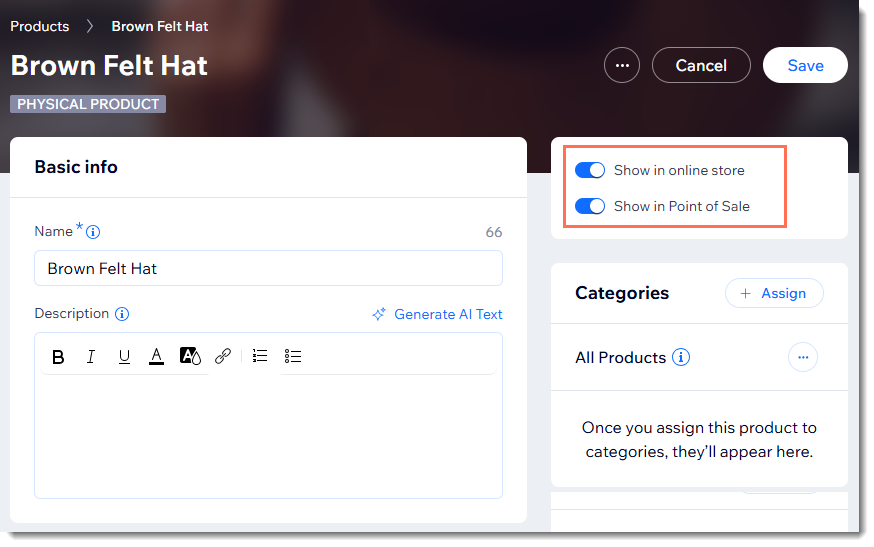
How can I offer a product only in physical locations but not online?
How can I quickly locate a stock item when I manage inventory for multiple locations?
What happens when I create a new product?
 You can click the toggle to hide it from either location.
What happens when I delete a product in the Products tab?
How can I delete a location?
 above the location map.
How can I view inventory levels at other locations from my POS tablet?

How do I update stock levels after inventory management for multiple locations is set up?