Wix Photo Albums: Designing Your Photo Album
6 min
In this article
- Changing your album layout
- Customizing your album cover
- Changing your album colors
- Changing the album font
- Adding animation effects
- FAQs
After uploading photos to your photo album, it's time to design it to make sure it looks the way you want it to. Wix Photo Albums offers you hundreds of design options, from customizing the layout, to changing the colors and fonts, and using custom animations. You can access these options and more in the Photo Album Editor.
Note:
Additional changes outside of the customization options outlined in this article are not supported. It's not possible to add additional buttons, elements or menus to Photo Album pages.
Show me how to access the Photo Album Editor
Changing your album layout
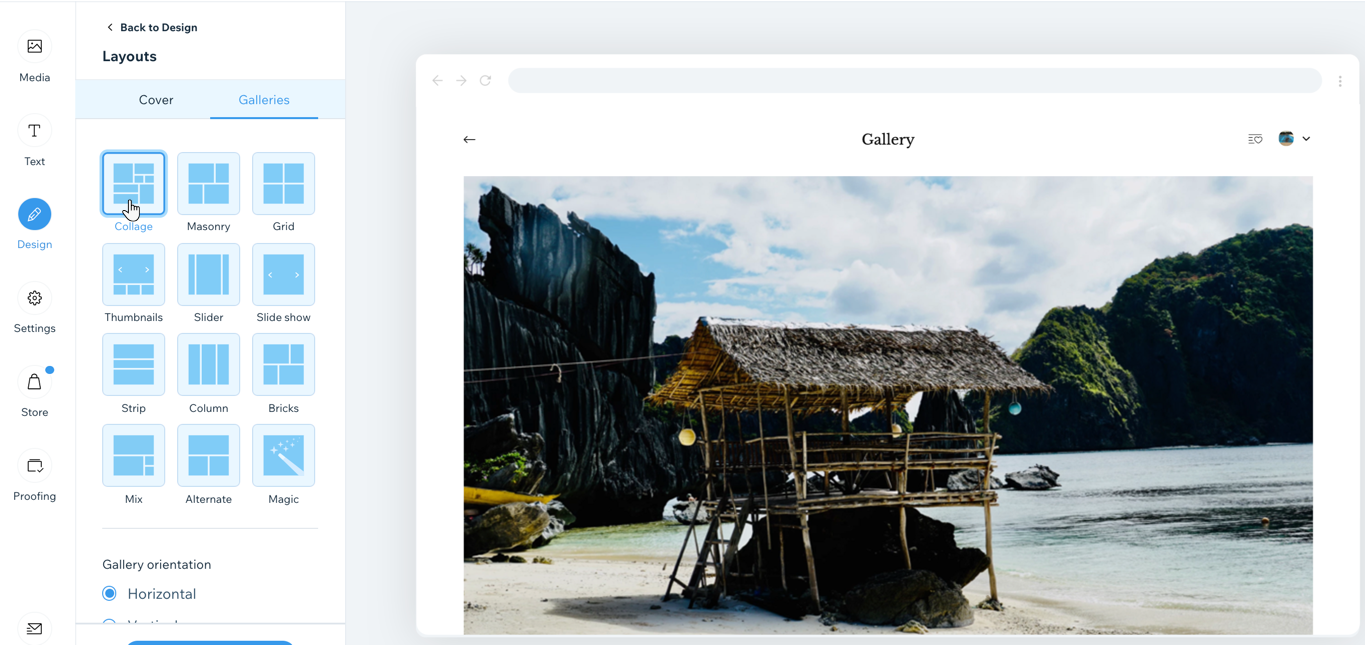
Your album layout determines the way your photos are arranged. We have 12 layouts for you to choose from, each with their own options.
For example, if you choose the Masonry layout, you can customize the spacing between the images, where as if you choose the Thumbnail layout, you can change the size of the thumbnails.
To change your album layout:
- Go to Photo Albums in your site's dashboard.
- Click Edit next to the relevant album.
- Click the Design tab.
- Click Layouts.
- Click the Galleries tab.
- Select a layout.
- Customize the layout using the options available.
Note: You can learn more about the available options in the Layout glossary.

Customizing your album cover
Choose a photo you want to highlight for your album's cover. The cover photo is the first photo visitors see when they're looking at the album gallery on your site.
To customize your album cover:
- Go to Photo Albums in your site's dashboard.
- Click Edit next to the relevant album.
- Choose what you want to do:
Change the cover photo
Change the text that appears on the cover
Change the design of the cover
Hide the album cover
Changing your album colors
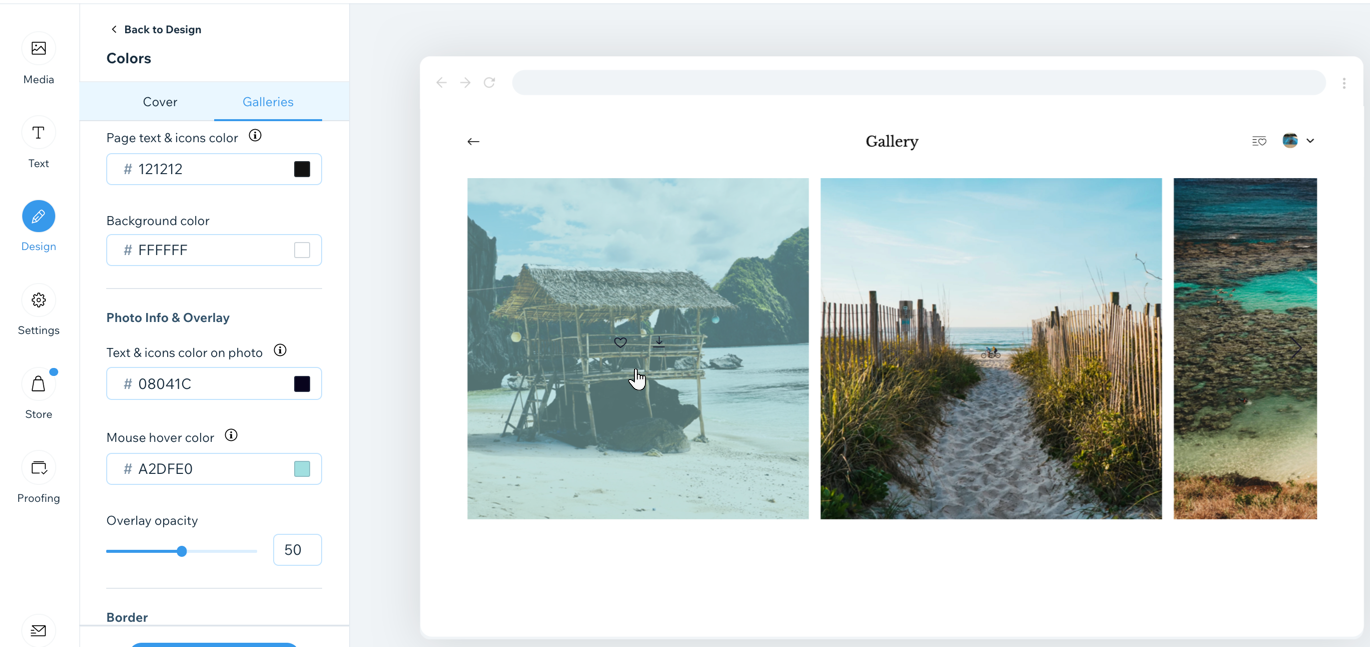
Choose the colors you want to use for your album and customize the design of the borders and shadow.
To change your album colors:
- Go to Photo Albums in your site's dashboard.
- Click Edit next to the relevant album.
- Click Gallery.
- Click the Design tab.
- Click Colors.
- Customize the colors and design of the following:
Background & Icons
Photo Info & Overlay
Border
Shadow

Changing the album font
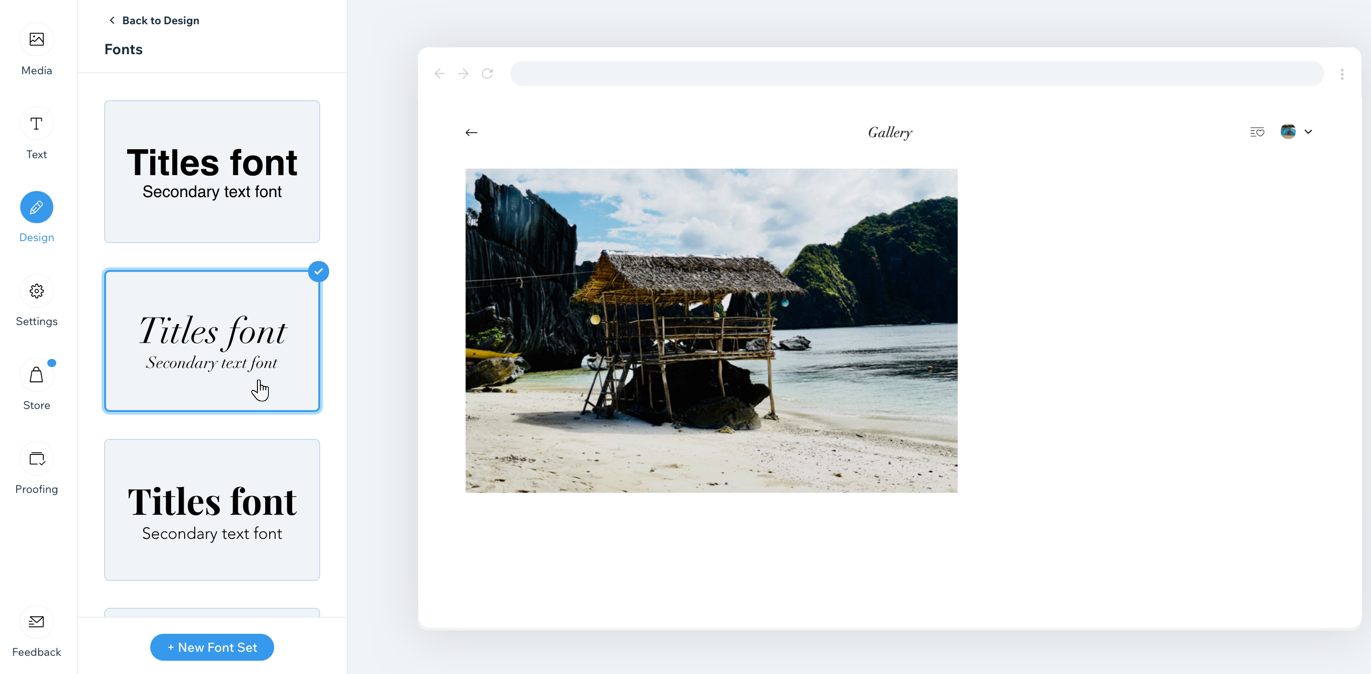
The font set affects all of the text in your album. It's made up of a title font (album, gallery and photo titles) and a secondary font (all other titles). Choose from one of the preset font sets, or create your own.
Note:
The font color settings for the password login page are also derived from the Page Text and Icons Color setting in the Galleries tab. Pay attention to this - if you set the text to white on a password protected gallery, the text will be invisible.
To change your album font:
- Go to Photo Albums in your site's dashboard.
- Click Edit next to the relevant album.
- Click the Design tab.
- Click Fonts.
- Select an existing font set or click + New Font Set to add your own.

Adding animation effects
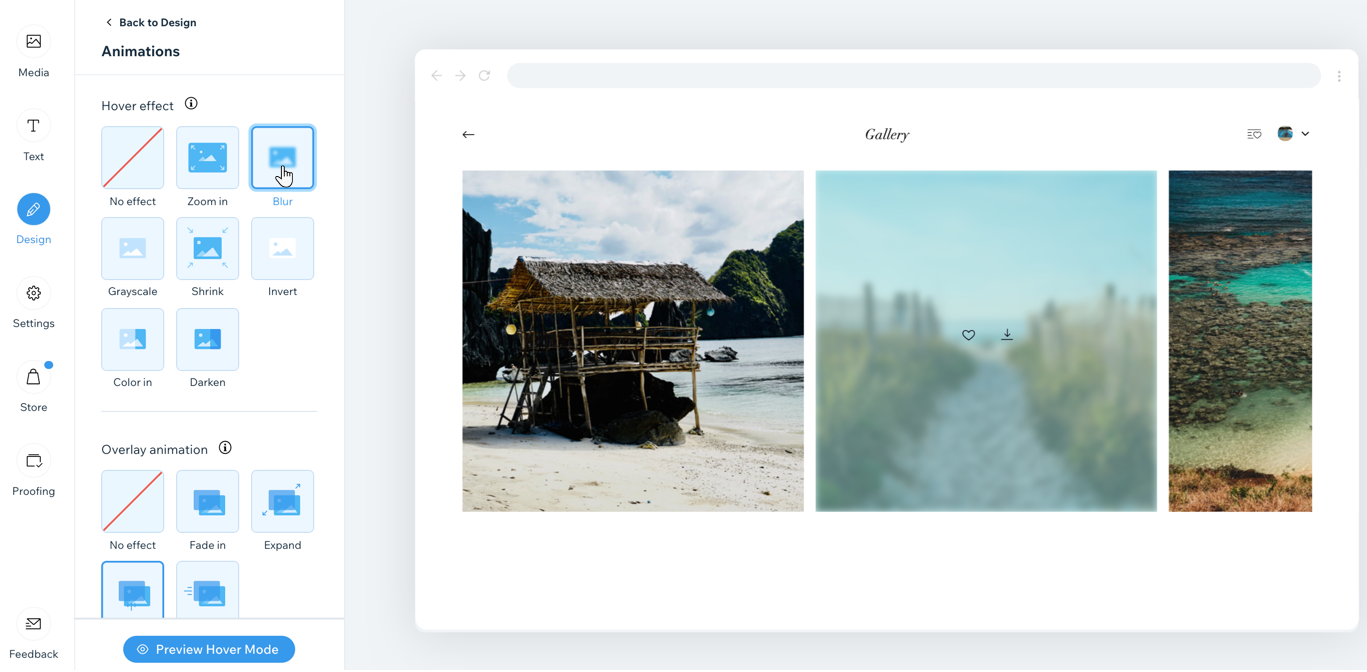
Bring your gallery to life by adding animation effects, Choose what happens when someone scrolls through your album or hovers over one of the photos.
To add animation effects:
- Go to Photo Albums in your site's dashboard.
- Click Edit next to the relevant album.
- Click the Design tab.
- Click Animations.
- Customize the animation effects for the following scenarios:
- Scrolling effect: Choose an effect for when visitors scroll down the gallery in your album. For example, you can make your photos zoom out while scrolling.
- Hover effect: Choose an effect that appears when visitors hover over your photos. For example, you can make your photos' colors turn grayscale.
- Overlay animation: Choose an overlay animation that also appears when visitors hover over your photos. For example, you can make your photos slide right.

Tip:
Click Preview Hover Mode to see what your effects look like.
FAQs
Click a question to learn more about designing your photo album.
Can I change the focal point of my Photo Album cover?
Can I customize the expand mode?


 next to the relevant album.

