

Wix Online Programs: Adding and Setting Up Your AI Tutor
5 min
In this article
- Step 1 | Connect the AI tutor for your program
- (Optional) Step 2 | Add answers and knowledge for your AI tutor
- Step 3 | Test and customize your AI tutor's responses
- Step 4 | Edit your AI tutor's responses
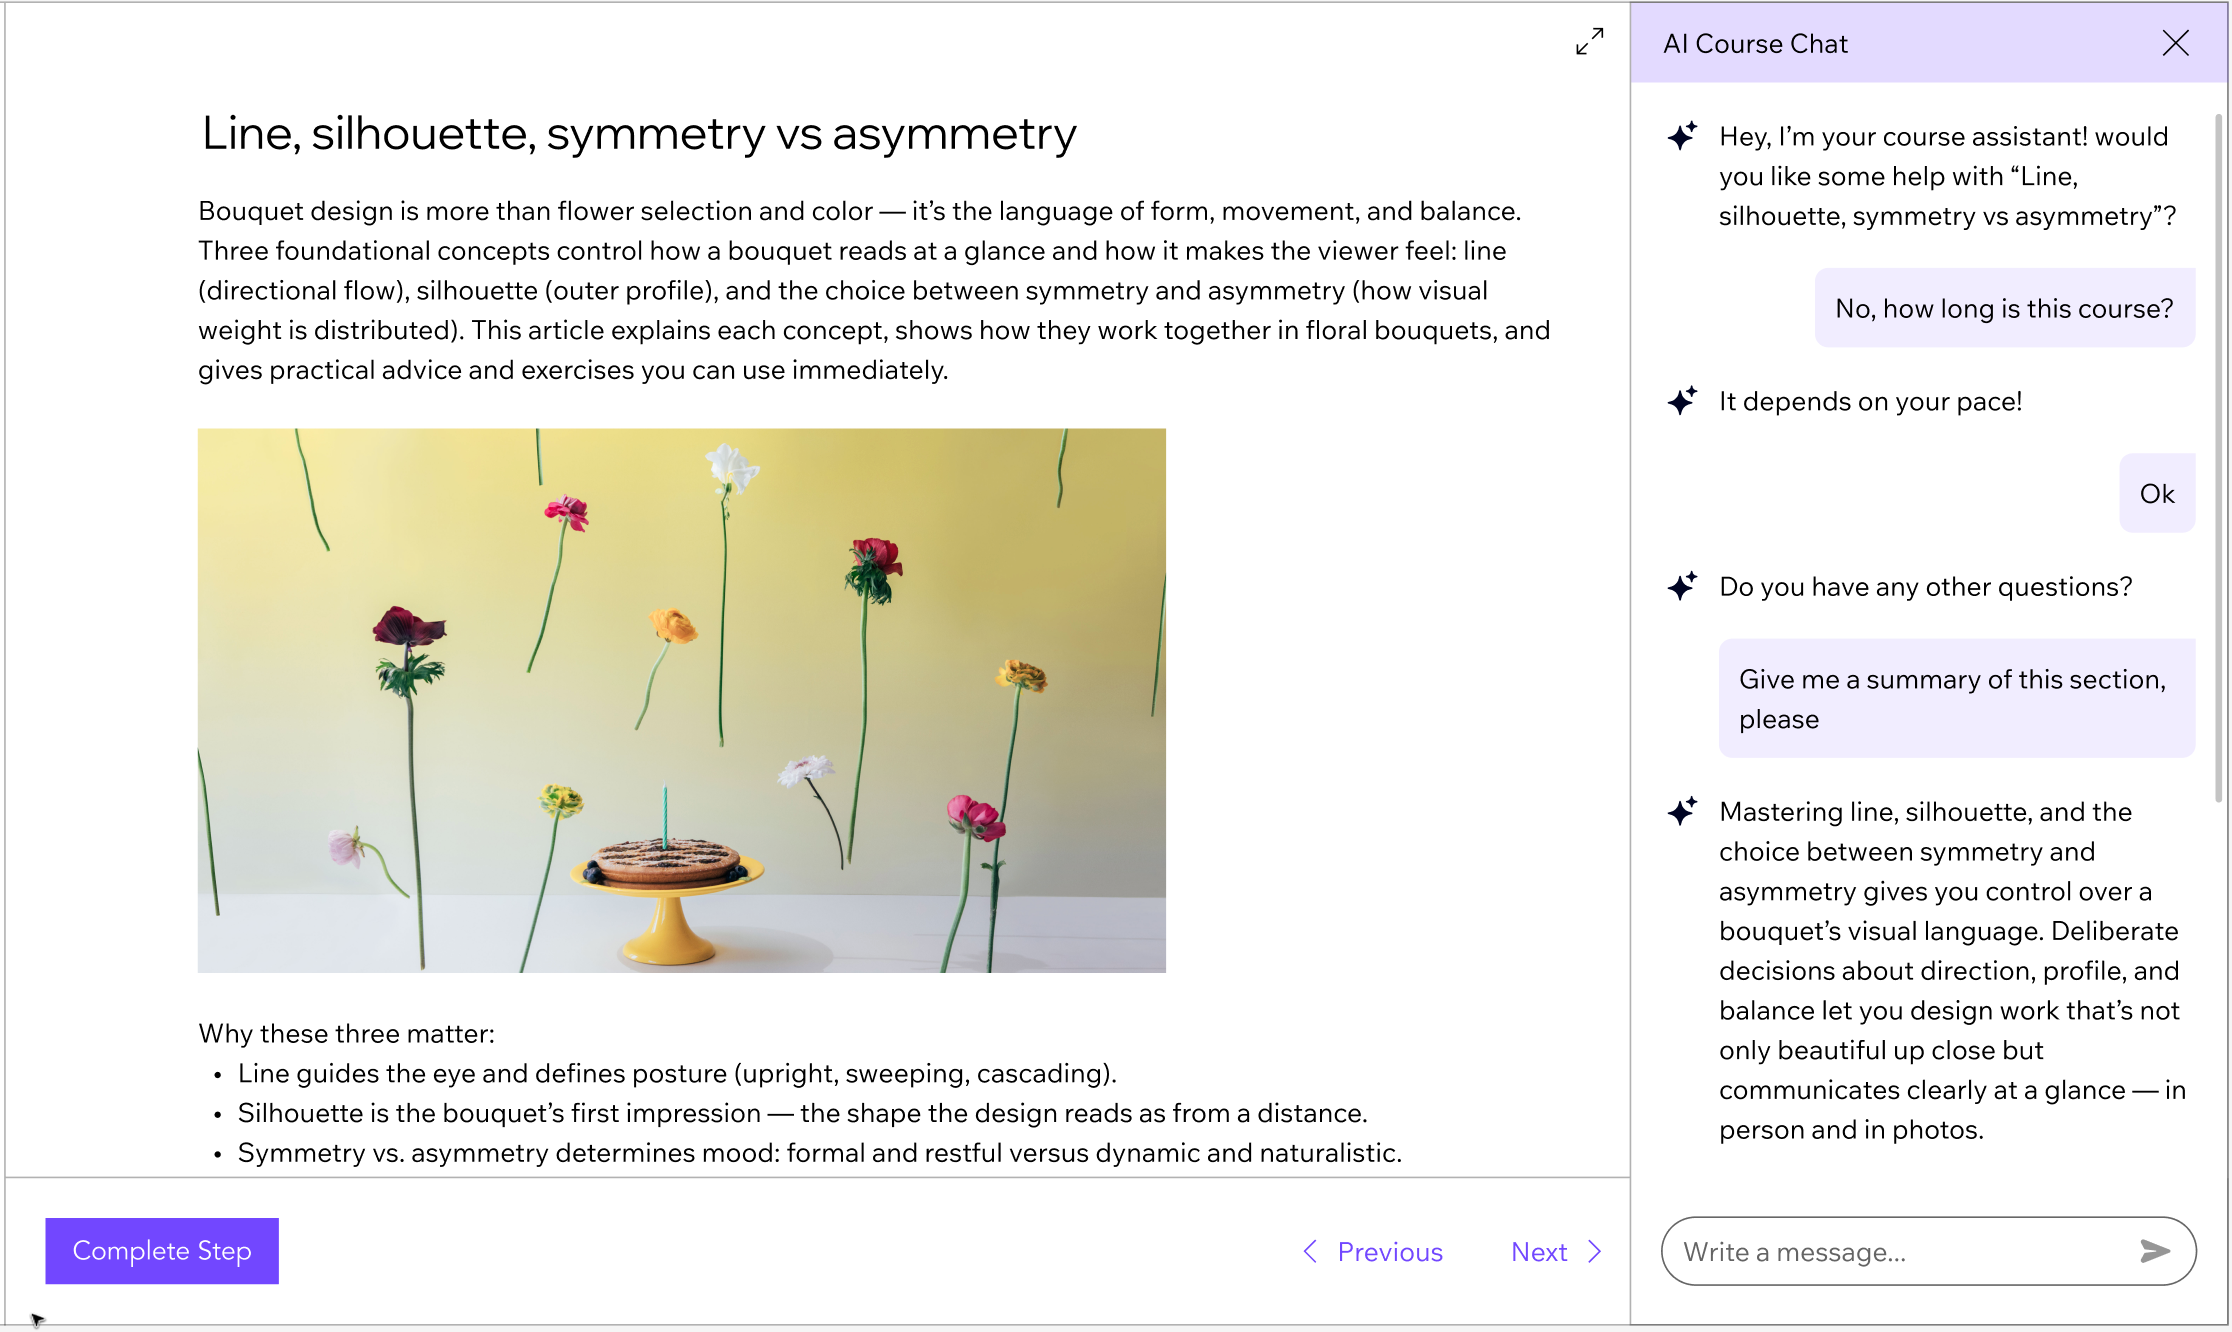
Empower every participant with 24/7 support from an AI tutor. With instant answers, personalized help, and a wider knowledge base, an AI tutor makes your online program more engaging while saving you time.
Step 1 | Connect the AI tutor for your program
Start by connecting the AI tutor to your program in the dashboard. Once it's connected, the AI tutor becomes active on your site immediately. Participants can start using it right away for guidance, support, and answers as they move through your course or content.
Dashboard
Wix app
- Go to Online Programs in your site's dashboard.
- Hover over the relevant program and click Edit.
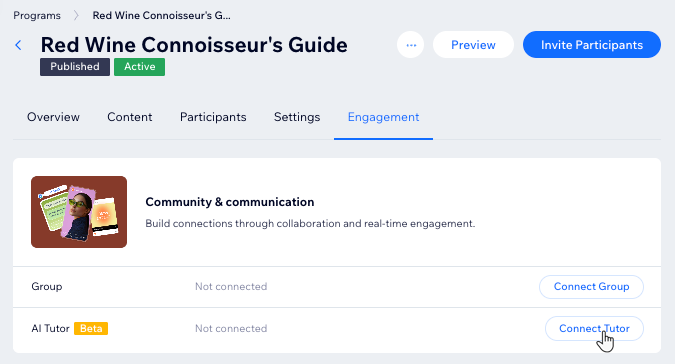
- Click Engagement.
- Click Connect Tutor next to AI Tutor.
- Click Create Tutor.
(Optional) Step 2 | Add answers and knowledge for your AI tutor
Once you connect the AI tutor and sync the program, it starts learning all about it. As AI uses text information from your program (not files or videos), we recommend uploading additional resources. This helps the AI tutor to give detailed, course-specific answers.
Dashboard
Wix app
- Once the sync is complete go to the Settings tab in the Manage Knowledge page.
- Under Communication Rules, choose what you want to set:
- Show an initial chat message to start the conversation: Select the checkbox and type the welcome message that appears when someone opens the chat.
- Show an input placeholder: Select the checkbox and type a short prompt to guide visitors on what to ask (for example, Ask me anything about the course...).
- Review your changes in the preview panel on the right.
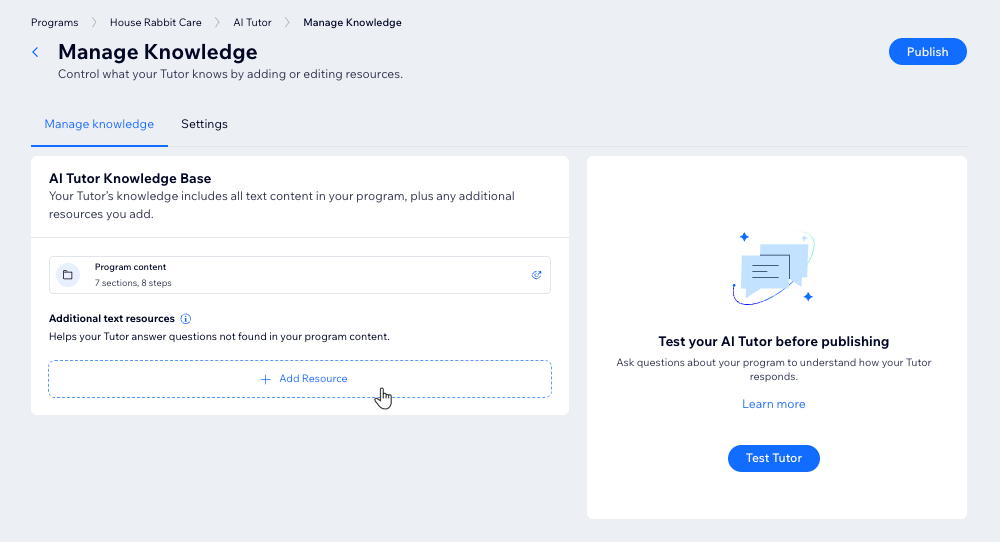
- Click the Manage knowledge tab.
- Under Additional text resources, click + Add Resource to add extra materials that help answer participant questions.
- Choose how you want to add your resource:
- Upload files: Upload documents from your computer (file types: PDF, HTML, DOCX, XML_USPTO, PPTX, MD, CSV).
- Connect link: Add a link to an online resource.
- Add text: Write or paste text directly.
Tips:
- To edit a resource: Click the More Actions icon
 next to the link / text and select Edit.
 - To delete a resource: Click the Delete icon
 next to uploaded files to delete them. If it's a link or text, click the More Actions icon .
Step 3 | Test and customize your AI tutor's responses
You can interact with your AI tutor to make sure it gives clear, helpful answers. This is a great way to spot gaps and refine its replies before you launch.
To test your AI tutor's responses:
- Go to Online Programs in your site's dashboard.
- Hover over the relevant program and click Edit.
- Click Engagement.
- Click AI Tutor.
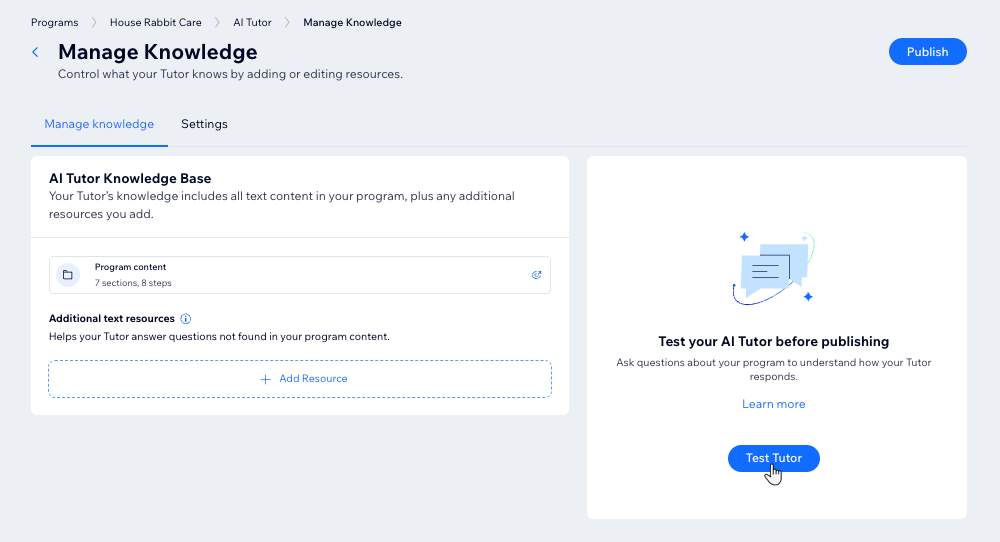
- Click Test Tutor.
- Type a sample question or scenario in the chat box (e.g., “What can I learn here?”).
- Review the AI tutor’s answer and make note of anything you want to improve.
- Use your findings to update the knowledge base or program content as needed.
- When you're happy with your AI tutor, click Publish.
Step 4 | Edit your AI tutor's responses
After launching the AI tutor, stay informed about common questions or issues by monitoring participant interactions. Customize your AI tutor's knowledge and settings based on these interactions to optimize its responses. If needed, you can disable the tutor temporarily until you're ready to go live again.
To edit your AI tutor's responses:
- Go to Online Programs in your site's dashboard.
- Hover over the relevant program and click Edit.
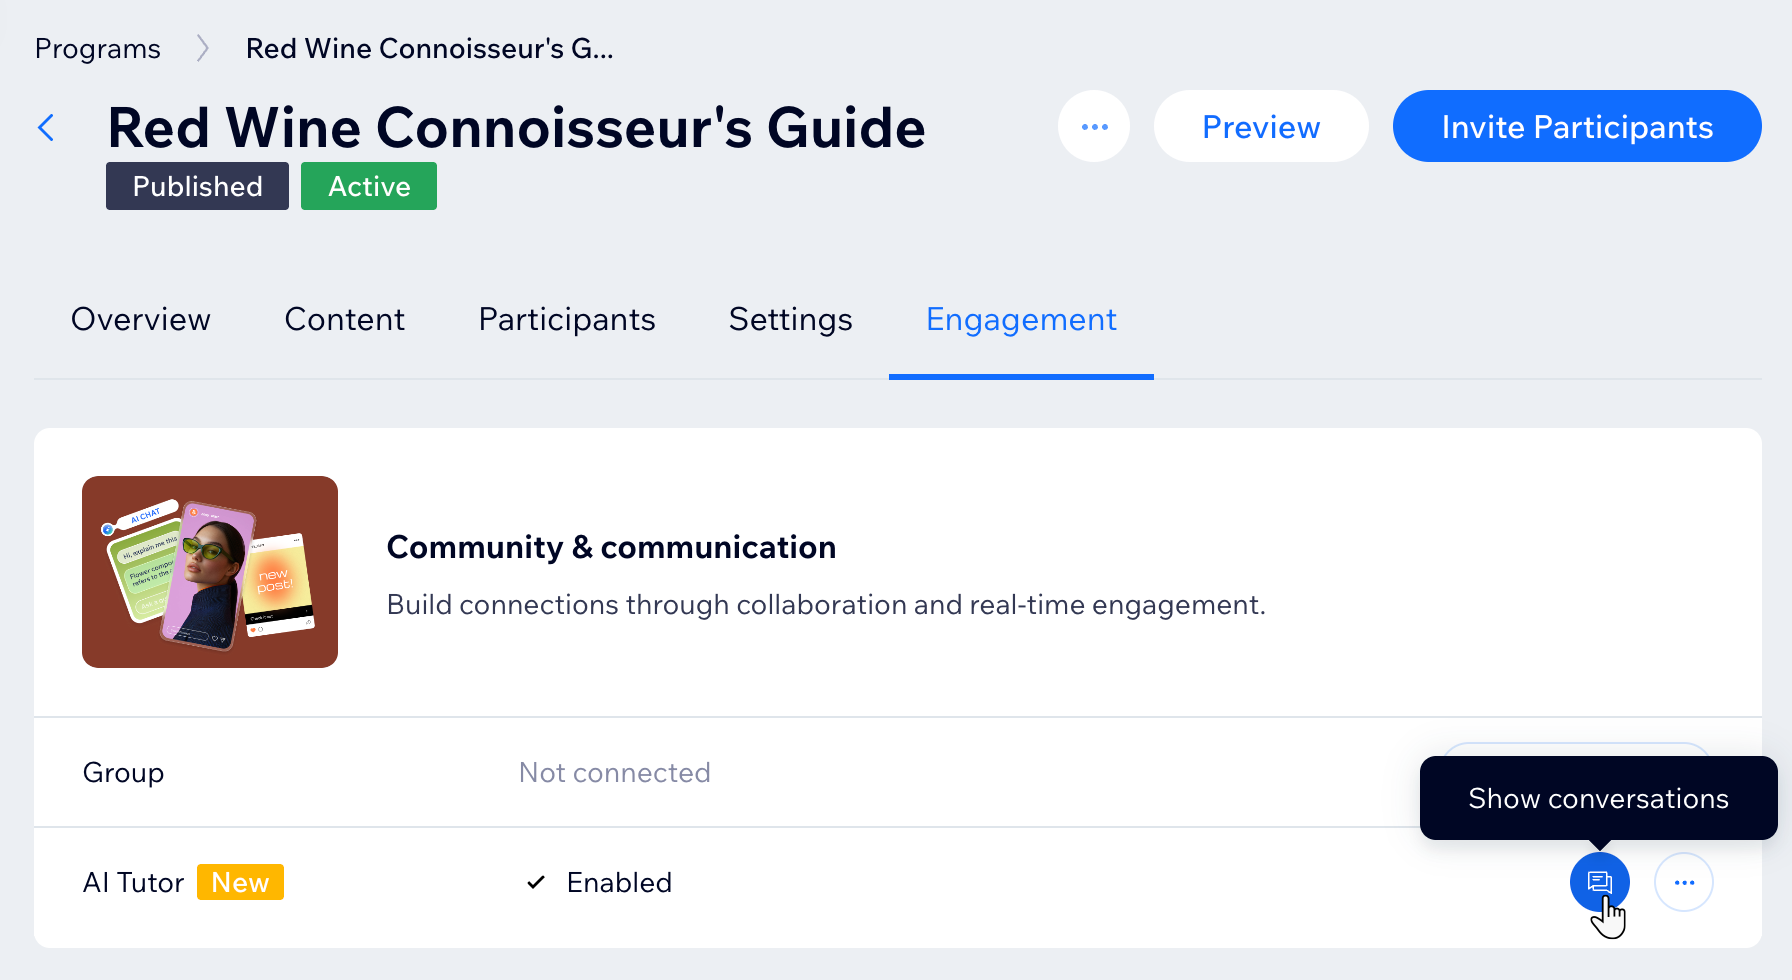
- Click Engagement.
- Decide what you want to do:
Review your AI tutor's conversations
 next to AI Tutor to see participant messages and AI responses.
Customize your AI tutor's responses
 next to AI Tutor.
 Disable your AI tutor
