Wix Loyalty Program: Adding a Loyalty Widget to Your Site's Header
6 min
In this article
- Adding a loyalty widget to your site
- Customizing the loyalty widget
Add a loyalty widget to display essential loyalty program information directly in your site's header. Customers can see their points balance or available rewards from anywhere on your site, and it allows them to easily access your loyalty program page.

Adding a loyalty widget to your site
Once you have added loyalty program pages to your site, you can add the widget as well. You can choose to keep it in the header or move it out to someplace else on the page.
To add a loyalty widget:
Wix Editor
Studio Editor
- Go to your editor.
- Click Pages & Menu
 on the left side of the editor.
 - Click Site Menu.
- Click your loyalty page.
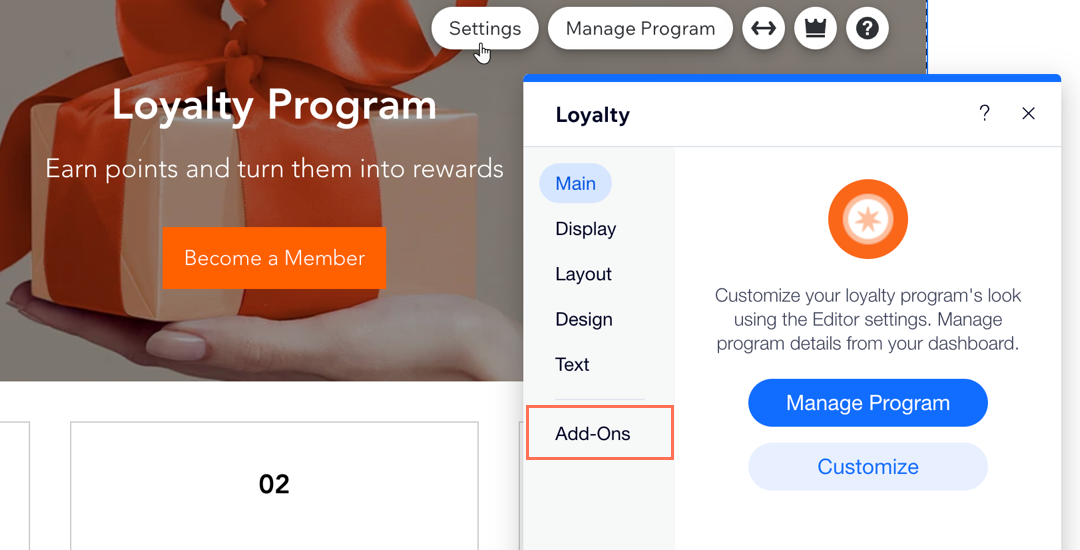
- Click the loyalty element on your page.
- Click Settings.
- Click the Add-Ons tab.
- Click Add Widget.
Tip: The widget is automatically added to the header, but you can drag it anywhere on the page. - (Optional) Choose to pin the widget to the screen and/or show it on all pages.

Tip:
You can also add the loyalty widget from the 'My Rewards' page.
Customizing the loyalty widget
Customize the loyalty widget to tailor its appearance and functionality to better suit your site's design and your customers' needs. You can decide what information to display and how it should look. For example, choose whether to show available points or rewards, and in which font and color.
Best practices for accessibility
To customize the loyalty widget:
Wix Editor
Studio Editor
- Go to your editor.
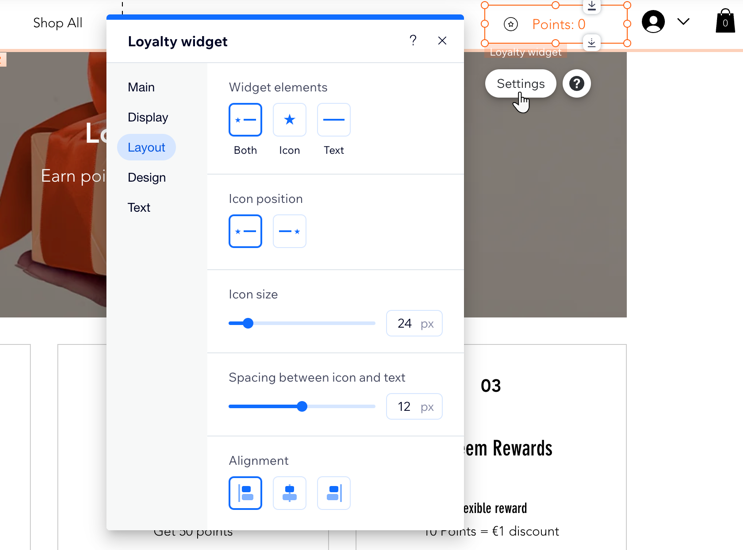
- Click the loyalty widget element on your page.
- Click Settings.
- Choose what you want to customize:
Display
Layout
Design
Text

Removing the loyalty widget:
To remove the loyalty widget from your site, select the element in your editor and press Delete on your keyboard. You can always re-add the loyalty widget from the Loyalty page settings.


