

Wix Forum: Protecting Your Forum from Spam
4 min
In this article
- Filter posts containing spam words
- Filter selected words from posts
- Require approval for new forum members
- Blocking or deleting site members
- Temporarily limiting who can write posts
- Require admin approval before posts are published
Stop spammers from taking over your message boards and keep forum discussions civil. There are a number of actions you can take to protect your forum.
Filter posts containing spam words
Create a list of spam words for your forum. Members using these words in a post or comment get an error message and are blocked from publishing.

To create a spam word filter:
- Go to Forum in your site's dashboard.
- Click the More Actions drop-down at the top.
- Click the Moderation Settings.
- Enable the Word filter toggle.
- In the Spam words field, enter spam words separated by commas.
- Click Save.
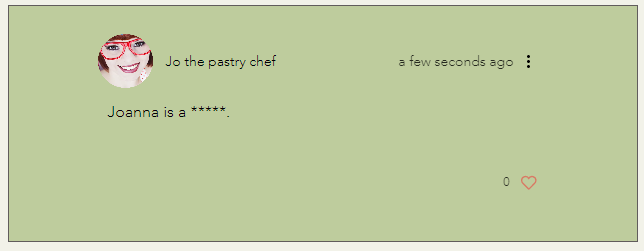
Filter selected words from posts
Create a list of words that will be replaced with asterisks when they are used.
To create a filter for selected words:
- Go to Forum in your site's dashboard.
- Click the More Actions drop-down at the top.
- Click the Moderation Settings.
- Enable the Word filter toggle.
- In the Filtered words field, enter spam words separated by commas.
- Click Save.
Require approval for new forum members
You can control who is allowed to become a site member by requiring approval whenever a new member joins your site.
If you choose to require approval, you receive a notification, both by email and in your site's dashboard, asking if you want to approve or reject the new member. Only those who you approve become site members.
To require approval for site members:
- Go to Signup, Login, and Security in your site's dashboard.
- Under Who can be a site member? select whether you want everyone to be able to sign up or only people you manually approve.
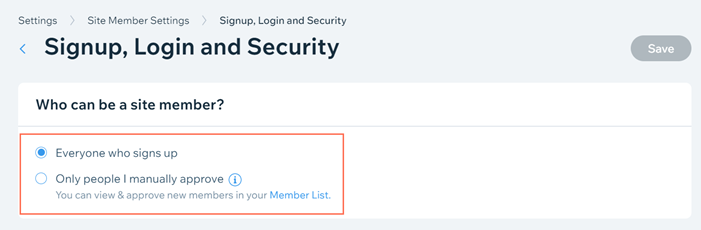
- Click Save.
Blocking or deleting site members
You can block or delete any member who does not follow your forum rules.
- Blocked members: Cannot like or comment on a post or follow a writer. Blocked members do, however, appear on the members page.
- Deleted members: Cannot like or comment on a post or follow a writer. All the site member's posts, comments, and likes are removed from your forum. The member no longer appears on the member's page.
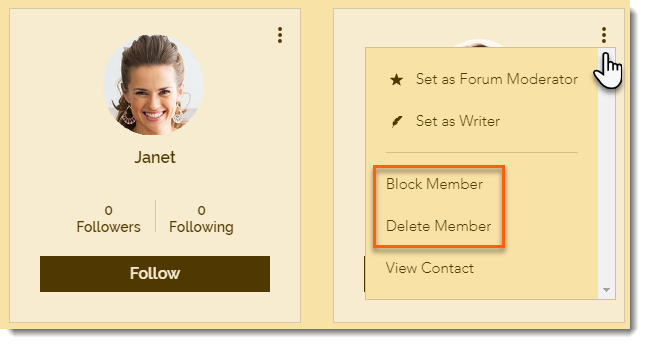
To block or delete site members:
- Go to the Members page on your live site.
- Click the More Actions icon
 on the relevant site member.
 - Select an option:
- Block a member: Click Block Member and then Block to confirm.
- Delete a member: Click Delete Member and then Delete to confirm.
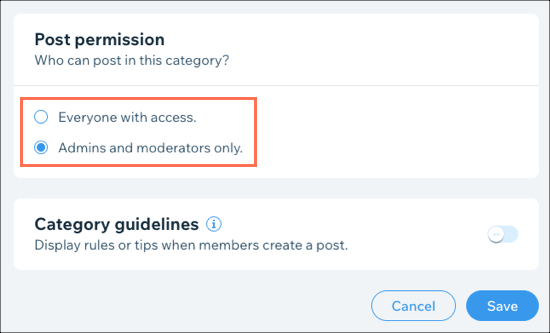
Temporarily limiting who can write posts
In case of a more serious spam attack, you can temporarily edit your categories to allow only admins or moderators to post. We recommend limiting access for approximately one week.
To limit who can write posts in a category:
- Click the Wix Forum app in the Editor.
- Click Settings.
- Click Manage Categories.
- Hover over the category you want to edit and click Edit.
- Scroll down to the Post permission section and select Admin and moderators only.
- Click Save.
- Repeat steps 4 - 6 for all other categories.
Require admin approval before posts are published
If you prefer to review posts before they are published, you can enable admin approval so that you get to see the post before it goes live on your site.
To enable admin approval:
- Go to Forum in your site's dashboard.
- Click the More Actions drop-down at the top.
- Click the Moderation Settings.
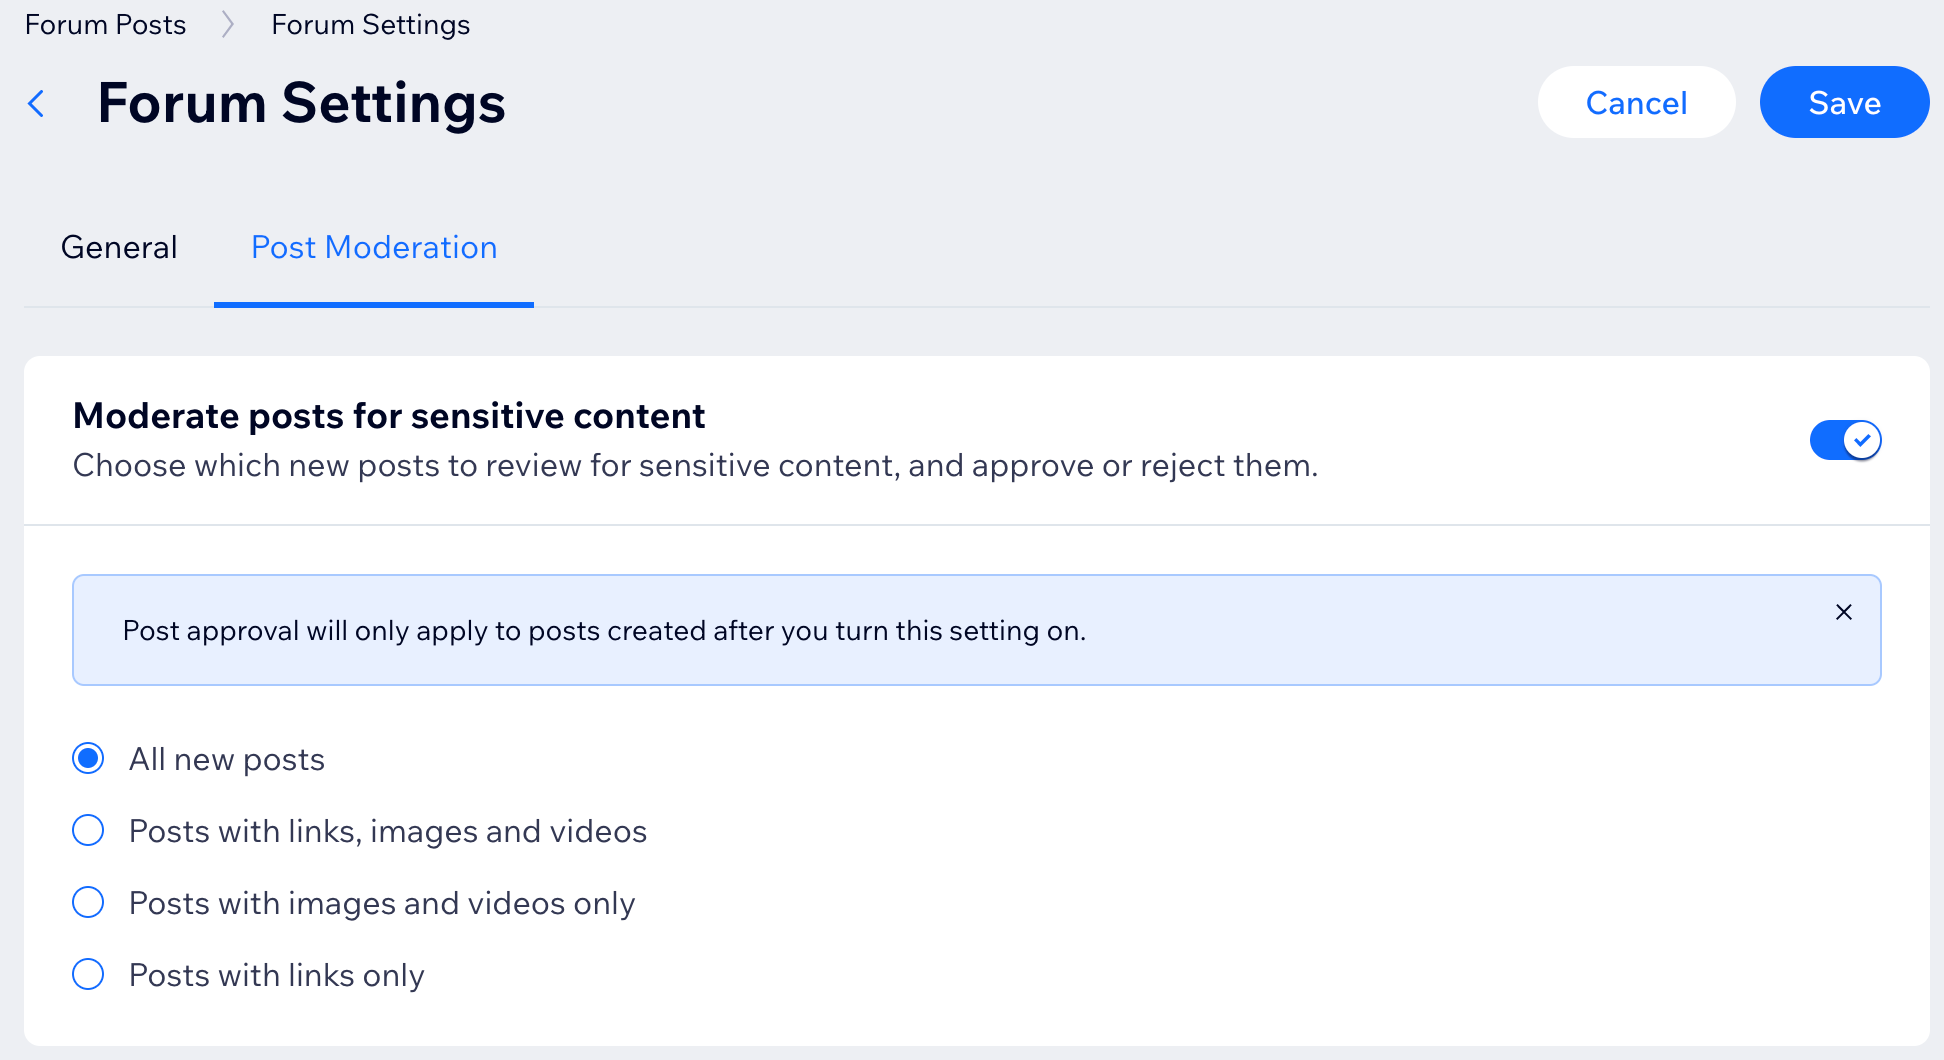
- Enable the Moderate posts for sensitive content toggle.
- Choose from the following options:
- All new posts: Select this option to review every post.
- Posts with links, images and videos: Only review posts that have links, images and videos in them.
- Posts with images and videos only: Only review posts that have images and videos.
- Posts with links only: Only review posts that have links in them.
- Click Save.
