


Enterprise Solution: Viewing and Managing Your Activity Log
In this article
- Viewing and filtering your site's activities
- Saving new views
- Managing a saved view
- Managing a view
- Editing your view's filters
- Exporting your activity log
- Sending your activity log data to a cloud provider in real time
- Sending your activity log data to AWS in real time
- Sending your activity log data to Azure in real time
- FAQs
Important:
This feature is only available on
Wix Studio for enterprise.
An activity log is the best way to track activities performed by team members within your organization. You can filter the activities by category, user or time. You can also export your data manually as a CSV file, or export it in real time by connecting your activity log to one of the available cloud providers: AWS or Azure.
Activity logs are important for auditing, security or debugging purposes. It gives you a breakdown of the action taken, the category it belongs to, the timestamps, and the user and role responsible for these changes.
Learn more about
Wix Studio for enterprise or
contact our sales team.
Viewing and filtering your site's activities
View and filter activities based on the activity category, user and time range. You can use these filters to narrow down results and find relevant information more efficiently.
To view and filter your site's activities:
- Go to Activity Log in your enterprise dashboard.
- Click Filter.
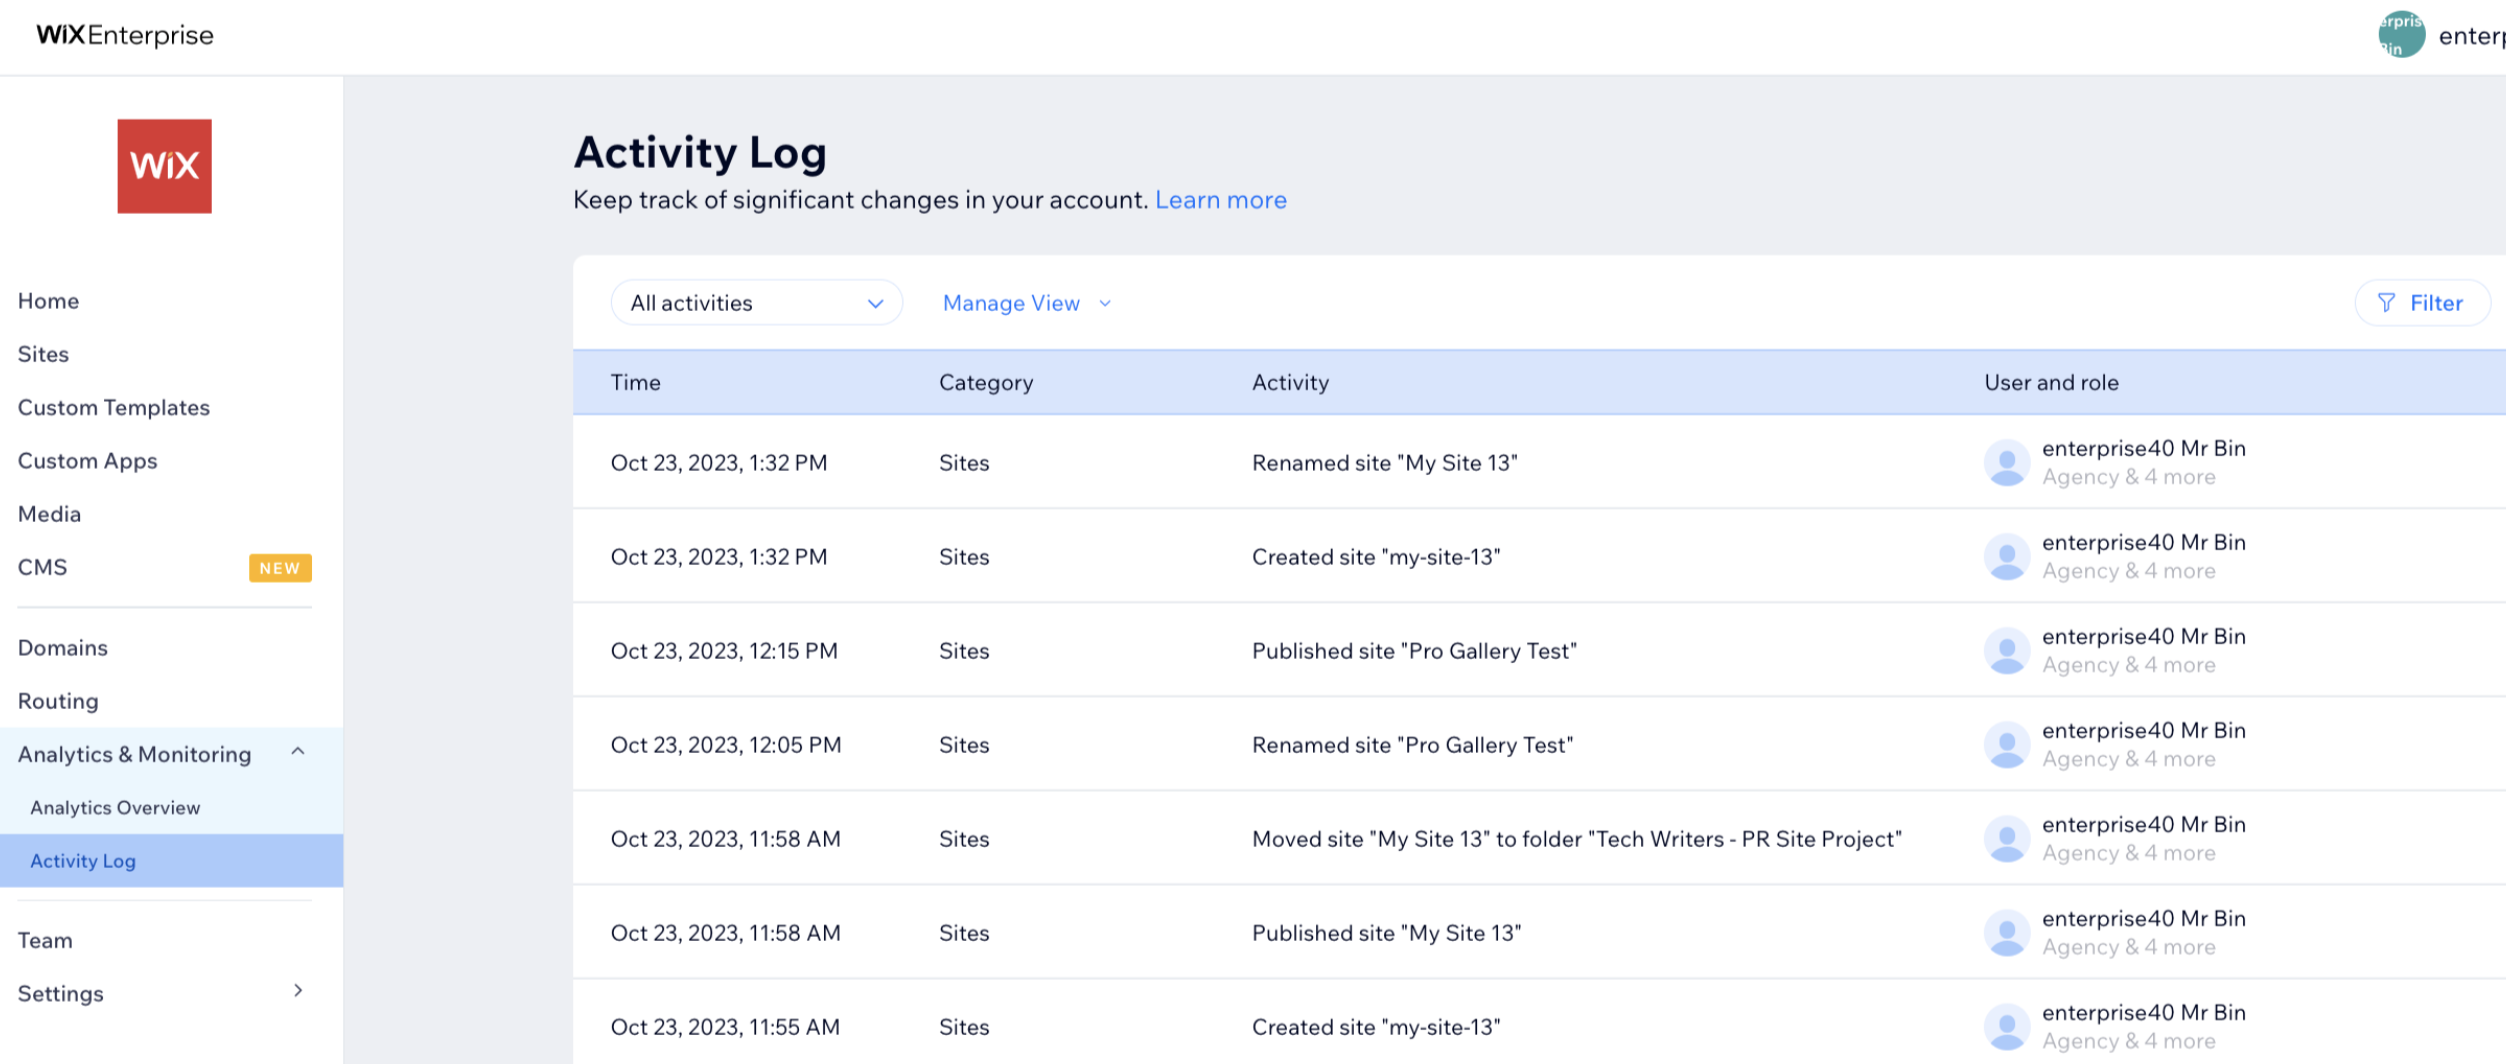
- Click the type of filter you want to add:
- Category: Select the relevant category.
- Sites: When a new site was created, deleted, duplicated or published, or when a site is renamed.
- Custom Templates: When a template is created, duplicated, deleted, or updated. For example, a template is made available / unavailable or when settings are changed.
- Media: When media has been uploaded, archived or unarchived.
- Domains: When a domain is connected or added to a site.
- Team: When members are invited as collaborators, changed roles, or are removed from the platform.
- SSO Settings: When an SSO setting has been toggled on or off.
- IP Allowlisting: When an allowlist rule has been added, deleted, or edited.
- Routing: When a route has been added, deleted, or edited.
- Roles & Permissions: When new members are invited to the platform for specific sites.
- Plan Status: When a Premium plan is activated or deactivated for a site.
- Security Headers: When a security header is activated, edited or deactivated for a site.
- Activity Log: When the activity log is connected or disconnected from a cloud provider, or when the connection details are edited.
- User: Filter by team members in your organization.
- Time: Filter by time range. You can select pre-set times or customize your own:
- Category: Select the relevant category.

Tip:
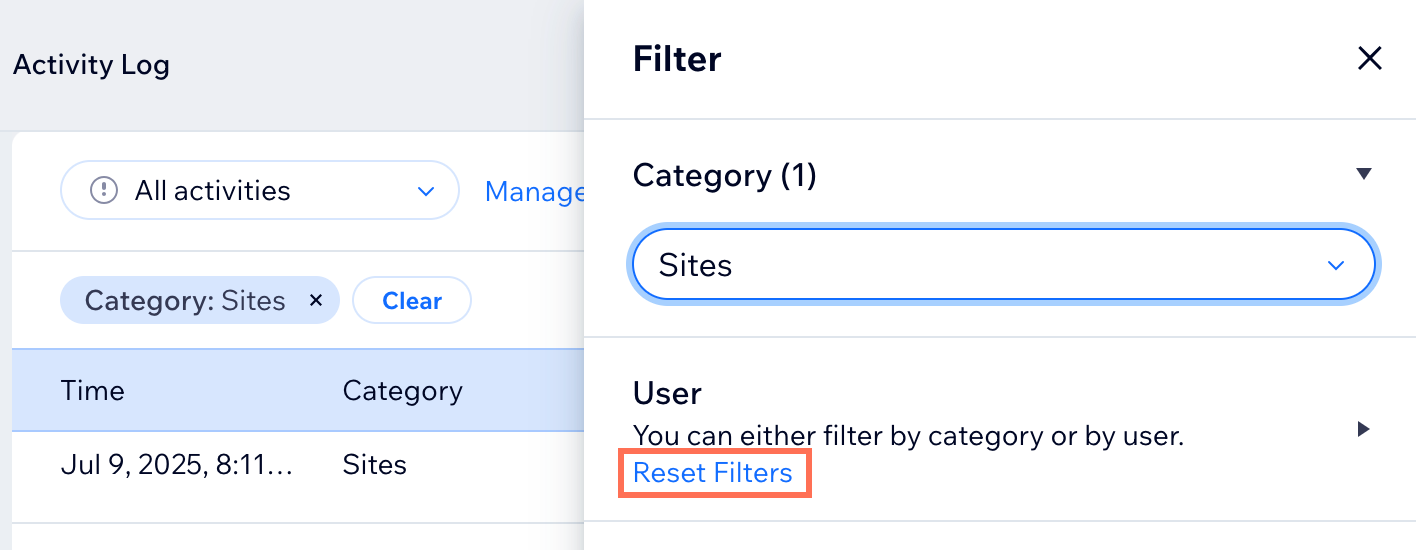
To change between Category and User filters, click
Reset Filters and start again.
Saving new views
You can manage and monitor the activities that matter most to you by saving them in a dedicated, reusable view. For example, if you want to track template creation dates or when specific employees make changes. You can save these filters in their own view for future use. They are personalized to you and accessible at any time.
To save a new view:
- Go to Activity Log in your enterprise dashboard.
- Click Filter.
- Select the relevant filter(s): Category, User, or Time.
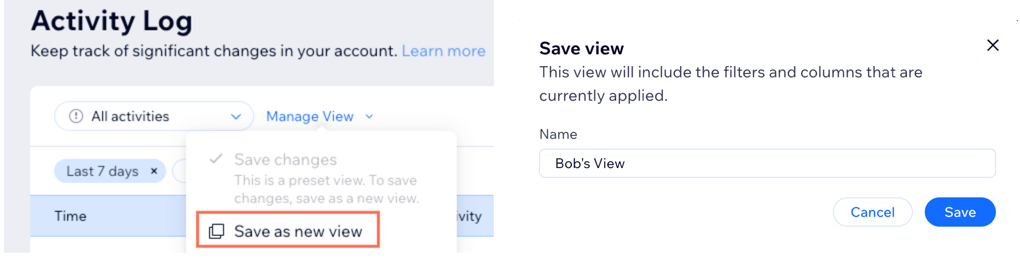
- Save this view:
- Click Manage View at the top left.
- Select Save as new view.
- Name the view and click Save.
Managing a saved view
Once you create a new view, you can rename it, set it as your default, or you can edit its filters.
Managing a view
- Go to Activity Log in your enterprise dashboard.
- Select your view from the All activities drop-down.
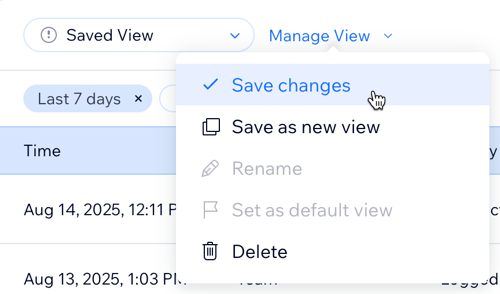
- Click Manage View and select an option:
- Save as new view: Save the filters you have selected in a new view.
- Rename: Edit the name of your current view.
- Set as default view: Make the view the first one you see every time you visit the activity log.
- Delete: Delete your view.
Tip:
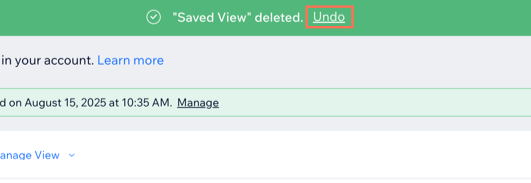
When you delete a view, a pop-up will appear at the top of your screen. Click
Undo to restore the deleted view.
Editing your view's filters
- Go to Activity Log in your enterprise dashboard.
- Select your view from the All activities drop-down.
- Click Filters and make any necessary changes.
- Click Manage View.
- Select Save changes.
Exporting your activity log
You can export your activity log with all your activity or export a filtered version of the data. It is easy to do and is essential for audits and regulations, security, or debugging and incident investigations.
Once exported, your data is downloaded as a CSV file.
To export your Activity Log:
- Go to Activity Log in your enterprise dashboard.
- Click the Export icon
on the top right.
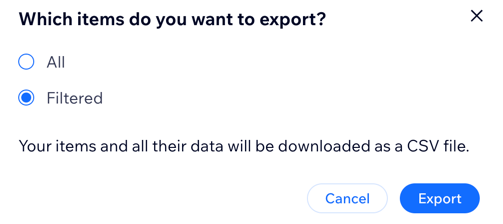
- Choose how you want to export your data:
- All data: Export all the items and their data.
- Filtered: Export only the items and their data after applying your filters.
Tip: This option only appears if you added filters to your view.
Sending your activity log data to a cloud provider in real time
Export your log data in real time, so your organization can store it for longer. Once connected to AWS or Azure, your activity log sends data every 5 minutes in JSON format. A new JSON file is created each day.
Note:
To connect your organization's activity log to AWS or Azure through the enterprise dashboard, you will need the following information:
AWS:
- Access key ID
- Secret access key
- Bucket name
Azure:
- Connection string
- Container name
Sending your activity log data to AWS in real time
- Go to Activity Log in your enterprise dashboard.
- Click More Actions on the top right.
- Click Connect to AWS.
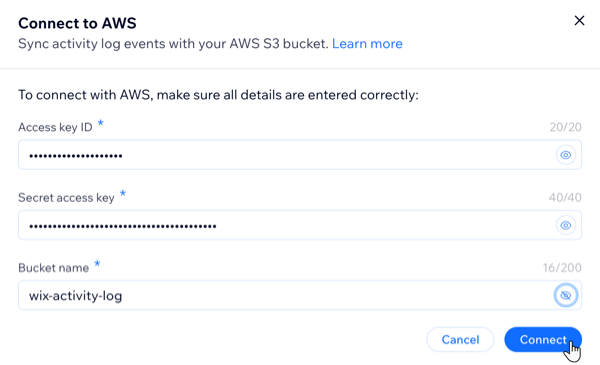
- Enter your access key ID, secret access key, and bucket name.
- Click Connect.
Sending your activity log data to Azure in real time
- Go to Activity Log in your enterprise dashboard.
- Click More Actions on the top right.
- Click Connect to Azure.
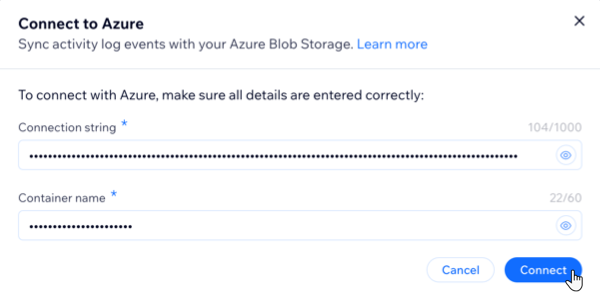
- Enter your connection string and container name.
- Click Connect.
Tip:
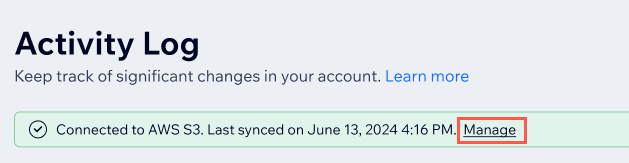
For both AWS and Azure you can update the relevant connection details by clicking
Manage in the banner at the top of the
Activity Lo
g tab in the enterprise dashboard and entering the new values in the pop-up.
FAQs
Click a question below to learn more about your activity log.
Who can access and manage my account's activity log?
Which events can I see in the activity log?
Which filters can be used together?
Can I create my own categories to filter?
Can I connect to both AWS and Azure at the same time?
How do I disconnect from AWS or Azure in the activity log?

