Enterprise Solution: Managing Your Team
6 min
In this article
- Adding teammates
- Managing your teammates' roles
- Creating custom roles for your team
- Editing your team profile
- FAQs
Effective team management makes it easy to collaborate across multiple sites. Add people to your Wix Studio for enterprise dashboard and assign them different roles, permissions and access levels.
As an account owner, you can choose which sites and site folders each of your teammates can access. When teammates log in to their enterprise account, they'll only see sites in which you've granted them access to.
Adding teammates
Invite people to join your team and assign them a role. Once a teammate accepts your invitation, they create an account to join your team.
Tell me more about roles
Note:
When signing up for a new account, your teammates must use an email that isn't currently used to log in to a Wix account.

To invite people to your team:
- Go to Team in your enterprise dashboard.
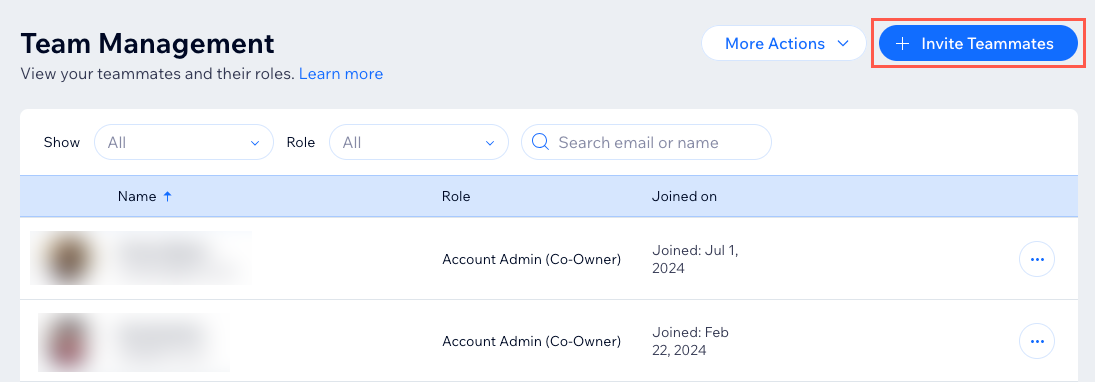
- Click + Invite Teammates at the top right.
- Enter the email address(es) of your teammate(s).
Note: To add multiple invitees, enter each email separated by a comma (,). - Select the role(s) you'd like to assign to your teammate(s):
Note: Click Create Custom Role at the bottom of the list to create a custom role. - Choose which sites and folders they can access:
- All sites and folders: The team member has unlimited access to your sites and folders in your Wix Studio for enterprise dashboard.
- Specific sites or folders: Select the checkboxes next to the relevant sites and folders you want to grant access to and click Select.
- Click Send Invites.
Tip:
You can resend an invite by clicking the More Actions icon  next to a teammate and then Resend Invite.
 next to a teammate and then Resend Invite.
 Managing your teammates' roles
Your teammates have different permissions based on their roles. Assign teammates to the roles you want them to be able to perform on some or all of the sites in your account.
Important:
Only account owners and account admin (co-owners) can edit your teammates' roles.
To change a teammate's role:
- Go to Team in your enterprise dashboard.
- Click the More Actions icon
 next to the relevant teammate and select Change Role.

- Select the role(s) you'd like to assign to your teammate.
- Choose which sites and folders they can access:
- All sites and folders: The team member has unlimited access to your sites and folders in your Wix Studio for enterprise dashboard.
- Specific sites or folders: Select the checkboxes next to the relevant sites and folders you want to grant access to and click Select.
- (Optional) Click + Add another role on different sites to customize a teammate's access to a different site and repeat the steps above.
- Click Save.
Creating custom roles for your team
Create custom roles to define exactly which actions your teammates can perform. Unlike default roles, custom roles allow you to fine-tune the list of actions teammates can perform for each role. You can also choose specific actions a teammate can perform within the enterprise dashboard.
To create a custom role:
- Go to Team in your enterprise dashboard.
- Click the More Actions drop-down at the top right and select Manage Roles.
- Click + Create New Role.
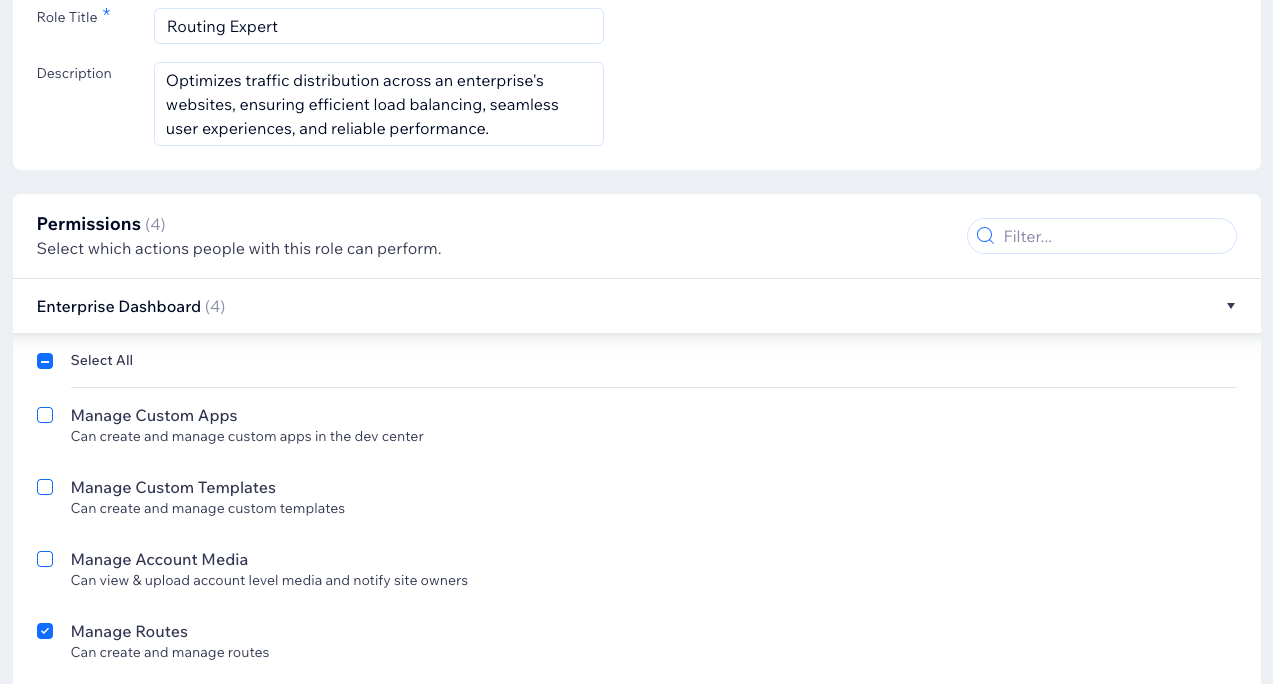
- Enter details for your custom role:
- Role Title: Enter a title for the role.
- Description: Add a description that outlines the new role.
- Click the relevant categories under Permissions and select the actions people with this role can perform.
Tip: Scroll to Enterprise Dashboard to choose which actions this role can perform within the Enterprise dashboard. - Click Save.

Editing your team profile
You can always edit your team's name and logo. Clients see your team's name and logo on their invoices, as well as emails they receive from your team.
To edit your team profile:
- Go to Team in your enterprise dashboard.
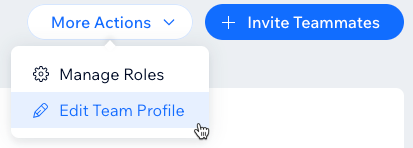
- Click the More Actions drop-down at the top right and select Edit Team Profile.

- Edit your profile:
- Team Name: Enter your team's name.
- Team Logo: Click + Upload Image to upload your logo.
Note: If you've already uploaded a logo, click the Replace icon to choose a new logo.
- Click Save to apply your changes.
FAQs
Click a question below to learn more about the enterprise solution.
How do I remove a teammate?
Are there specific roles or permissions for enterprise users?


