

Enterprise Solution: About Routing
7 min
In this article
- Understanding visitor routing
- Showing a Wix site
- Redirecting to an external URL
- Creating a route
- Understanding regional versions of a site
- Adding regional versions to your site
- FAQs
Important:
The routing feature is exclusively available to Wix Studio for enterprise customers.
With Wix Studio for enterprise, you can use the Routing tab in your enterprise dashboard to create a route to connect a domain you own to a Wix site, or external URL, even if your domain is managed outside of Wix. This ensures visitors reach the correct destination, prevents errors, and helps maintain SEO performance and traffic.
You can also use routing to add regional versions of a site, so visitors are more likely to see a localized version in search results based on their browser language. Additionally, you can enable geo redirects from your main site to a regional site based on the visitor’s location. This helps your company reach all its target audiences from a single source.
Understanding visitor routing
Visitor routing gives you full control over what happens when someone visits a URL you own. By creating routes, you can decide whether to display content from another site while keeping your URL the same, or redirect visitors to a completely different address. This helps you manage your brand, keep your site organized, and deliver a smooth visitor experience.
You can choose to:
- Show a different Wix site: Display content from another Wix site while keeping the original URL visible on your visitor's browser.
- Redirect to an external URL: Automatically send visitors to a different URL.
Showing a Wix site
This option (also called "URL masking") lets you show content from a different site, but keeps your chosen URL in the address bar. Visitors see the page as if it’s part of your site, without knowing the content is coming from somewhere else.
Use this option when you want to:
- Keep consistent branding: Show a landing page, blog, or any other Wix site, but keep your main domain visible in the browser (e.g. yourcompany.com/landingpage).
- Host micro-sites: Add special content, like events or promotions from other sites, but keep them under your main brand’s URL.
Redirecting to an external URL
Redirecting sends visitors to a new web address. The browser updates to show the new URL.
Use redirecting when you want to:
- Consolidate domains: Send traffic from extra domains (e.g. yourcompany.net or yourcompany.biz) to your main site (e.g. yourcompany.com).
- Update old pages: If you move or delete a page, forward visitors from the old URL to the new one to prevent "404 Not Found" errors.
- Run campaigns: Redirect a simple URL (e.g. yourcompany.com/sale) to a longer, more complex campaign URL for easier visitor access.
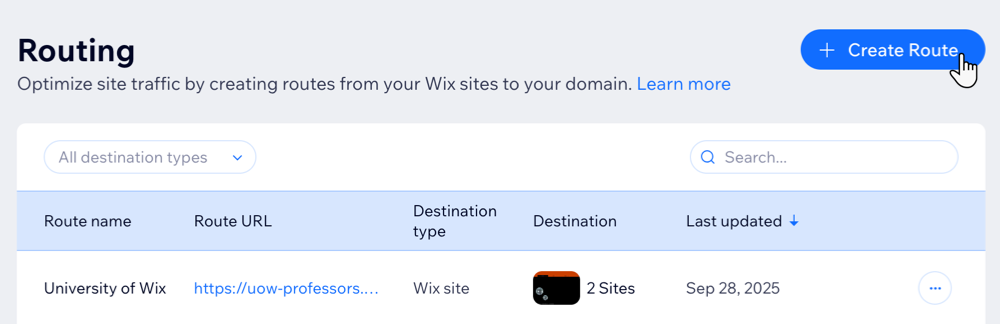
Creating a route
To get started, access the Routing tab in your enterprise dashboard to start creating new routes.
Note:
If you haven’t previously set up your Routing tab, go to Home in your enterprise dashboard, scroll down to the Get Help section and contact your Customer Success Manager to add the routing application to your account at no extra charge.
To create a route:
- Go to Routing in your enterprise dashboard.
- Click + Create Route at the top right.
- Enter a name for your route under Route name.
- Create the Source URL route:
- Base: Choose the base you want to use. The base means the main part of the URL your customers are familiar with (e.g. "https://yourcompanyname.com").
- Path: Choose a path that best suits the destination of the URL. For example, in "yourcompanyname.com/newproduct", the path would be ‘newproduct’.
Note: If you leave the Path field empty, your site visitors will be directed from the base URL. For example, if they go to yourcompanyname.com they will be redirected to the new destination.
- Under Destination, choose where the route (e.g. "yourcompanyname.com/newproduct") will lead your visitors to:
- Wix site: Show one of your Wix sites while keeping the same URL.
- External URL: Redirect visitors to an external URL.
- Click Create Route.

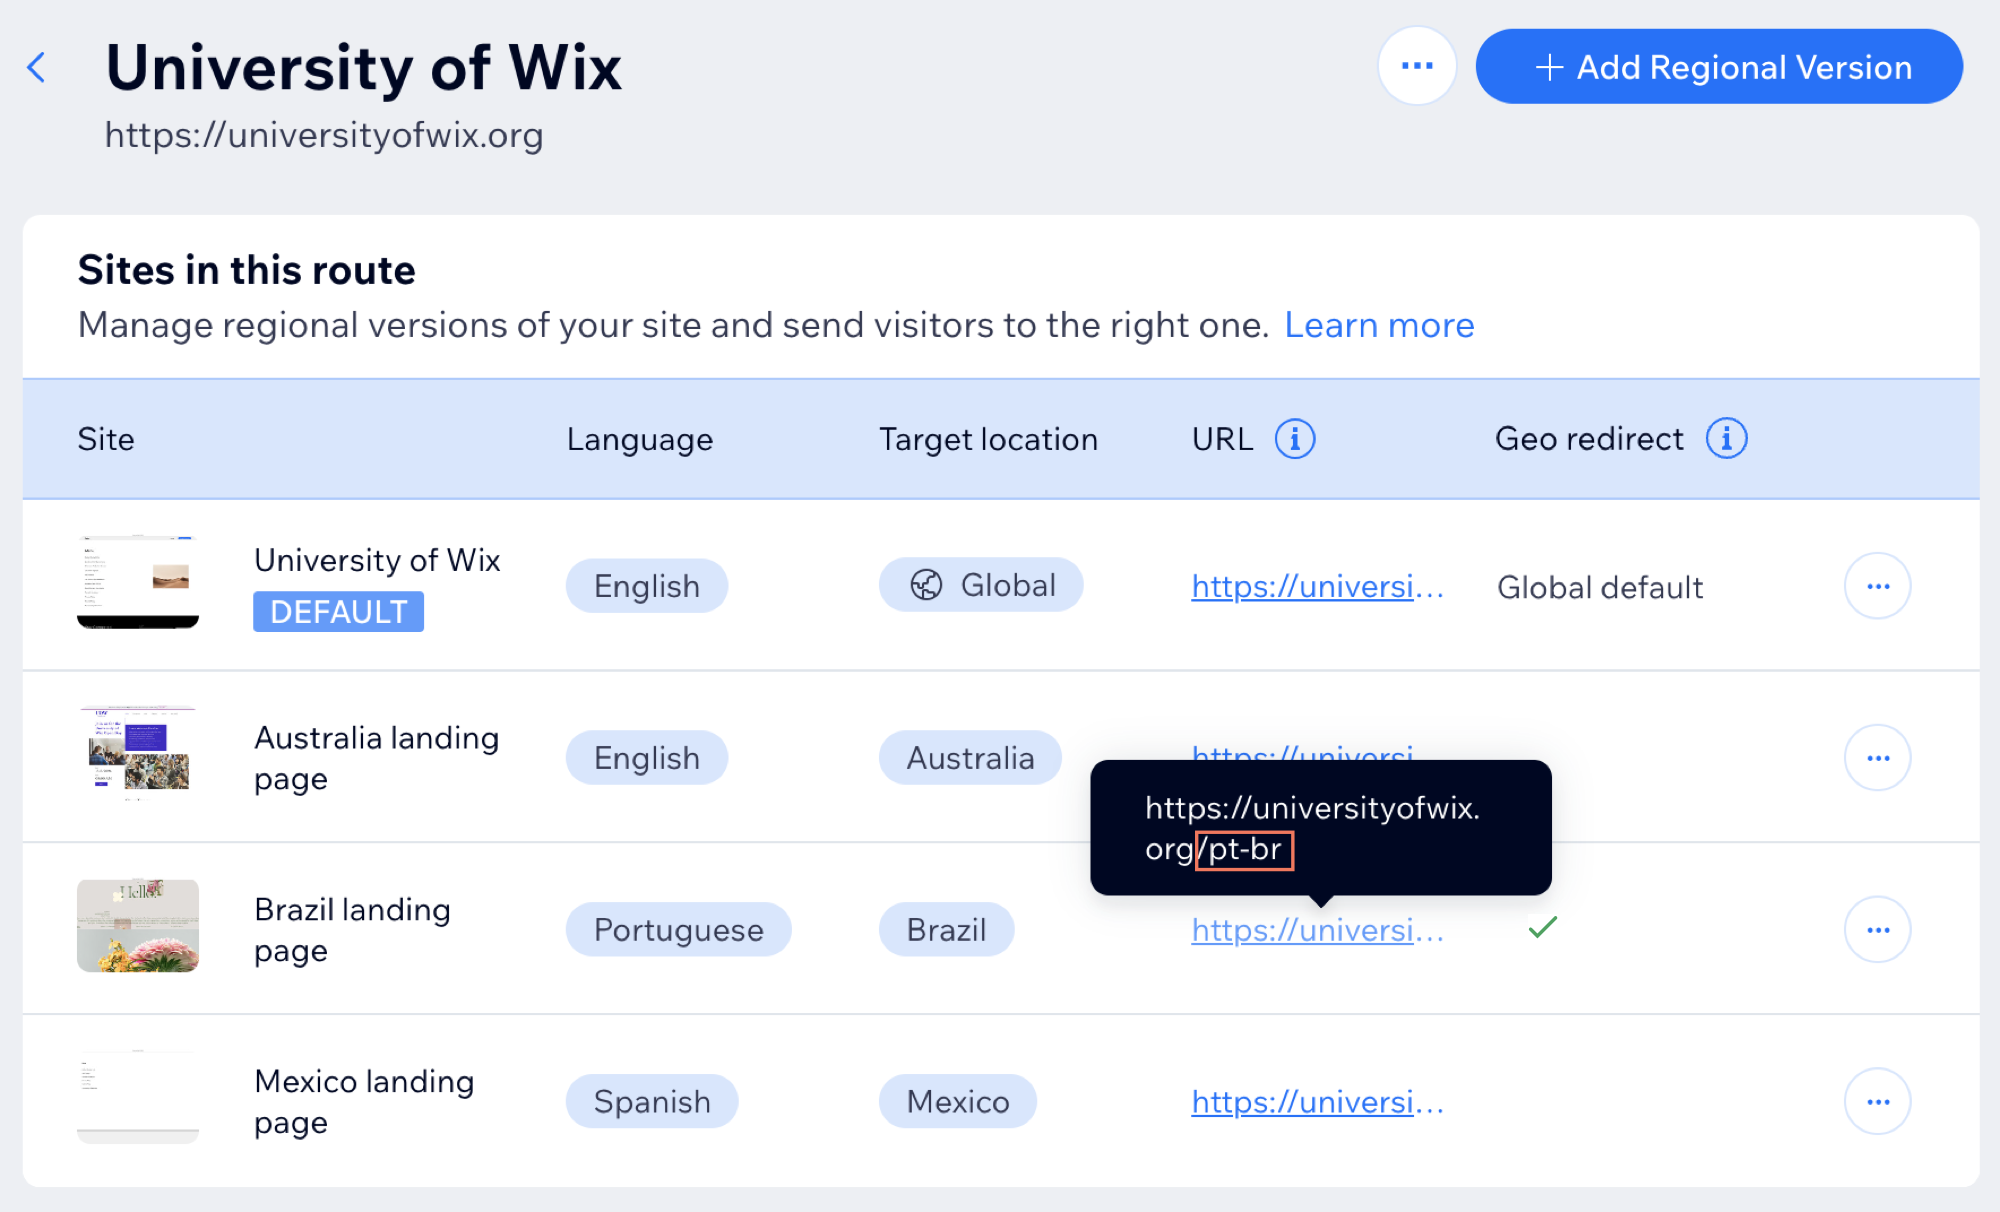
Understanding regional versions of a site
By adding regional versions of a site to a route, you can improve the chance that visitors see a regional site in their search results. For each regional version, hreflang tags reflecting the language and location information are added to the site URL, as well as to your website metadata, allowing search engines to provide results based on these factors. This process complies with search engine policies in cases where there are multiple localized versions of a site.

You can also enable a geo redirect from your default site (the destination site added when creating the route) to a specific regional site. This automatically takes visitors to content most relevant to them using the information you provided in the Target location section when adding that regional site. You can only use automatic geo redirect in one regional site per location.
Example:
- If you have regional site versions for Australia (Target location) + English (Language), Brazil (Target location) + Portuguese (Language), and Mexico (Target location) + Spanish (Language), visitors are more likely to see the site that matches both their location and language in their browser's search results.
- If a visitor’s browser location does not correspond to any of the target locations set for the regional versions of a site, they will see the site marked as 'Default' in their search results.
- If geo redirect is enabled for a regional version of a site with Brazil as its target location, any visitor located in Brazil who lands on your default site will be redirected to the Brazil regional site, regardless of their language settings.
- If geo redirect is not enabled for the Australia and Mexico sites, those visiting the default site will not be automatically redirected to the regional version of the site.
- Hreflang tags are added to all regional site URLs. For example, pt-br for Portuguese (Language) and Brazil (Target location).
- Unlike with regional versions of a site, no language tags are added to the default site's URL.
Adding regional versions to your site
Once you have created a route, you can add regional versions to it.
To add a regional version of a site to your route:
- Go to Routing in your enterprise dashboard.
- Hover over the relevant route and click Manage Regional Versions.
- Click + Add Regional Version.
- Select or search for a site and click Next.
Tip: Only published sites can be selected. - Select the Language from the drop-down.
- (Optional) Select the Target location from the drop-down.
Tip: If you do not select a target location, it will default to Global (all locations) and you will not be able to geo redirect visitors to this regional site. - (Optional) Enable the Automatically redirect visitors based on their location toggle to automatically redirect visitors who are located in the selected location to this regional site.

- Click Save.
Note:
When adding regional sites, your default website will display your chosen default language as its language. It will also display 'Global' as its target location, since this is the version all visitors will see if there is no regional version specifically for their location. Your default language can be customized by reaching out to your CSM.

FAQs
Click on a question to learn more about routing.
How do I edit or delete a route?
 .
.Can I enable geo redirect for more than one regional version of a site per country?
Does geo redirect work also from regional URLs to the default site?
Is geo redirect based on visitor language or location?
Can I change the regional URL after it’s created?
What if the visitor is not in any of the locations set for the regional sites?
What happens if two regional sites have the same language?
