

Wix Editor: Adjusting Your Gallery Settings
5 min
In this article
- Choosing if your gallery autoplays
- Adding navigation arrows to your gallery
- Changing how gallery images are resized
- Choosing what happens when clicking gallery images
- Applying transition effects
Each of our galleries offer a set of unique settings, which you can customize to make your gallery behave just as you need. The settings you see depend on the gallery design you choose.
Tweak how your gallery plays for visitors, how images are resized, how visitors browse through your images, add fun transition effects between images, and much more.
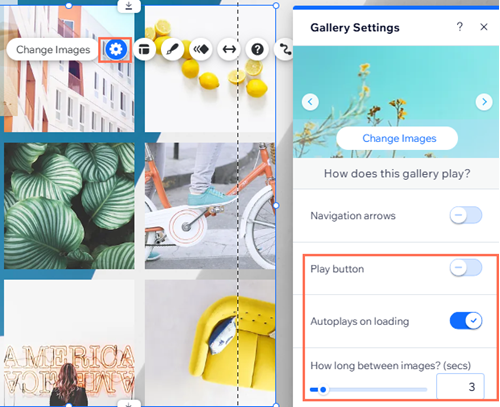
Choosing if your gallery autoplays
Customize how your gallery plays when visitors open your site. Choose to have the gallery autoplay with a set time (chosen by you) between images, or leave that up to your site visitor to decide.
To choose if your gallery autoplays:
- Go to your editor.
- Click the gallery.
- Click the Settings icon .
- Customize how your gallery plays using the available options:
- Autoplays on loading: Enable this toggle so your gallery starts playing automatically, as soon as the page loads. Control the time (in seconds) given to each image under How long between images?
- Play button: Enable this toggle to give your visitors control over when the gallery plays.
 .
.
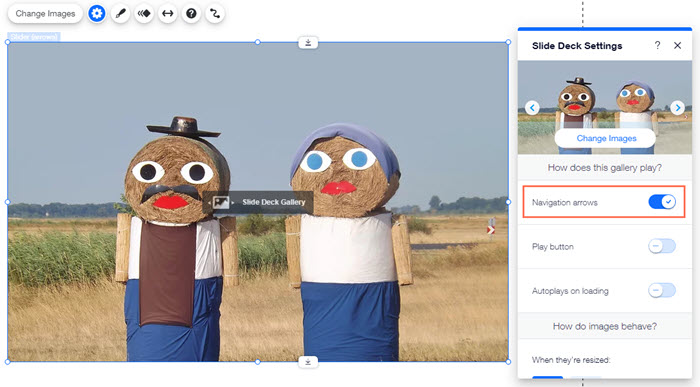
Adding navigation arrows to your gallery
Allow visitors to browse through your gallery images at their own pace by adding navigation arrows. Navigation arrows are available in the Grid (Portrait), Slider (Arrows), and Slider (Postcard) galleries.
To add navigation arrows to your gallery:
- Go to your editor.
- Click the gallery.
- Click the Settings icon .
- Enable the Navigation arrows toggle.
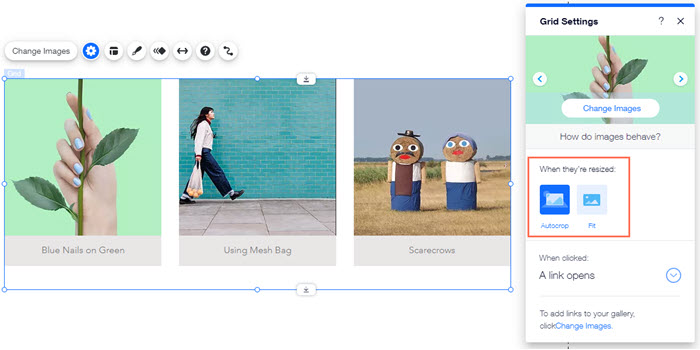
Changing how gallery images are resized
Choose how want your images to display within the frame of the gallery. This option is available for all Slider and Freestyle galleries.
To change how images are resized:
- Go to your editor.
- Click the gallery.
- Click the Settings icon .
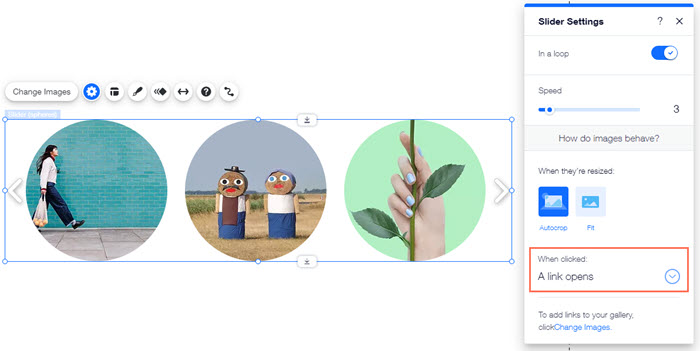
- Select an option under When they're resized:
- Autocrop: Crops (cuts) the images to fill the entire gallery frame.
- Fit: Displays whole images in the gallery.
Tip:
You can crop your images further if resizing is not enough.
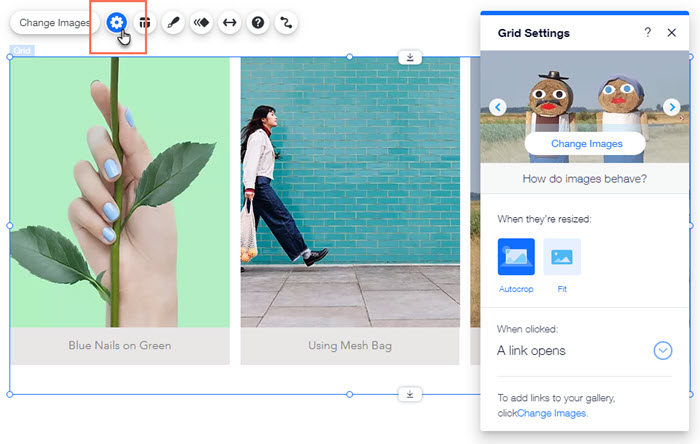
Choosing what happens when clicking gallery images
Make your gallery as interactive as you want. Link images to another page on your site or even an external URL, make your images open in a larger pop-up window and allow visitors to view all the fine details of your image, or make images non-clickable. This feature is available in all galleries.
To choose what happens when an image is clicked:
- Go to your editor.
- Click the gallery.
- Click the Settings icon .
- Click the drop-down menu under When clicked: and select an option:
- Nothing happens: The images are not clickable, nothing happens when they are clicked.
- They open in a popup: The images open in a large pop-up window.
- A link opens: The images are linked to another place. They can be linked to a page, position or anchor on your site, an external URL, a document or an email address.
Applying transition effects
Add a cool visual effect to your images when they load. This creates a smooth flow from one gallery image to the next. For example, you can make images fade in and out of view. Transition effects are available in Slider (Arrows), Slider (Postcard), Grid (Portrait), and Animated Slide galleries.
To apply transition effects:
- Go to your editor.
- Click the gallery.
- Click the Settings icon .
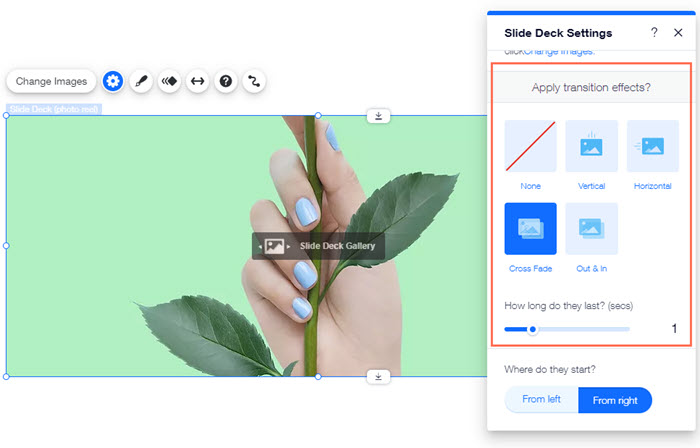
- Select a transition under Apply transitions effects?:
- None: No transition.
- Cross Fade: Images fade into view.
- Shrink: Images shrink out of view.
- Horizontal: Images glide along a horizontal axis.
- Vertical: Images glide along a vertical axis.
- Random: Image transitions change randomly.
- Out & In: Image fades out and new image fades in.
- Drag the slider under How long do they last? to set the time between transitions.
Using an Animated Slide gallery?
The Animated Slide gallery offers cool transition effects specific to this gallery design:
- Fade: Images fade in and out of view.
- Zoom: Images shrink out of view.
- Pop above: Images slide in from the top left of the slider.
- Roll above: Images roll in from the top of the slider.
- Pop right: Images slide in from the right side of the slider.
- Pop left: Images slide in from the left side of the slider.
- Random: Image transitions are random.
