Add a Google Map element to your site so that visitors can get a better visual of your location. You can pin one or multiple locations, choose from many color themes and customize the settings to your liking.
Adding Google Maps to your site
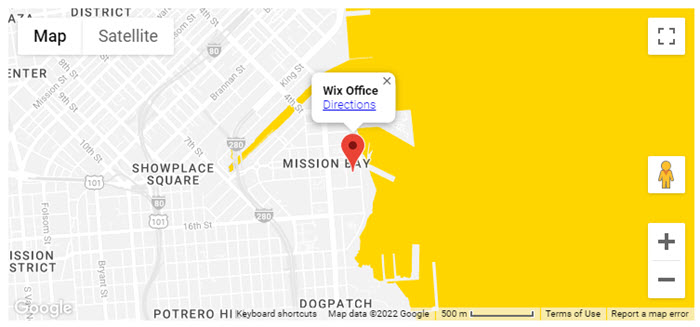
Add a Google Map to your site to allow your site visitors to find your location.
To add Google Maps:
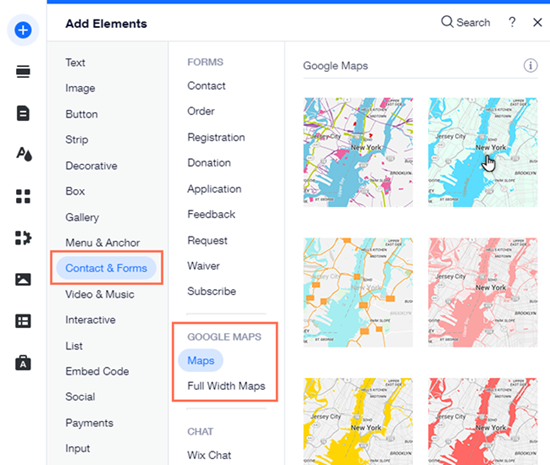
- Click Add Elements
 on the left side of the editor.
 - Click Contact & Forms.
- Click Maps or Full Width Maps.
- Click a map or drag it to the relevant location on your page.
- Click Manage Locations.
- Choose an how many locations you want to add to the map:
- Click One.
- Enter the location details:
- Address: Type the address.
- Title: Add a title to the location pin on the map to let users know what its called.
- Description: Add a short description to describe the location.
- Link: Add a link to redirect your users to your company's website or link of your choice. It is not possible to link to a lightbox, anchor or the top/bottom of the page.
- Link text: Add a title to your link to let users know what to expect when clicking.
- Click Multiple.
- Edit the template location to make it your first location:
- Hover over the default (Wix Office) location and click the More Actions icon
 .
. - Click Edit.
- Enter your first location's details:
- Address: Type the address.
- Title: Add a title to the location on the map to let users know what its called.
- Description: Add a short description to describe the location.
- Link: Add a link to redirect your users to your company's website or link of your choice. It is not possible to link to a lightbox, anchor or the top/bottom of the page.
- Link text: Add a title to your link to let users know what to expect when clicking.
- Click the Back icon
 at the top left.
 - Add another location:
- Click Add Location.
- Enter the location details.
- Click the Back icon at the top left.
- Repeat steps a-b for each location you want to add to your map.
Tip:
Click the More Actions icon
next to a location to edit, duplicate, or delete it.
Customizing your Google Map settings
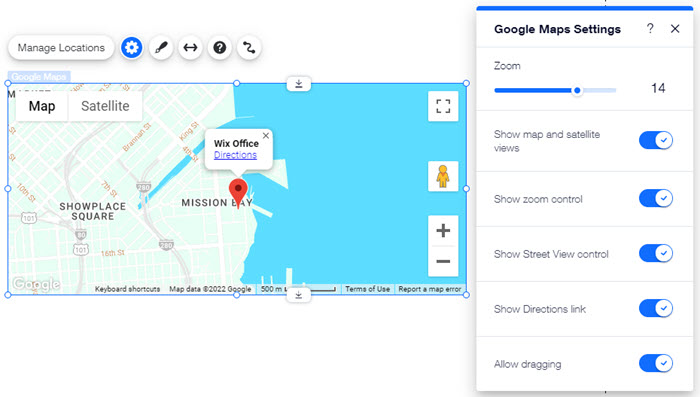
Change the views, zoom and controls on your Google Map so that it behaves just as you want.
To change the settings of your map:
- Click the Google Map in your editor.
- Click the Settings icon
 .
. - Customize the settings. Click the settings below to learn more:
Choose the zoom of your map by dragging the slider. You may want to focus your map directly on your business location, or show where your business is located in relation to nearby cities.
Note: Your site visitors can also change the zoom using the map controls (see Show Zoom Control setting below).
Show map and satellite views
This setting lets your visitors switch between the map and satellite views of your map.
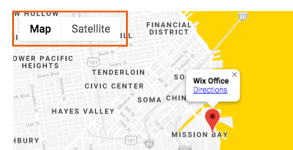
- Enabled: Visitors can switch between the map and satellite views.
- Disabled: Visitors cannot switch between the map and satellite views.
This setting allows your visitors to zoom in and out of your map.
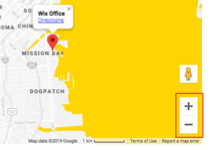
- Enabled: Visitors can change the zoom on the map using the controls.
- Disabled: Visitors cannot change the zoom on the map using the controls.
Note: You can also change the default zoom of your map (see Zoom setting above).
This setting show or hides the Google Street View tool.
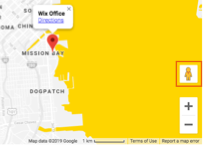
- Enabled: Visitors can use Google Street View on your map.
- Disabled: Visitors cannot use Google Street View on your map.
This setting shows or hides the link to Google's directions service.
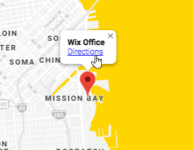
- Enabled: Visitors can click Directions to find their way to your location.
- Disabled: Visitors cannot use Google's directions service directly from your map.
This setting allows your visitors to move around your map by clicking and dragging with their mouse.
- Enabled: Visitors can click and drag your map.
- Disabled: Visitors cannot click and drag your map.
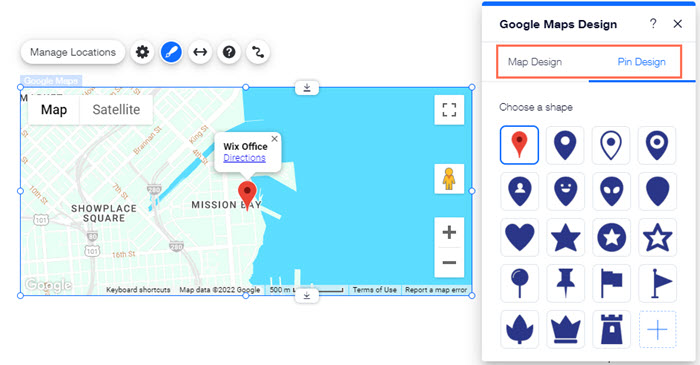
Choosing your Google Map design and pin
Wix offers many color themes for your Google Map, so that your map blends in perfectly with your site's design. You can also change the Pin's default shape to something that fits your style – including any image from the Media Manager.
To change the design of Google Maps:
- Click the map in the editor.
- Click the Design icon
 .
. - Select a map design.
- Click the Pin Design tab and do one of the following:
- Choose a preset pin: Select a shape for the pin. When available, you can also change its color by clicking the box under Choose a color.
- Upload your own pin: Click the Add icon
 to upload your file.
FAQs
Click a question below to learn more about Google Maps.
My Google Maps is showing an incorrect address. How can I fix this?
If your Google Map does not show the correct address, we recommend pasting the coordinates of your location instead of the address.
To find a location's coordinates and add them to your Google Maps:
- Go to Google Maps.
- Paste the address.
- Right-click the pinned location on the map.
- Click What's here?
- Copy the coordinates that appear under the search box.
- Click the Google Map in the editor.
- Click Manage Locations.
- Do one of the following:
- If you have one location on your map: Type the coordinates you copied in the Address field.
- If you have multiple locations on your map:
- Click the More Actions icon on the relevant address.
- Click Edit.
- Type the coordinates you copied in the Address field.
My Google Maps looks different in Preview mode in comparison to the live version of my site. Why?
The Preview mode of your site may not show the up-to-date version of your Google Maps. If the preview mode looks different to the live site, please click Publish when you make a change to the Google Map.