

Wix Editor: Adding and Customizing Text Masks
4 min
In this article
- Adding a text mask element
- Changing the text on a text mask
- Resizing a text mask element
- Designing a text mask element
Text masks are a great tool for short pieces of text that should grab your visitors' attention. They offer the ability to display an image, video or gradient inside so that your text really stands out on the page.

Adding a text mask element
Let's start by adding a text mask element to your site.
Best practice:
We recommend adding up to 10 text masks per page, to ensure the best site performance on mobile.
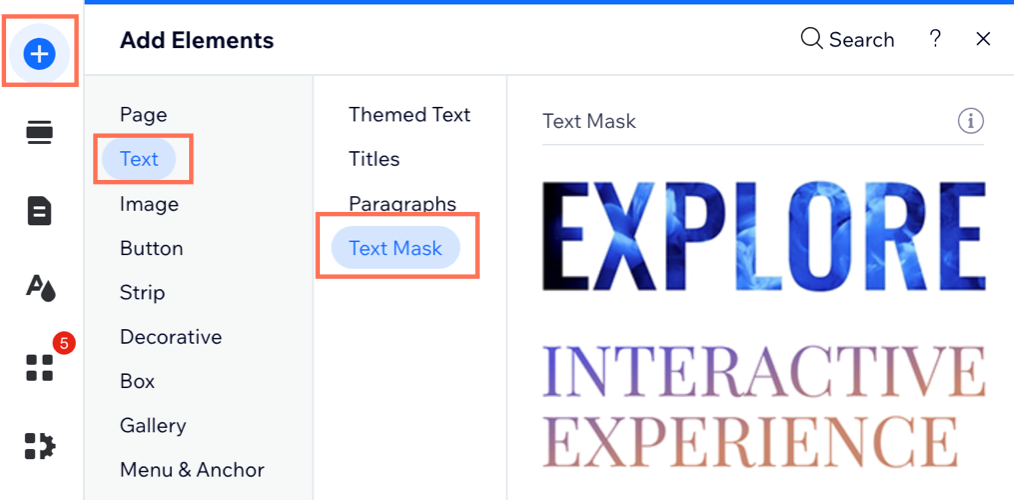
To add a text mask element:
- Open the relevant page in your Editor.
- Click Add Elements
.
- Click Text.
- Click Text Mask.
- Drag a text mask design you like onto your page.
Tip: Some of our designs include a video background. Hover over a design to see it in action.
Changing the text on a text mask
Once you've added your text mask element, you can start to customize it. First, let's change the text.
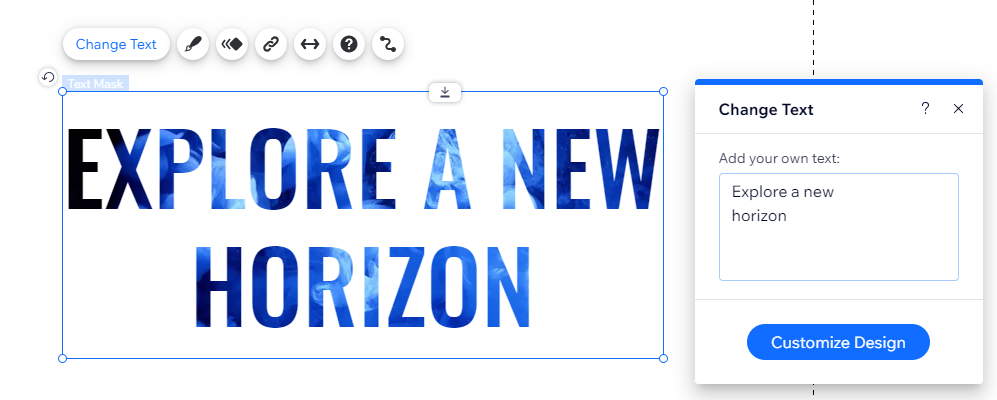
To change the text:
- Click the text mask element in your Editor.
- Click Change Text.
- Enter your text under Add your own text.
Note: The text saves automatically.
Resizing a text mask element
Next, resize the text mask element so that it fits perfectly on your page.
To resize a text mask:
- Click the element in your Editor.
- Drag the handles around the element to make it bigger or smaller.

Designing a text mask element
Finally, add some flare to your text mask, by changing the design.
To design a text mask:
- Click the text mask element in your editor.
- Click the Design icon
 .
. - Choose how you want to design your text mask:
Customize the fill
 .
. at the top.
Format the text
 .
.Define the shadow
