

Wix Bookings: Customizing Your Thank You Page
5 min
In this article
- Customizing the Thank You page element
- FAQs
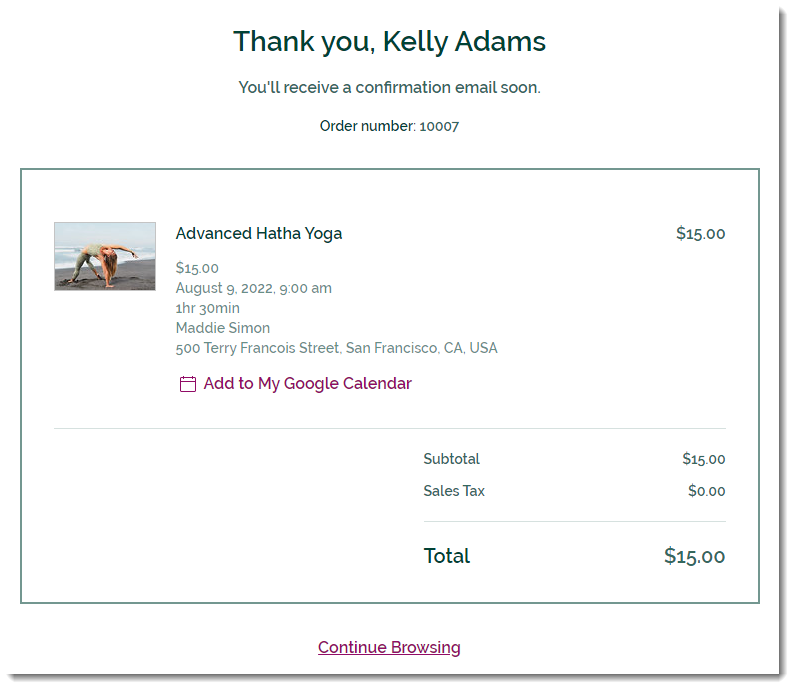
The Thank You page is the page customers are directed to after they complete a purchase. It includes a thank you message and your client's order number, the service booked, the price, and more.
Customizing the Thank You page element
You can personalize your Thank You page to match your site's look and brand. Choose which elements to display on this page, edit the text and design the page to your liking.

Wix Editor
Studio Editor
Wix Harmony Editor
- Go to your editor.
- Go to your Thank You page:
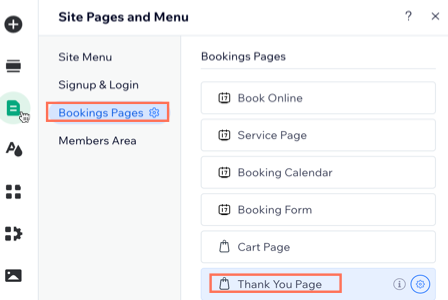
- Click Pages & Menu
 on the left side of the editor.
 - Click Bookings Pages.
Note: If you also have Wix Stores, access the Thank You page by clicking Cart & Thank You. - Click the Thank You page.
- Click Pages & Menu
- Click the thank you page element on your page.
- Click Settings.
- Set up the Thank You page using these options:
- Settings: Deselect the checkboxes next to any elements you don't want to display.
- Design: Customize the Thank You page background and borders, as well as the text fonts and colors.
- Text: Edit the text that appears on the Thank You page:
- General Text: Edit the title, subtitle, and various labels.
- Order with Subscription: Edit the title, subtitle, and subscription label that appear when customers purchase a subscription.
- Link: Edit the Continue Browsing link text and choose where the link takes visitors.
FAQs
Click below to learn more about your Thank You page.
What happens if my customer pays with Express Checkout (e.g. PayPal or Apple Pay)?
Can I remove information from my Thank You page?
Can I customize the layout of my Thank You page?
Can I edit all the text on my Thank You page?
Can I remove the email confirmation message from my Thank You page?
