

Wix Bookings: Changing the Contact and Location Info on the Service Page
3 min
In this article
- Editing your phone number, email and physical addresses
- Changing the location of a specific service
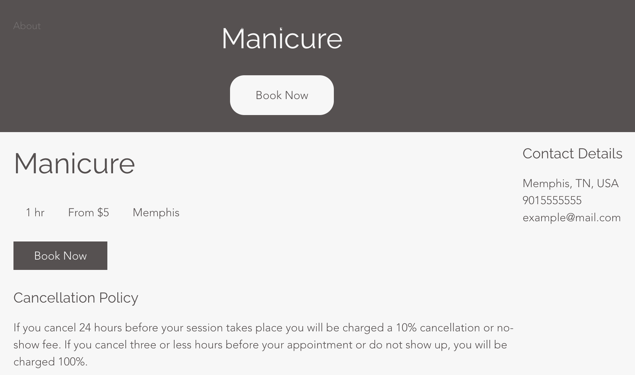
Keep your service page current so clients always see the most updated details when booking. You can update your phone number, email address, and business location for your business. You can also set a unique location for individual services if needed. Your service page displays your services and contact info, making it easy for clients to contact you and book appointments.
Tip:
Learn how to customize your service page and choose which details to display.
Editing your phone number, email and physical addresses
The phone number, email and physical address that appear on the Service page are the ones you enter in your site settings in your dashboard. Keeping these details up to date ensures you never miss a booking or business inquiry.
Note:
If you have more than one location, update the contact details for each of them.
To update your contact details and address:
- Go to Business Info in your site's dashboard.
- (If you have multiple locations) Click the relevant location under Location and contact info.
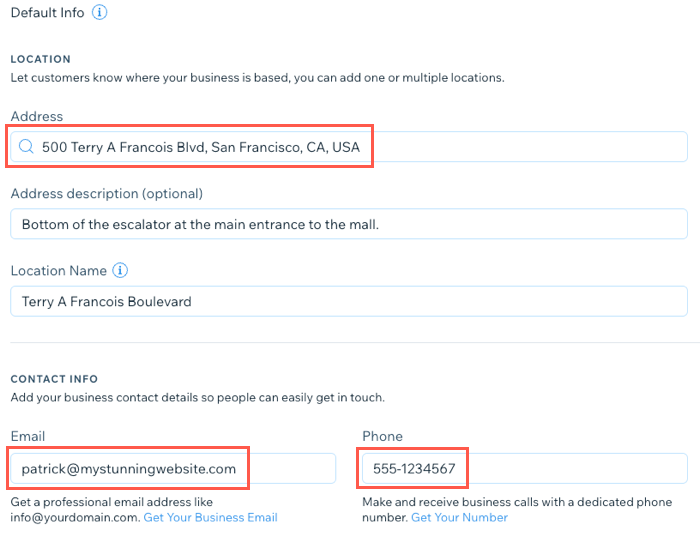
- Update any of the following contact details:
- Address: Enter your physical address under Location.
- Location name: (Multiple locations only) Enter the name of the location.
- Description: Enter a description, if needed (e.g. Next to the office supply store).
- Email address: Enter a new email address under Email.
- Phone number: Enter a new phone number under Phone.
- Fax: Enter a new fax number under Fax.
- Business hours: Click to update your Business Hours if needed. Learn more about your default business hours.
- Timezone: Select the relevant timezone for your business from the Timezone drop-down.
Tip:
The email you enter receives all notifications when a clients book a service or make changes.
Changing the location of a specific service
Sometimes you may offer services that don't take place at your business location. For example, a fitness center that hosts a running event on the beach. In this case, you can enter a separate location for any of your services.
To update the location of a service:
- Go to Booking Services in your site's dashboard.
- Click to select the relevant service.
- Scroll down to Location under Service Details.
- Click Edit and choose where this service is taking place:
- Business location: Select this option to display any of your saved addresses.
- Custom Location: Enter a location different to your business address (e.g. SF Ferry Building).
- Client's Place: Select this option to show "Client's Place" as the location.
Note: This option is only available for appointments.
- (If this service has existing bookings) Click Next and choose where you want these existing sessions to take place:
- Keep the current location: Existing sessions take place where clients originally booked them, regardless of the change you just made.
- Move to a different location: Move existing sessions to the new location you just added. Select the Notify participants with an email checkbox to notify clients of this change of location.
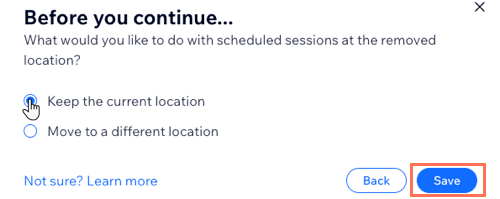
- Click Save.
- Click Save at the top of the page.
