

Wix Bookings: Adding and Setting Up a Book Button
3 min
You can add a button to your site, then customize it to say 'Book Now' and link it to your calendar, service page, or any other relevant location on your site.

To add and set up a button as a book button:
Add a button element and customize it to act as a quick book button. Follow the instructions below to connect your button for seamless booking so visitors can make reservations quickly.
Wix Editor
Studio Editor
Wix Harmony Editor
- Go to your editor.
- Click Add Elements
 on the left side of your editor.
 - Click Buttons.
- Scroll through the designs and click Themed Buttons or Text & Icon Buttons.
- Click Settings to customize your button:
- (Optional) Click the drop-down to select what the button should display: Text only or Text and icon.
- Text: Add text that appears on the button. For example, Book Now, Schedule Session, or something similar.
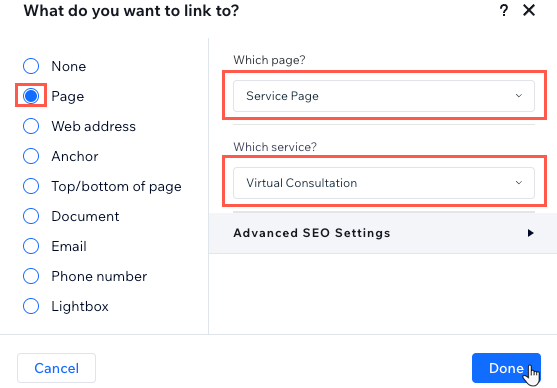
- Links to: Customize the button to direct visitors to your services:
- Service List: Send clients to your full list of services.
- Specific Service Page: Link clients to a specific service to learn more.
- Booking Calendar: Link clients directly to a calendar where they can book an available time.
To meet accessibility standards, the standalone book button widget is no longer available.
