

Wix Blog: Adding an ads.txt File to Your Wix Blog
2 min
Control who can use the digital ad space on your blog by adding an ads.txt file (Authorized Digital Sellers file).
You can manually create an ads.txt file by compiling a list of sellers and publisher IDs separated by commas, or by retrieving personalized ads.txt files from third parties such as Outbrain or Google Adsense.
Tip:
Click here to learn more about the ads.txt project
Adding an ads.txt File
- Go to the Marketing Integrations tab in your dashboard.
- Scroll down to Ads.txt and click Connect.
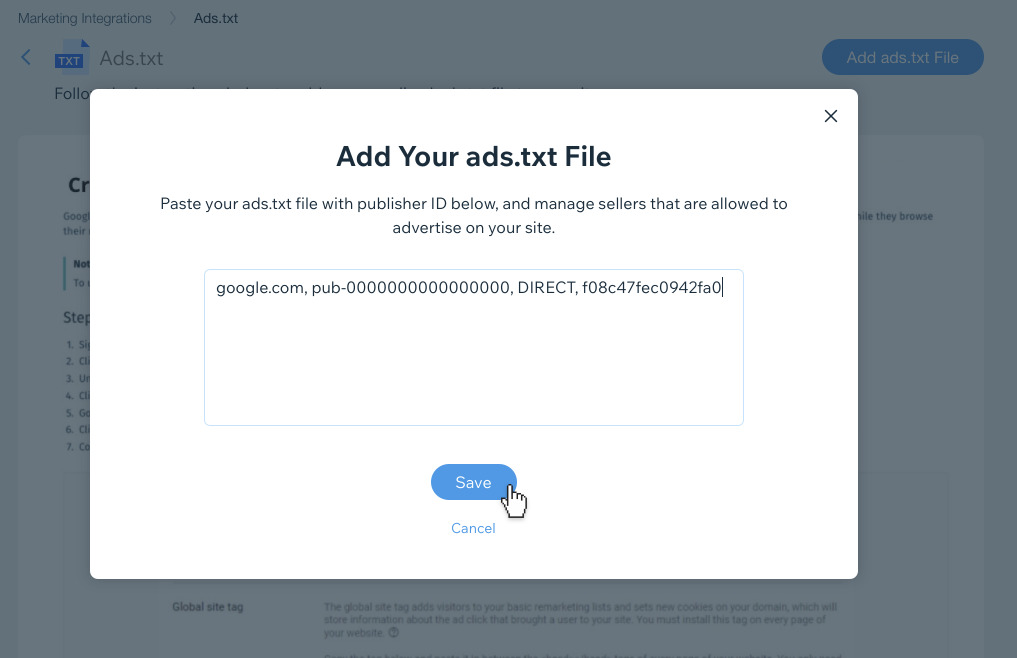
- Click Add ads.txt File near the top of the page.
- Paste your list of sellers and publisher IDs.
- Click Save.
Tip:
You can view the ads.txt file by visiting your site and adding "/ads.txt" to the end of the URL. For example: https://www.mystunningwebsite.com/ads.txt
Editing an ads.txt File
- Click the Show More
 button near the top of the page.
 - Click Edit.
- When you've finished editing your ads.txt file, click Save.
Deleting an ads.txt File
- Click the Show More
 button near the top of the page.
 - Click Delete.
- Click Delete to confirm deletion.
