

Verifying Your Domain with Pinterest
2 min
In this article
- Step 1 | Get your meta tag from Pinterest
- Step 2 | Add the meta tag to your Wix Site
- Step 3 | Complete site verification on Pinterest
Verify your domain with Pinterest by adding a meta tag to your Wix site. When you verify your domain and confirm ownership of your site, Pinterest shows your full website URL on your Pinterest profile. Pinterest users can also learn more about your business.
Step 1 | Get your meta tag from Pinterest
First, you need to sign in to your Pinterest account and get your site verification meta tag.
To get your meta tag:
- Go to the Pinterest home page.
- Sign in to your Pinterest account.
- Click the expand icon beside your profile picture in the top right of the page.
- Select Settings.
- Click Claimed accounts.
- Click Claim beside Websites.
- Click Add HTML Tag to copy the HTML code in the text box.
Note: The code's format should be: <meta name="p:domain_verify" content="your Pinterest Code here"/> - Leave the tab with your Pinterest account open.
Step 2 | Add the meta tag to your Wix Site
Next, you need to add your Pinterest meta tag to your site in the site verification section of your site's SEO & GEO dashboard.
To add your meta tag:
- In a new tab, go to SEO & GEO in your site's dashboard.
- Scroll down to Tools and settings.
- Select Site Verification.
- Click Pinterest.
- Enter the meta tag under Site verification tag.
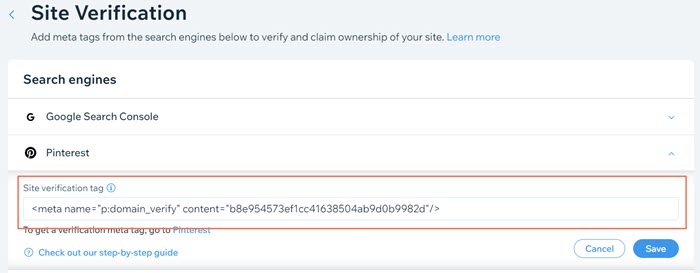
- Click Save.
Step 3 | Complete site verification on Pinterest
The final step is to confirm your site's verification in your Pinterest account.
- Go back to the tab with your Pinterest account.
- Click Continue.
- Enter your website's URL in the field.
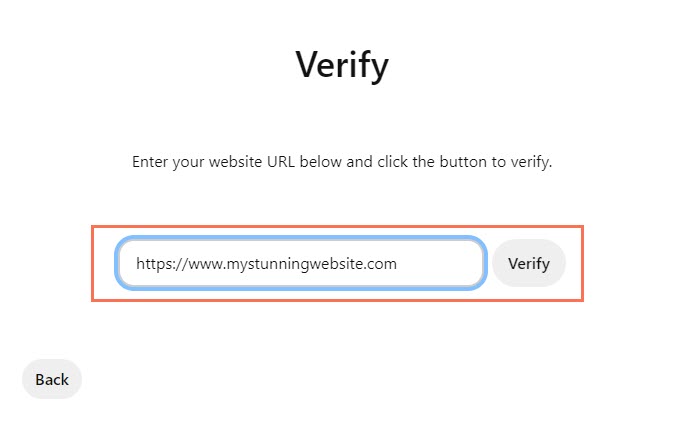
- Click Verify.
- Click Done.
