Test Sites: Creating a Test Site
2 min
In this article
- Step 1 | Create your test site
- Step 2 | Set the exposure for your test site
Publish a version of your site (a test site) to a percentage of your site visitors. This is a great way to test new features on your site or get feedback on changes you have made before publishing to 100% of visitors.
Step 1 | Create your test site
Go to your site's editor to create a test site based on your most recent edits.
Note:
You can only create a test site after your site has been published at least once.
Wix Editor
Studio Editor
- Go to your editor.
- Click Site on the top bar.
- Click Deploy Test Site.
Note: Your test site opens in a new window.

Step 2 | Set the exposure for your test site
Choose what percentage of your site's audience should see the test site.
To set the exposure:
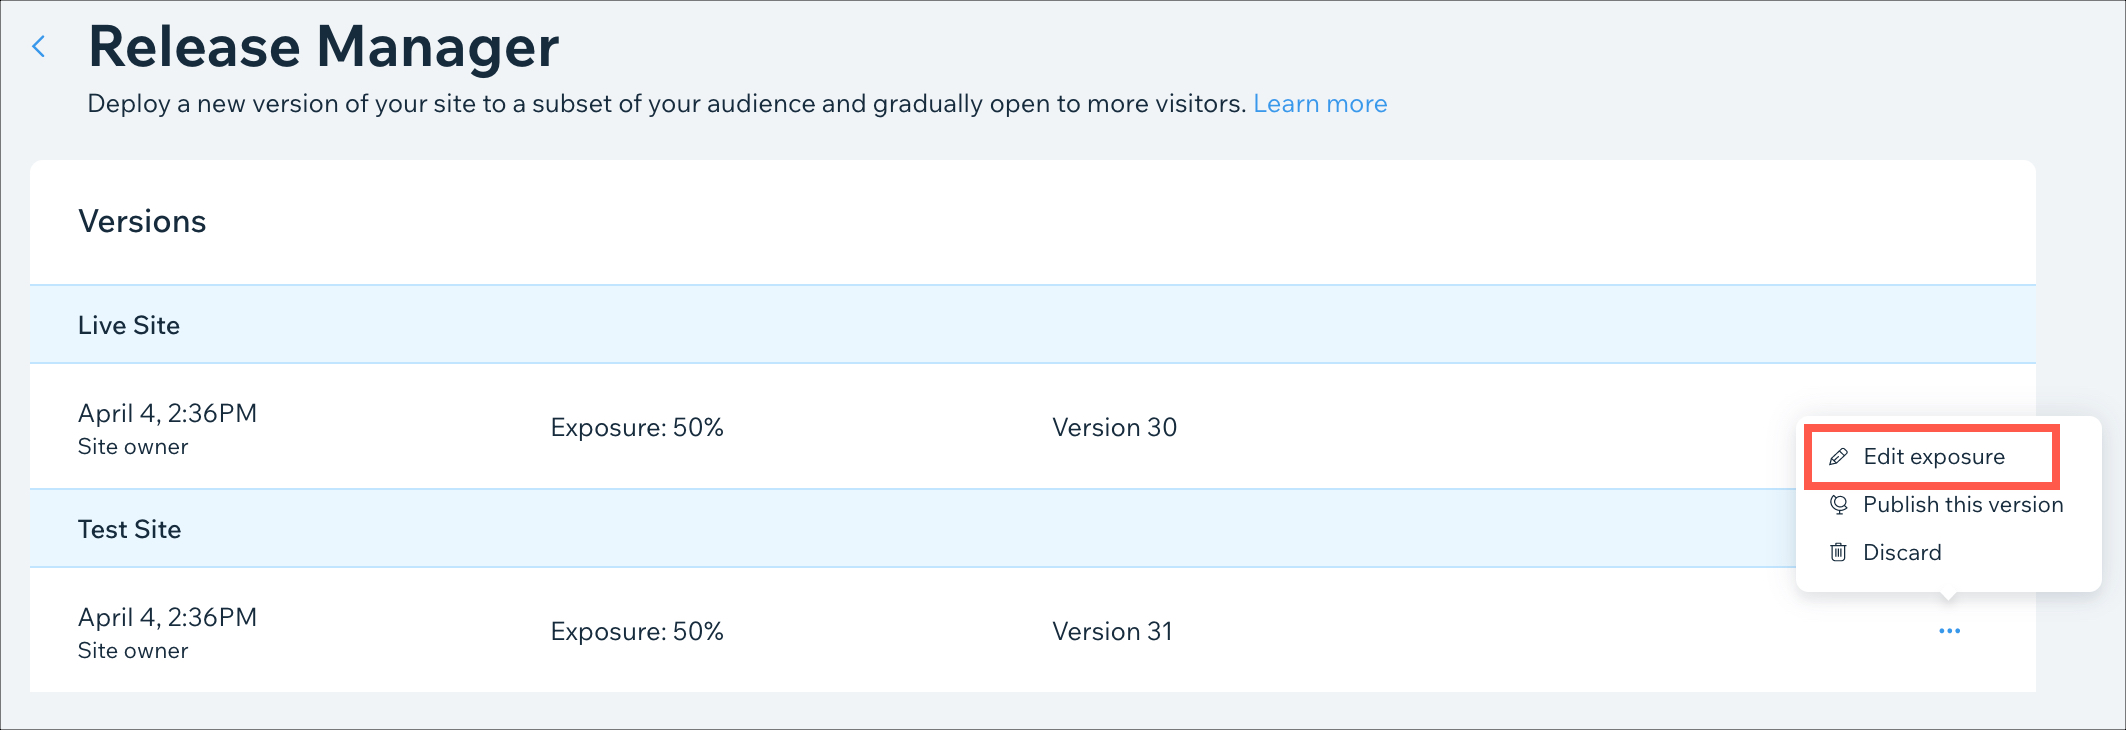
- Go to the Release Manager in your site's dashboard.
- Click the Show More icon
 next to your test site.
 - Click Edit exposure.
- Enter the exposure percentage as a value between 0-100.
- Click Save.