Studio Editor: Using a Container to Create a Vertical Section
5 min
In this article
- Step 1 | Add a container and apply a grid
- Step 2 | Attach the container to the header
- Step 3 | Align the container and add padding to the page
- Step 4 | Customize the container
Vertical sections are not available in the Studio Editor. However, you can use a pinned container to achieve a similar effect, making it look just like a sidebar section.

Step 1 | Add a container and apply a grid
First, add a container and set its height to 100vh so it takes up the entire screen's height. Then, apply an advanced CSS grid with the row's size set to Auto.
To add a container and apply a grid:
- Add a container from the Add Elements panel
 in the Studio Editor.
 - Change the container's height to 100vh:
- Click the Open Inspector arrow
 at the top right of the editor.
 - Click the More Actions icon
 next to Size.
 - Enable the Advanced Sizing toggle.
- Set the Height to 100vh.
Tip: Click the current unit of measure (e.g. %, px) to change it.
- Click the Open Inspector arrow
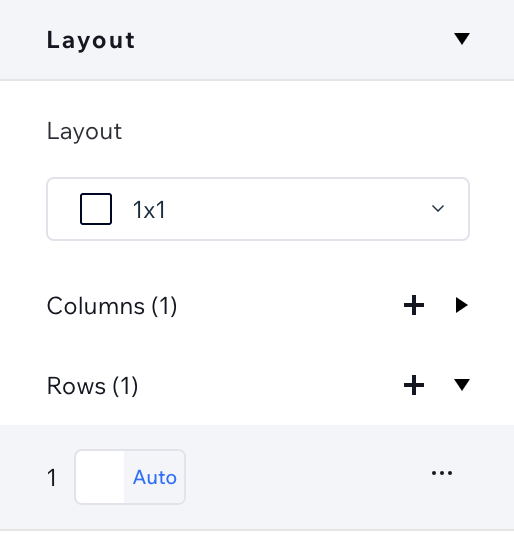
- Apply a CSS grid on the container:
- (In the Inspector) Scroll down to Layout.
- Click Apply next to Advanced CSS Grid.
- Click Rows.
- Click the current size measurement to change it to Auto.
Step 2 | Attach the container to the header
Drag the container onto the current page's header to attach it. This resizes the header according to the container, but we'll change the height back in the Inspector panel.
Then, pin the header so the container stays visible as visitors scroll up and down the page.
To attach the container to the header:
- Drag the container to attach it to the page's header.
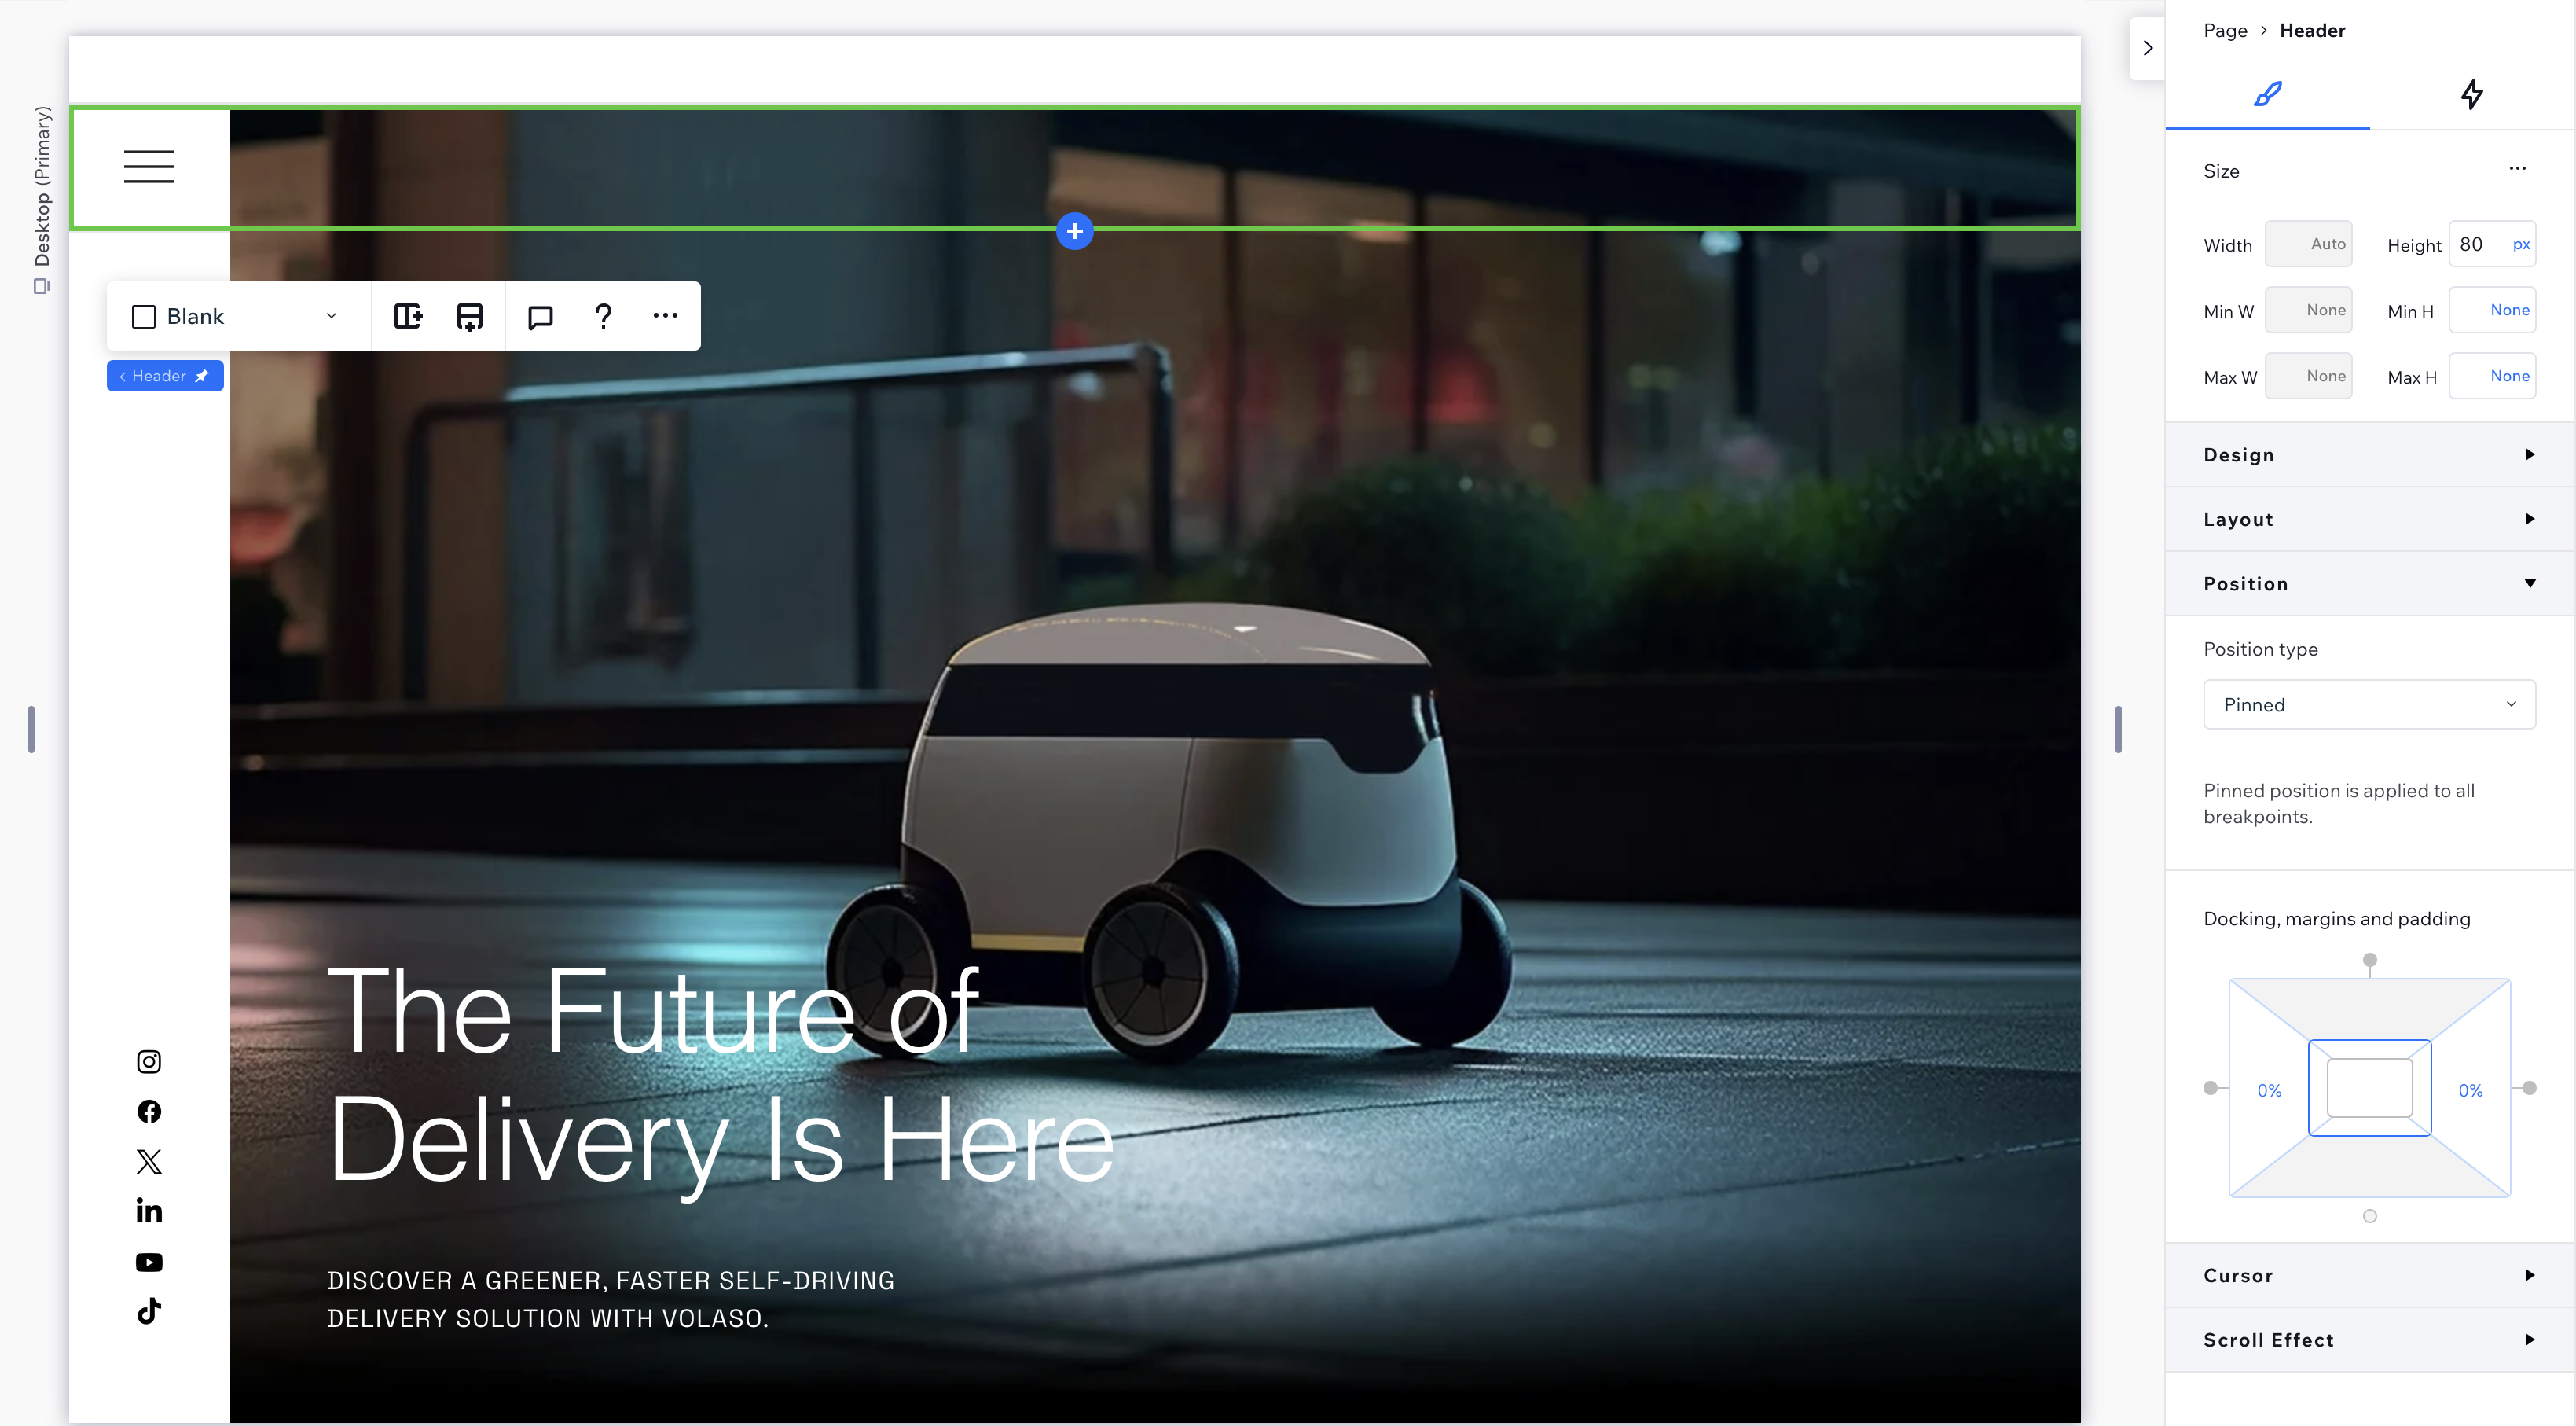
- Resize the header:
- Select the header.
- Click the Open Inspector arrow at the top right of the editor.
- Click the More Actions icon next to Size.
- Enable the Advanced Sizing toggle.
- Set the Height to the desired value in px.
Tip: Click the current unit of measure (e.g. %, vh) to change it.
- Scroll down to Position.
- Select Pinned from the Position type drop-down.
Step 3 | Align the container and add padding to the page
Now, it's time to place the container. Depending on where you want it to appear, align the container to the top and left / the top and right corners.
The final step is adding padding to the relevant side of the page – this prevents the container from covering the page's content.
To align the container and add padding:
- Select the container.
- (In the Inspector) Align the container to the top and left / right:
- Click the Align to Top icon
 .
. - Click the Align to Left icon
 / Align to Right icon
  .
.
- Click the Align to Top icon
- Add padding to the page:
- Click Page at the top of the Inspector.

- Under Position, set the padding to be the same width as the container.
For example, if the container width is 20% and located on the left side of the page, the left padding should also be set to 20%.

- Click Page at the top of the Inspector.
Step 4 | Customize the container
The container is now ready for you to use as a sidebar section. Add any elements you need and design the container from the Inspector panel. It should look like in the example below – attached to the header and taking up the entire screen height as you scroll up and down the canvas.