header-logo
Learn how to use Wix to build your site and business.
Design and manage your site using intuitive Wix features.
Manage subscriptions, plans and invoices.
Run your business and connect with members.
Learn to purchase, connect or transfer a domain to your site.
Get tools to grow your business and web presence.
Boost your visibility with SEO and marketing tools.
Get advanced features to help you work more efficiently.
Find solutions, learn about known issues or contact us.
placeholder-preview-image
Improve your skills with our courses and tutorials.
Get tips for web design, marketing and more.
Learn to increase organic site traffic from search engines.
Build a custom site using our full-stack platform.
Get matched with a specialist to help you reach your goals.
placeholder-preview-image

Studio Editor: Applying a Glass Effect

2 min
Apply a frosted glass effect to the background of your container, cell, or repeater item. This blurring effect adds a sleek touch to your design, perfect for highlighting important content. You can control the blur intensity to achieve the exact look you want.
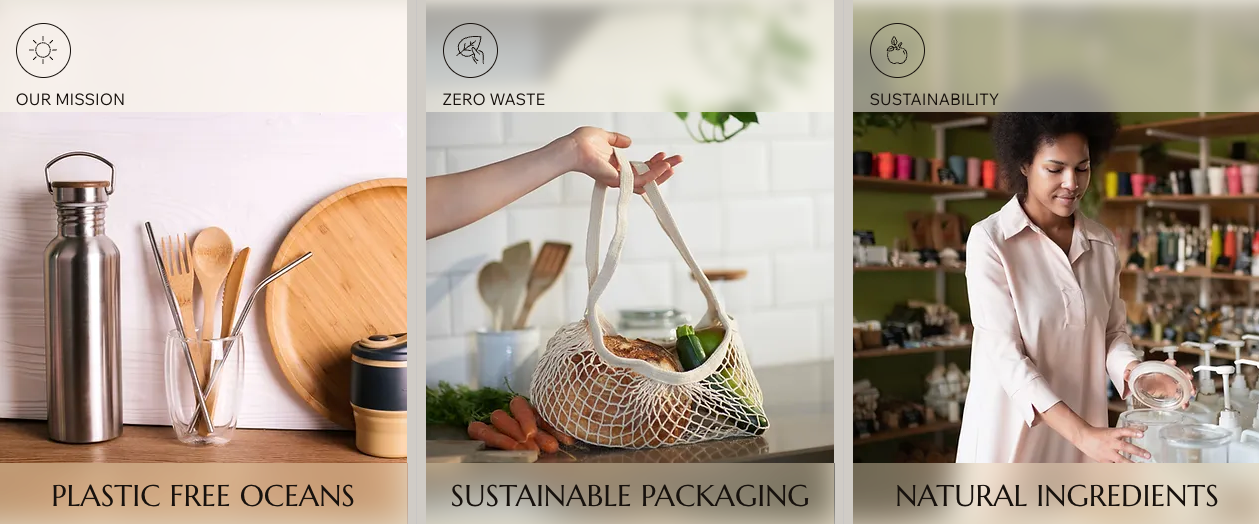
example of multiple containers with the glass effect applied, placed over images to show text more clearly

To apply a glass effect:

  1. Select the relevant container, cell, or repeater item.
  2. Click the Open Inspector icon  at the top right of the editor.
A screenshot of opening the Inspector panel in the Studio Editor.
  1. (Optional) Choose a Background color and use the slider to adjust its opacity.
  2. Enable the Apply glass effect toggle.
  3. Use the slider under Blur intensity to increase or decrease the blur.
A container in the Studio Editor and the Inspector panel, applying glass effect
example of multiple containers with the glass effect applied, placed over images to show text more clearly
A screenshot of opening the Inspector panel in the Studio Editor.
A container in the Studio Editor and the Inspector panel, applying glass effect