


Studio Editor: Adding and Customizing a Social Bar
In this article
- Adding a social bar to your site
- Customizing your social bar
- Customizing the layout of your social bar
Encourage visitors to explore your client's social media accounts using a social bar. The social bar shows icons of the platforms you want to include, linked to the relevant accounts. You can also select the icon designs and adjust their size and spacing.
Adding a social bar to your site
Add a social bar to your page and place it in a location that visitors can easily notice. For example, you can show the social bar on the site header so it appears at the very top of every page.
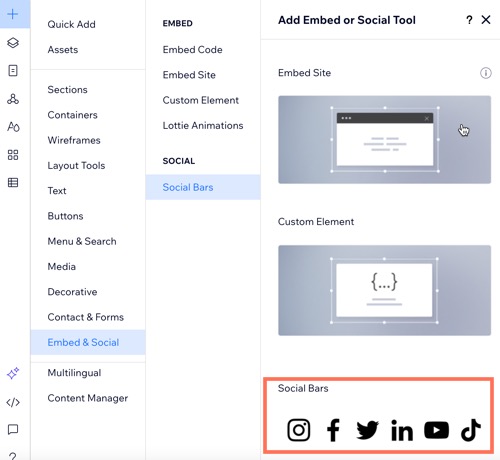
To add a social bar:
- Click Add Elements
 on the left side of the editor.
 - Click Embed & Social.
- Click Social Bars.
- Drag the social bar to the desired location on the page.
Customizing your social bar
The social bar comes with default icons, but it's fully customizable to your client's needs. You can replace the icons, add new ones, and set the relevant social links. You can also remove icons that you don't need.
To customize your social bar:
- Click the social bar in the editor.
- Click Set Social Links.
- Choose how you want to customize the social bar:
Add a new icon

Replace an icon

Add/change a social media link
 under What social page does this icon link to?.
Remove an icon
 to delete it.
 Customizing the layout of your social bar
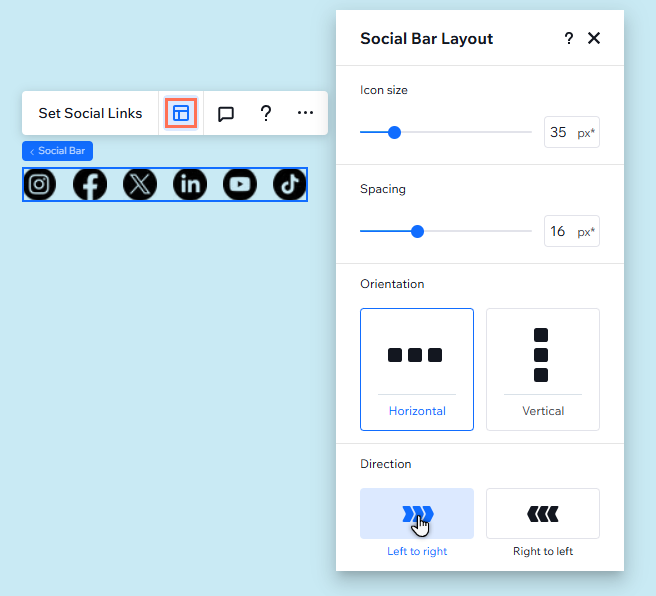
Customize the social bar's layout and appearance. You can change the icon size, adjust the spacing between icons, and choose their orientation and direction.
To customize the layout:
- Click the social bar in the editor.
- Click the Layout icon
 .
. - Customize the layout using any of the below options:
- Icon size: Set the size of the social media icon.
- Spacing: Set the space between the social media icons.
- Orientation: Choose whether the bar is horizontal or vertical.
- Direction: Set whether the bar reads left-to-right, or right-to-left.
Need to flip or rotate the icons?
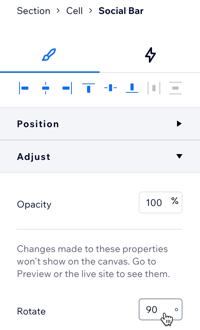
- Click the social bar in the editor.
- Click the Open Inspector arrow
 at the top right of the editor.
 - Click Adjust and enter the desired angle (e.g.180) next to Rotate.
