

Studio Editor: Adding a Preset Click or Hover Interaction
7 min
In this article
- Step 1 | Add a trigger (Click or Hover)
- Step 2 | Set up the interaction
- Step 3 | (Optional) Adjust the animation
- FAQs
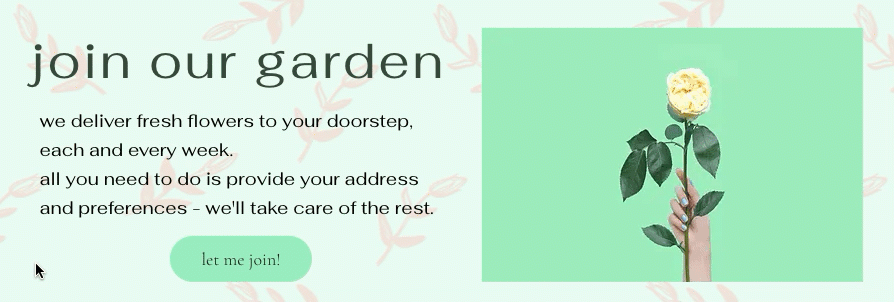
Add interactions to create an animated experience as visitors click or hover over elements. Need a quick and easy animation? Use one of our presets (e.g. Grow, Move, Fade) and tweak it to your liking.
The interaction can animate the same element that visitors click or hover on, or a different element on the page. Either way, you have full control of the look, feel and timing so it's truly effective.
What are the available animation presets?
Step 1 | Add a trigger (Click or Hover)
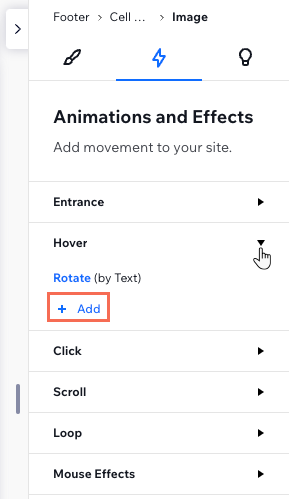
To get started, select the element that triggers the interaction. This is the element that visitors hover over or click before seeing the animation. Then, go to the Inspector panel to add a new interaction.
Tip:
You can add multiple interactions to an element so it triggers a different animation on hover or click.
To add a trigger:
- Select the element that should trigger the interaction.
- Click the Open Inspector icon
 at the top right of the editor.

- Click the Animations and Effects tab
 .
. - Select Hover / Click.
- Click + Add.
Step 2 | Set up the interaction
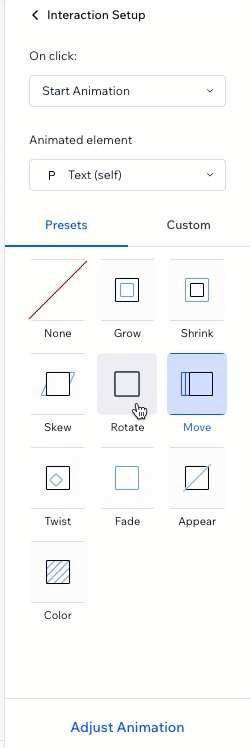
After choosing an element and trigger, set up the interaction. Select a pre-designed animation, the element that should show it and what exactly happens on hover or click.
Note:
The available animations depend on the element you select.
To set up the interaction:
- (In the Setup panel) Choose what happens On Hover / On Click:
- Start Animation: Clicking / Hovering over the element triggers the chosen animation.
- Reset Animation: Clicking / Hovering over the element removes any animation that was previously applied.
- Toggle On/Off: Clicking the element triggers the animation and a second click removes it.
Note: This option is only available for click interactions.
- Select the Animated element:
- Make the element trigger its own animation: Click the element's name (the word (self) appears next to it).
- Animate a different element on the page: Select an element from the drop-down, or click Choose on Canvas to select it on the page.
Tip: Hold the Cmd / Ctrl key to select a child element.
- Select an animation:
- Click the Presets tab.
- Choose an animation from the list.
Tip: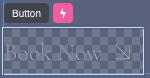
When setting an element to show on click or hover, it appears with a checkered overlay on the canvas. This is to indicate that the element is initially transparent.
You can turn this indication off at any time. Click the Wix Studio icon  , hover over View and click Transparent Elements.
, hover over View and click Transparent Elements.Step 3 | (Optional) Adjust the animation
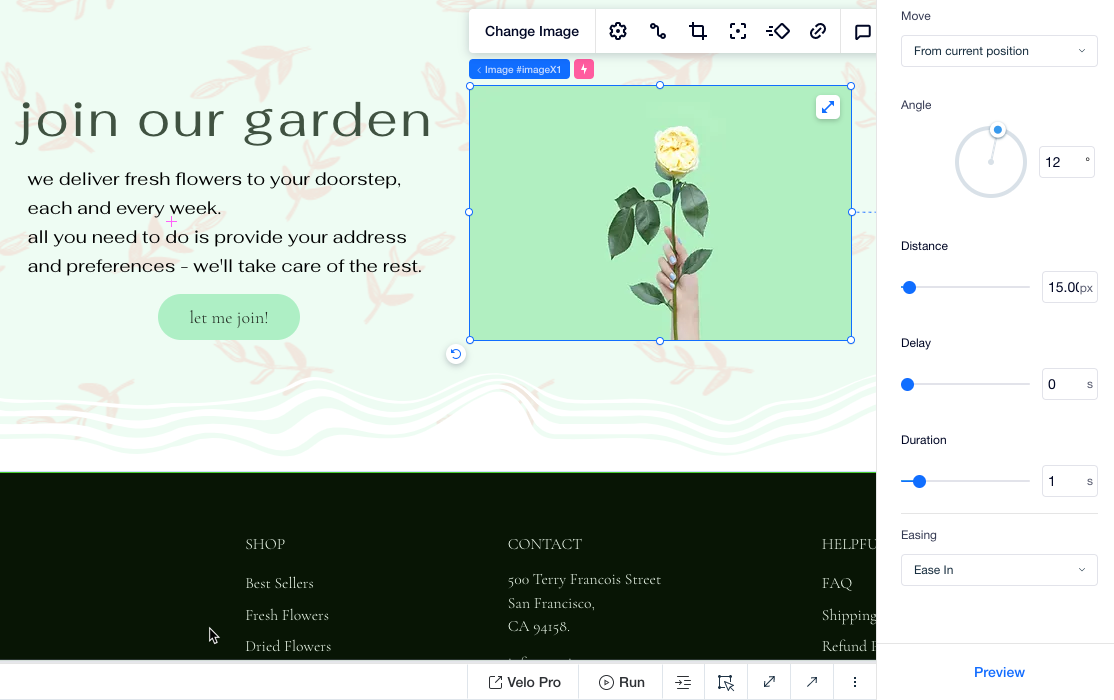
After choosing the animation you want, customize it to achieve the desired effect. You can control settings like the duration, delay and ease to make the animation really effective.
Note:
The available settings depend on the preset animation you choose.
To adjust the animation:
- (In the Inspector) Click Adjust Animation at the bottom.
- Customize the available settings to your liking:
- Delay: Drag the slider to add a delay (in seconds) before the animation starts.
- Duration: Drag the slider to set the duration of the animation (in seconds).
- Easing: Choose how the animation eases in and out from the drop-down.
- Scale: Choose how much the element grows or shrinks.
- Angle: Change the angle of movement.
- Distance: Make the element move farther from, or closer to, its default position on the page.
- Direction: Change the direction the element rotates in.
- (Optional) Click Preview to see how the animation looks and make adjustments, if needed.
FAQs
Click below to learn more about creating interactions.
How does it look when an element triggers its own animation?

How does an interaction between different elements look?

Can one element trigger multiple other elements?

Can a single element have multiple animations?
How can I remove a click or hover interaction from an element?

 .
.
What's the difference between a hover animation and the hover state in buttons?
