


Site Members: Creating a Custom Login Form for Your Members Area
In this article
- Step 1 | Create a custom login form
- Step 2 | Design your custom login form
The member login form allows existing members to log back in to your site. You can customize the form to match your make it your own.
The Members Area app comes with a default login form. Create a custom login form and start designing it to suit your brand and site design. You can change the colors, tailor the fields to your needs and add the option to log in through Google or Facebook.

Step 1 | Create a custom login form
To start using a custom form, head over to the Pages panel in your editor and change the default form to a custom one.
To create a custom login in form:
Wix Editor
Studio Editor
- Click Pages & Menu
 on the left side of the editor.
 - Click Signup & Login.
- Change the default login form to custom:
- Click Member Login Form (Default).
- Choose Custom Form from the drop-down under Which member login form do your visitors see?
- Click Add to Site.
- Click any element on the form to customize it.

Tip:
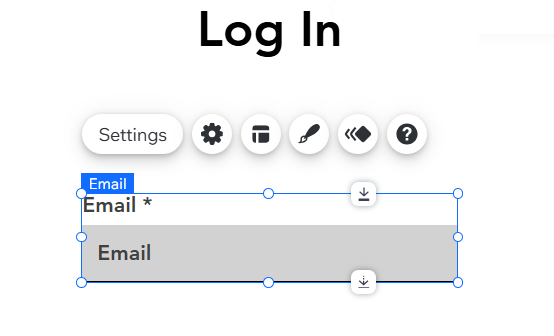
Click an element in the form to access the custom toolbar for that specific element. Here you can customize things like, settings, layout, and design, etc.
Step 2 | Design your custom login form
Once you've added your custom form, you can start designing and customizing it right away from the editor.
To design your custom login form:
Wix Editor
Studio Editor
- Click Pages & Menu on the left side of the editor.
- Click Signup & Login.
- Click Member Login Form (Custom).
- Select which option your members should see first in the login form:
- New member signup: The signup window appears first. Existing members see a link to switch to the login window.
- Existing member login: The login window appears first. New members see a link to switch to the signup window.
- Click Edit Custom Log In Form to access the form.
