

Pricing Plans: Customizing Your Thank You Page
2 min
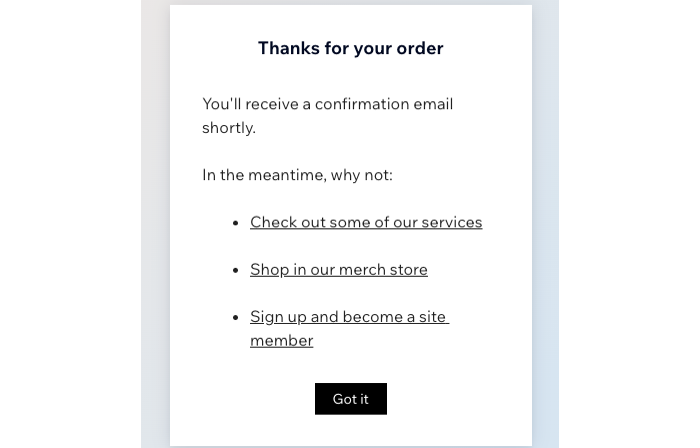
Customize the text that appears on the page your customers see after purchasing a plan. This is a great way to make extra revenue by directing customers to additional products, services or plans on your site.
Note:
Custom 'Thank you' messages appear only when customers purchase a pricing plan (e.g. packages or memberships) directly on your site. They won't see this message when buying a different service with a pricing plan.
To customize your Thank You page:
- Go to Pricing Plans in your site's dashboard.
- Click one of your existing plans, or click + Create plan.
- Scroll down to Settings.
- Click Edit next to Customize the Thank you page.
- Enter a Title for your Thank You page.
- Enter the text for this page in the Message field.
Tip: Use the formatting options available to make important information stand out. - (Optional) Add links to your Thank You page:
- Click and drag your mouse to select the text you want to link.
- Click the Link icon
 .
. - Enter the relevant URL.
- (Optional) Select the checkbox next to each linking option you want to apply to the link:
- Link opens in a new tab: The link opens in a new tab in your browser.
- noreferrer (recommended): The linked website will not receive info on the referring site (your site).
- nofollow: Let search engines know that you don't recommend giving credit to the linked page for SEO purposes.
- sponsored: Used to mark paid links (ads or placements) to inform search engines of compensation and reduce penalty risks for ranking manipulation.
- Click Save.
- Enter your Button text.
- Choose where the button directs customers to:
- Home Page: When they click the button on the Thank You page, your customers return to your home page.
- Other page: Direct customers to a specific URL, such as your services or products page or a landing page. Enter the Redirect URL in the field.
- Click Save.

