

Wix Online Programs: Creating a Certificate for Your Program
5 min
In this article
- Step 1 | Create a certificate
- Step 2 | Design your certificate
- FAQs
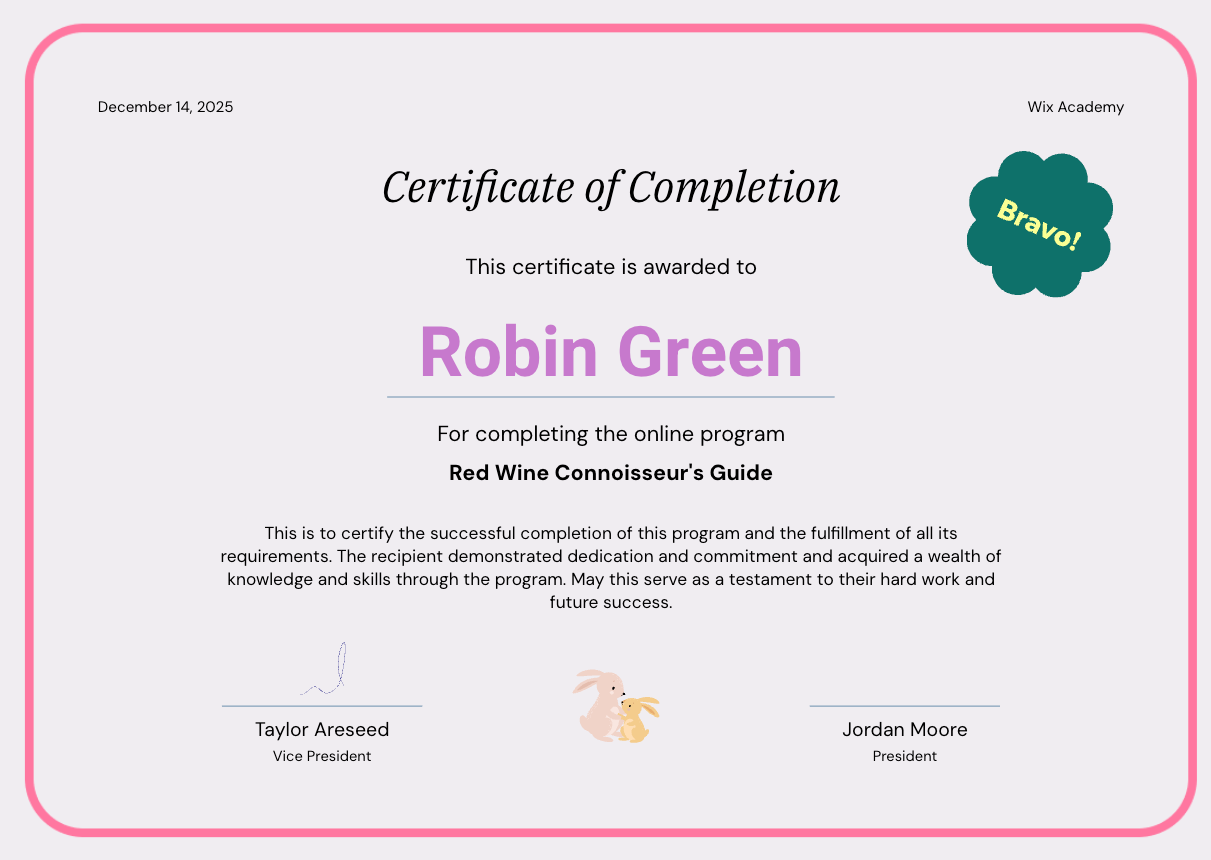
Create a certificate of completion for participants who finish your program. You can design the certificate to match your look, and even add your own signatures and logo. This is a great way to motivate people and reward them with a certificate they can be proud of.
Step 1 | Create a certificate
To get started, choose the relevant program. From your program's settings page, you can create a certificate of completion for your participants.
To create a certificate:
- Go to Online Programs in your site's dashboard.
- Click the relevant program.
- Click the Engagement tab.
- Click Design Certificate under Rewards.

Step 2 | Design your certificate
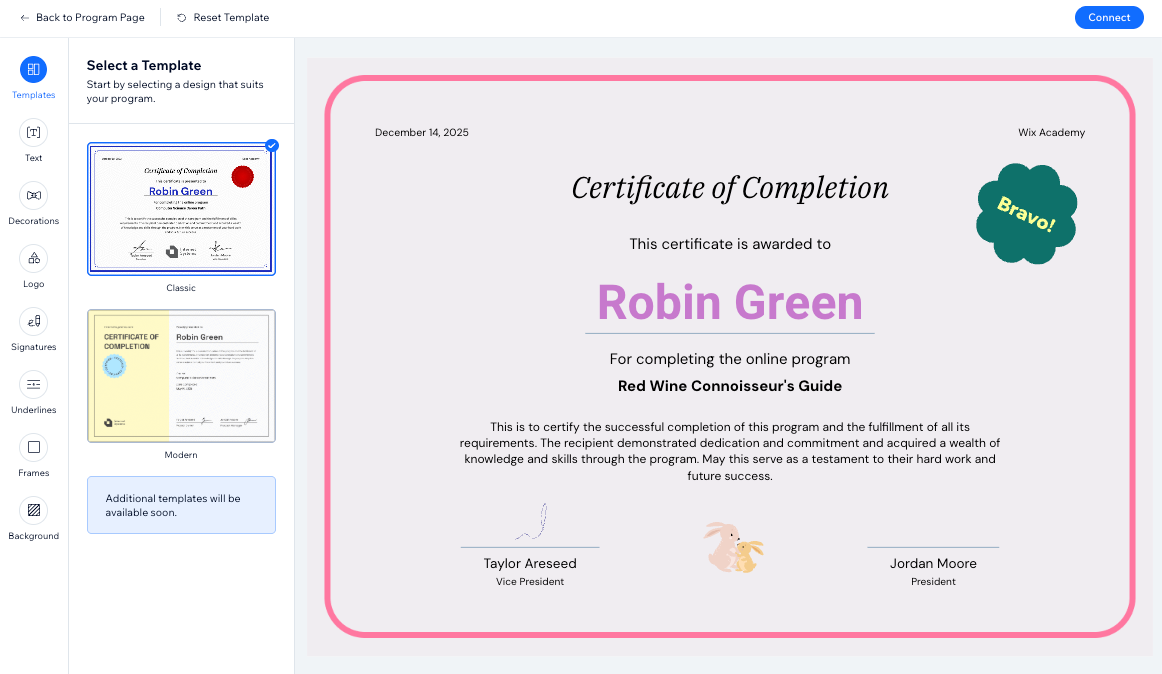
Now it's time to design your certificate. Choose a template you like, then customize it to suit your program's needs. You can edit the text, select a background, add your own logo and signatures, and much more.
To design your certificate:
- Click the tabs on the left to customize your certificate:
Template
Text
Decorations
Logo
Signatures
 below the relevant signature.
Underlines
Frames
Background
2. Click Connect.
3. Click Back to Program Page at the top left.
FAQs
Click a question to learn more about the available features for certificates.
Can I resend a certificate to a participant?
 next to the relevant participant.
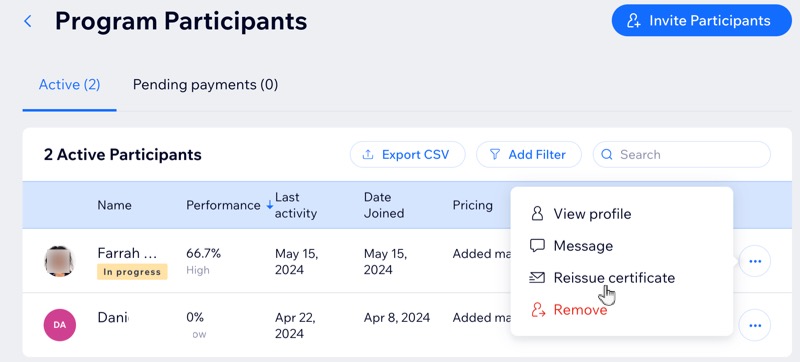
How can I preview what a program's certificate looks like?
 next to Certificate.
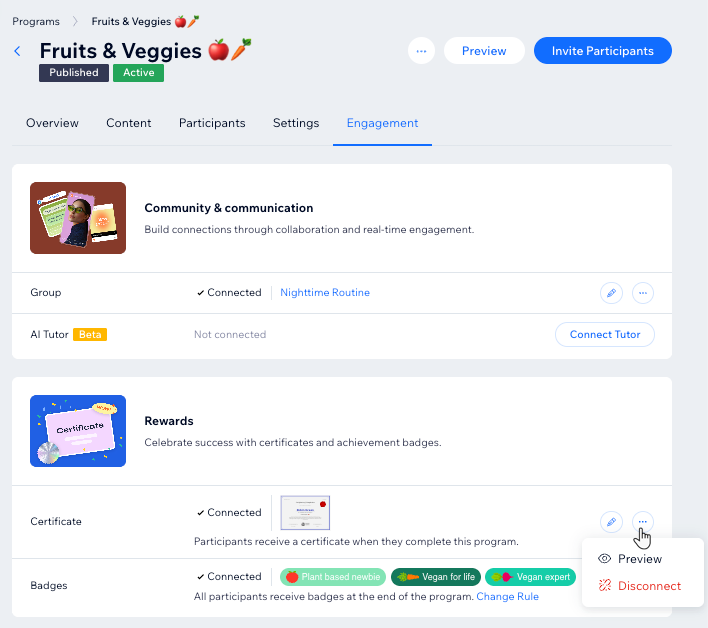
Can I change or remove my program's certificate?
 next to Certificate.
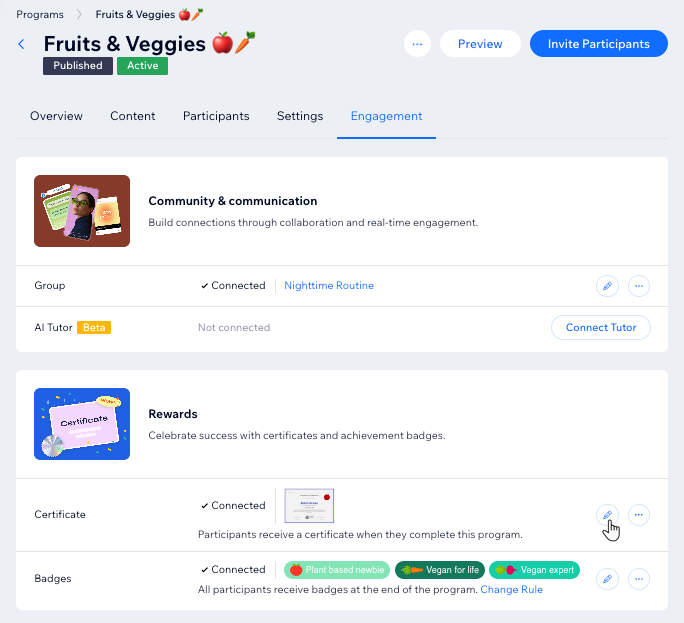
Why does a participant’s name appear as their email address in certificates?
