


Enterprise Solution: Adding and Setting Up HubSpot Integration
In this article
- Step 1 | Add and connect HubSpot
- Step 2 | Create an automation
- Step 3 | Map data from the trigger to HubSpot
- Step 4 | Activate automation
- FAQs
Connect your Wix Studio for enterprise account to your HubSpot account so you always have the most up-to-date information. Using our automations, you can send data like store orders and form submissions to HubSpot, as soon as they're captured in Wix.
Important:
- Wix integrates with HubSpot using API version 3. For the most up-to-date information on HubSpot's API capabilities, please consult their documentation.
- Only site Owners and Co-owners can manage the HubSpot integration.
- Mapping HubSpot leads is only available for premium HubSpot accounts.
Learn more about
Wix Studio for enterprise or
contact our sales team.
Step 1 | Add and connect HubSpot
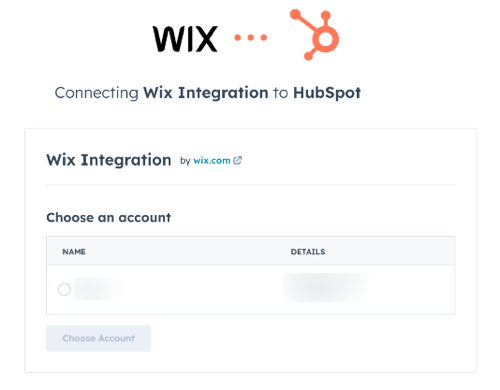
Contact your enterprise solution success manager to connect HubSpot to your Wix Studio for enterprise account. When connecting your HubSpot account, you are providing permissions for Wix to access your spreadsheet data. You can remove permissions at any time from your HubSpot account.
To connect your Wix Studio enterprise solution site to HubSpot:
- Go to Manage Apps in the relevant site's dashboard.
- Click HubSpot.
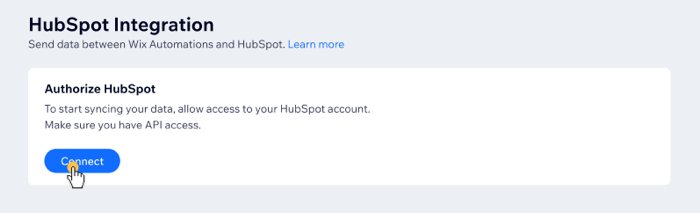
- Click Connect.
Step 2 | Create an automation
Once you have connected your HubSpot account, you can now create an automation with HubSpot as the action.
To create an automation:
- Go to Automations in your site's dashboard.
- Click + Create Automation.
- Click + Start from Scratch.
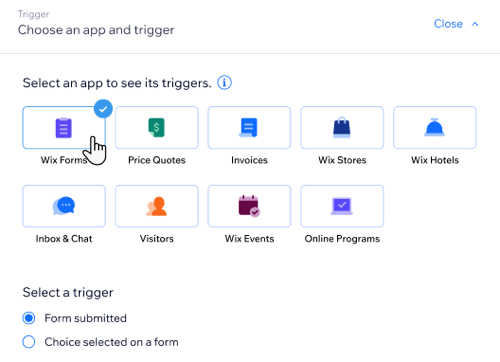
- Give your automation a title and choose the relevant app under Trigger, including: Wix Forms, Wix Stores, Wix Bookings, Wix Events, etc.
- Set up the trigger based on the app you selected.
Step 3 | Map data from the trigger to HubSpot
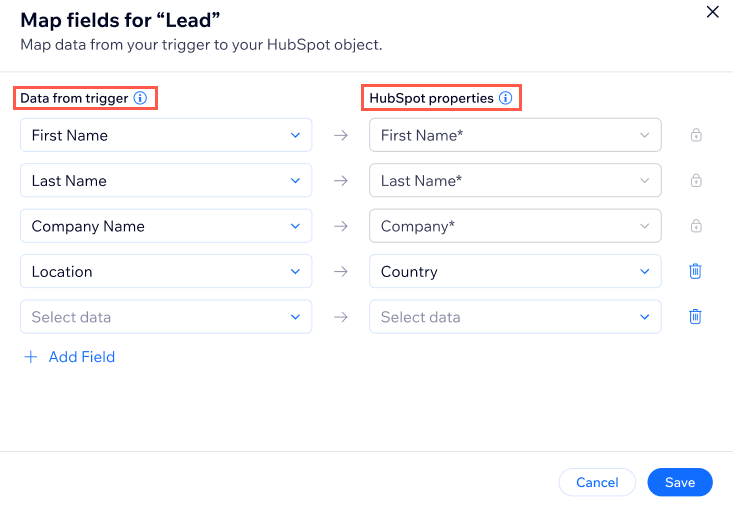
Next, you need to match the data from your chosen trigger to the relevant HubSpot object and fields. This ensures the data from Wix gets to the right place on HubSpot.
For example, if your trigger is a new form submission, you will need to match the customer's data to the relevant object fields in HubSpot.
To map data from the trigger to HubSpot:
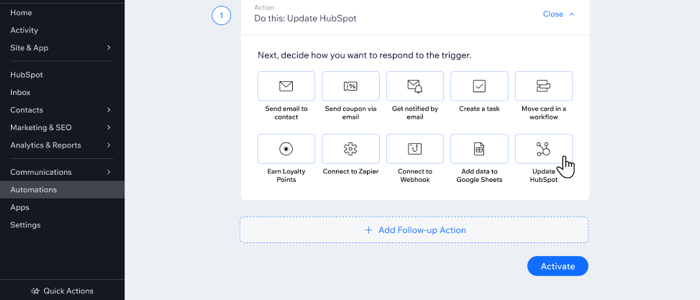
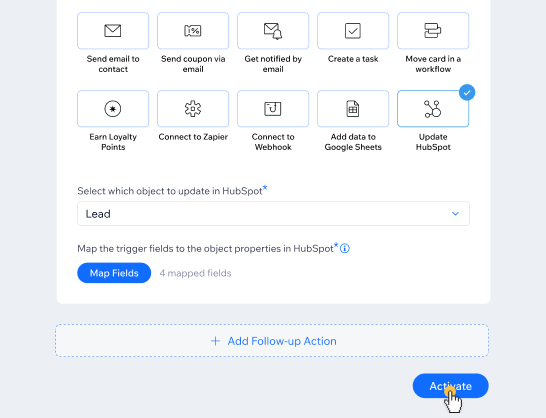
- Scroll down to Action and select Update HubSpot.
- Select the relevant object from the Select which object to update in HubSpot drop-down: Contacts, Companies, Deals, Leads and Quotes.
- Click Map Fields.
- Choose the relevant Wix data under Data from trigger, so the right HubSpot properties get updated.
- (Optional) Click + Add Field to collect more information and send it to your HubSpot account.
- Click Save.
Step 4 | Activate automation
Click
Activate to make your automation live. Now, every time the automation is triggered (e.g. whenever a new store order is placed), the data you mapped from Wix will be updated in the relevant HubSpot fields.
For example, if you created an automation with a form submission trigger, every time a site visitor fills in that form, their submission details are sent to the relevant HubSpot object and fields.
FAQs
Click a question below to learn more about the Wix Studio for enterprise HubSpot integration.
Do HubSpot automations count towards my automations quota?
What is a HubSpot object?
What is a HubSpot required field?
Why can't I see some of my HubSpot fields while mapping them?
What happens if I delete a field in the Wix Form that is mapped to HubSpot?
What happens if I rename a field in the Wix form mapped to HubSpot?
