

Enabling Consent Mode in Google Tag Manager
2 min
Starting March 6th, 2024, Google will enforce new requirements for Google Tag Manager (GTM) under new Digital Markets Act (DMA) rules. To comply with these rules, if you use Google Tag Manager, you will need to enable consent mode for Google tags in your GTM account.
To enable consent mode:
- Go to Admin in your Google Tag Manager account.
- Select Container Settings.
- Under Additional Settings, select the Enable consent overview checkbox.
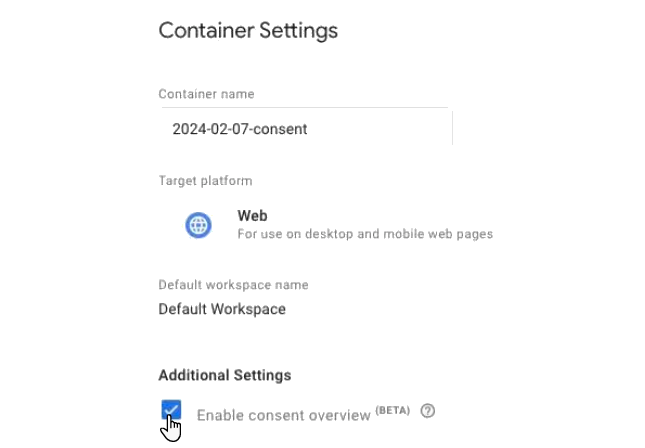
- Click Save at the top right.
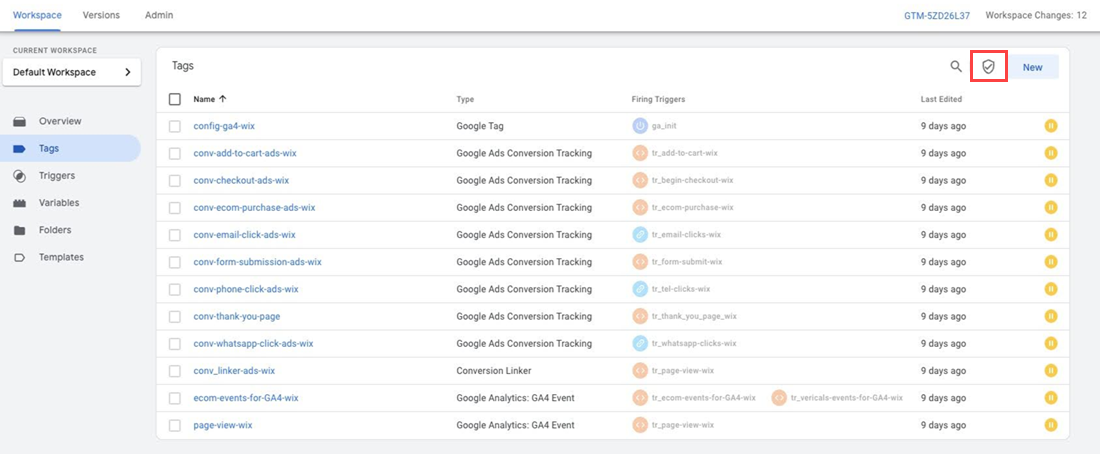
- Go to the Workspace tab in your Google Tag Manager account.
- Click Tags on the left.
- Click the Shield icon
 .
.
- Set your consent settings for the following tag types:
- For tags that belong to Google, no additional consent is required:
- Select all the tags that are created by Google.
- Select No additional consent required.

- For tags that don't belong to Google (e.g., from third-party applications), you need to define each of the relevant tags manually:
- Select the non-Google tag you want to define.
- Select Require additional consent for tag to fire.
- Enter the relevant category (Wix supports ad_storage, analytics_storage, functionality storage).

- For tags that belong to Google, no additional consent is required:
- Save and publish your container in your Google Tag Manager.
Next:
For more information, go to Google's Tag Manager Help.
