Wix Mobile Apps: Adding a WebView to Your Own App
5 min
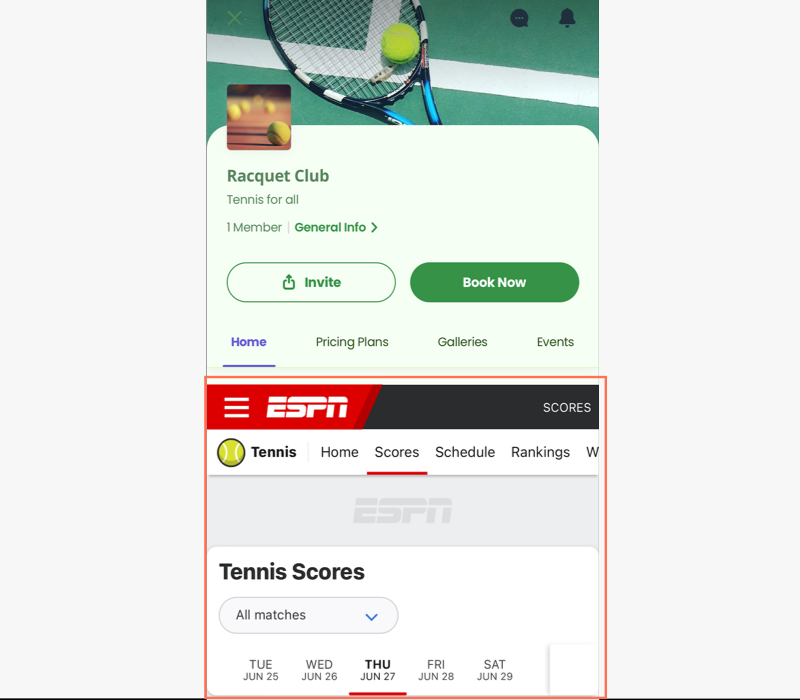
Embed web content in your own native mobile app with the WebView element to enable seamless viewing without the need for an external browser. You can add content from your own site or an external source, making the content feel like an integral part of the app. By adding the WebView element, users don't need to open an external browser to view the content.
You can customize the size of the embedded content and control the display of embedded website headers and footers within the WebView element.
Note:
This element is only available for your own mobile app, make sure to purchase a Mobile App Premium plan.

To add a WebView element to your own app:
Dashboard
Wix app
Wix Studio app
- Go to Mobile App in your dashboard.
- Click the tab with the name of your own mobile app.
- Click Edit Mobile App.
- Click the Screen drop-down at the top and choose the screen you want to edit.
- Click Elements on the left.
- Click Embed and select the WebView element.
- Customize the following in the panel on the right:
- Content: Enter the page URL of the site you want to embed.
- Layout: Choose a height for your WebView:
- Dynamic: The height of the WebView auto-adjusts with the screen.
- Fixed: Set the height of the WebView in pixels.
- Display: Enable the toggles to show the website header and footer.

- Margins: Drag the Margins sliders to adjust the padding around the WebView.
Note: Click the Edit individually icon to separately adjust the margins.
 - General Settings: Click General Settings and choose which device to show this element on: All, Android, or iOS.
Note: You can show or hide elements of your site depending on what operating system your members are using on their mobile devices. Your elements are visible on all operating systems by default, but you can decide what to show on iOS, Android, or both.
- Click Save.


