

Wix Blog: Adding HTML Code to a Blog Post
1 min
Use HTML to embed an iframe (external code or components) in a blog post or display an external site.
Important:
Make sure to read through the limitations of the HTML element before using it.
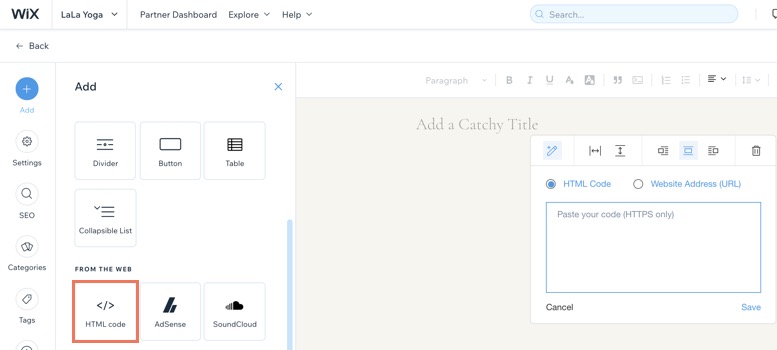
To add HTML code to a blog post:
- Go to Blog in your site's dashboard.
- Click Edit on the relevant blog post, or Create New Post to write a new one.
- Click Add
 on the left side.
 - Click HTML code.
- Do one of the following:
- Add HTML code: Adds features from external sites using HTML code.
- Click HTML Code.
- Enter your HTML code.
- Click Save.
- Embed an external site: Displays an external site in a window in your post.
- Click Website Address (URL).
- Enter a URL.
- Click Save.
- Add HTML code: Adds features from external sites using HTML code.
- (Optional) Customize the element using the options; width, height and alignment.
Learn how to retrieve an HTML code from these third-party sites:
- SoundCloud - Embed a music track
- Google Maps - Embed a map
- Instagram - Embed a picture
- Vine - Embed a post
- Twitter- Embed a timeline
- Pinterest - Embed a Pinterest feature
- Facebook - Embed posts
- VK - Embed a VK feature
Hire a Professional WriterGet the content you need for your website. Hire a writer from the Wix Marketplace to create text that fits your message and brand.
