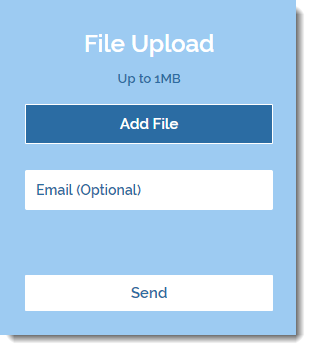
To set up the Get Files to Dropbox app:
Step 1 | Open the Settings panel of the app.
- Select the app in the Editor.
- Click Settings.
Step 2 | Connect your account and select the folder that files can be uploaded to.
- Click Connect Account.
- Log in to your Dropbox account and allow access.
- Click the Folder tab.
- Hover over the relevant folder and click Select.
Step 3 | Edit the app settings.
- Click the Settings tab.
- Drag the Max size per upload slider to change the maximum file size site visitors can upload.
- Drag the Disable when storage left is (MG) slider to change the storage size at which you no longer allow site visitors to upload.
- Select what visitors must send you when uploading:
- An email: Visitors must enter a valid email address.
- A password: Enter a password and give it to site visitors you allow to upload.
- Nothing: Site visitors can upload files without doing anything additional.
- Select a language from the drop-down list.
- Click the New subfolder per upload toggle.
- Enabled: A subfolder is created for each upload.
- Disabled: Files are uploaded to the selected folder.
- Click the Email me for every upload toggle.
- Enabled: You receive an email every time someone uploads a file.
- Disabled: You do not receive an email when someone uploads a file.
- Click the Users can add a message toggle.
- Enabled: A message field appears which site visitors can use to send you a message when uploading.
- Disabled: No message field appears in the app.
Step 4 | Change the app layout.
- Click the Layout tab.
- Select a layout:
- Full: All upload options appear on your site.
- Button: An Add File button appears on your site. Additional options appear after the button is clicked.
Step 5 | Customize the app design.


 to select a font.


