Wix Editor: Adding and Setting up a Document Button
3 min
In this article
- Adding a document button
- Changing the button's icon
- Showing or hiding the button's file title
Let visitors download documents from your site in one click by adding a document button. Once you choose your button, you can connect your document file, change your button's icon and choose whether to display the document's title or not.
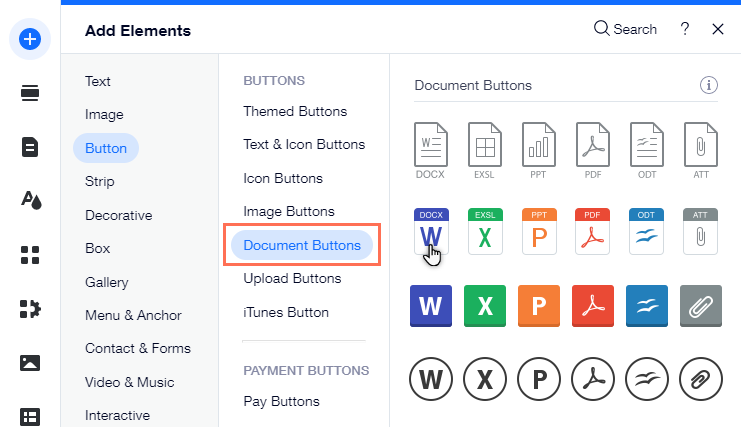
Adding a document button
Choose a document button to add to your site and connect it to the relevant file.
To add a document button:
- Go to your editor.
- Click Add Elements
 on the left side of the editor.
 - Click Button.
- Select a button under Document Buttons, or drag it the relevant location on your page.
- Click the button.
- Click Change File.
- Select a file.
- Click Choose File to connect it to your button.
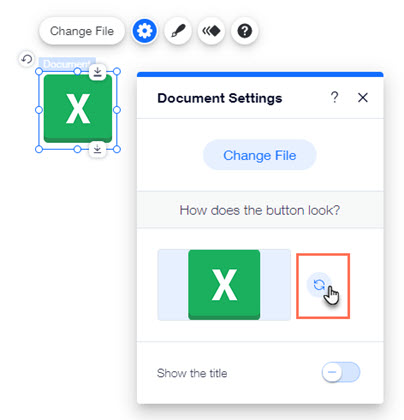
Changing the button's icon
Choose the appropriate icon for your document button from our media library. Select an icon that corresponds to the document type and matches the design of your site.
To change the button's icon:
- Go to your editor.
- Click the button.
- Click the Settings icon
 .
. - Click the Change Icon icon
 under How does the button look?.
 - Select a new icon or click Upload Media to upload your own.
- Once you have selected your icon, click Add Icon.
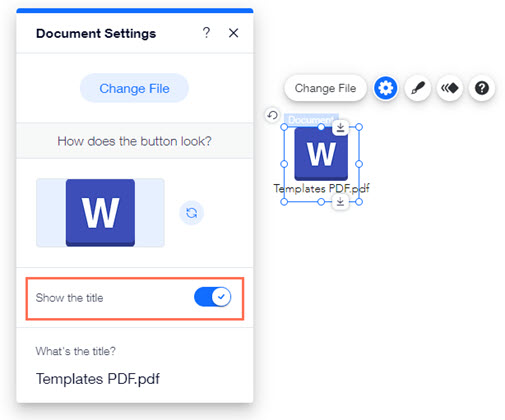
Showing or hiding the button's file title
Choose to show or hide the document's file title below the button.
To show or hide a button's file title:
- Go to your editor.
- Click the button.
- Click the Settings icon
 .
. - Click the Show the title toggle to enable or disable this option:
- Enabled: The document title is displayed on the button. Enter the title of the document under What's the title?.
- Disabled: The document title is not displayed on the button.