Editor X: Grouping Elements within a Container
3 min read
Editor X is transitioning to Wix Studio, our new platform for agencies and freelancers.Learn more about Wix Studio
Looking for a responsive way to group multiple elements after placing them on the page? Add a transparent flex container around them so they always stay in place, on any screen size. The container is fully customizable so you can make it meet your exact needs.
In this article, learn more about:
What's the difference between this container and a stack?
Both are transparent flex boxes added around your elements. Stacking is great for elements arranged in a vertical order, while this container works well for elements in any order.
Grouping elements within a container
You can add a responsive container to group multiple elements on your page.
- Select 2 or more elements, then click Place in Container.

Don't see this button?
Right-click the selected elements and click Place in Container. You can press Alt + C (Option + C on Mac) on your keyboard to do this quickly.
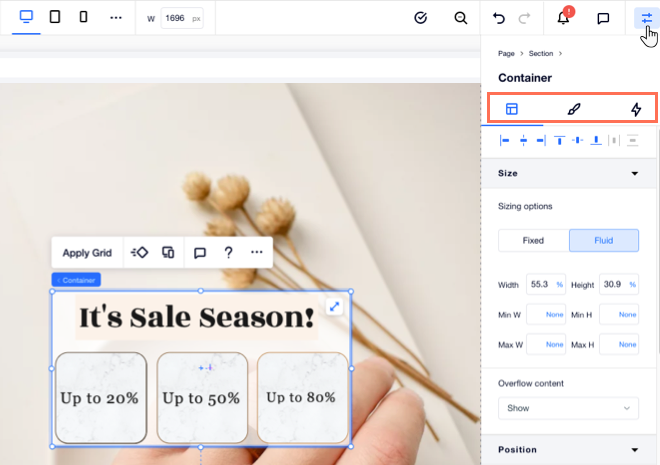
Customizing the container
By default, the container that's added around your elements is transparent. You can change its background color to match your style, adjust the border and corners, and add a shadow.
Your elements are automatically docked to the edges of the container, but you can customize the size, position and docking of the container and each individual element.
To customize the container:
- Select the new container created around your elements.
- Click the Inspector icon
 at the top right of Editor X.
 - (In the Inspector) Customize the container using the available options in the Layout
 and Design
  tabs.
tabs.
Removing the container
Changed your mind about the container? You can always remove it without disrupting the page's design – and all the elements will stay in place.
- Right-click on your container and click Remove Container. You can also press Alt + Shift + C on your keyboard, or (Option + Shift + C on Mac).

