Editor X: Adding More Columns to a Form
3 min read
In this article
- Step 1 | Add a column to your form
- Step 2 | Change the size of your form columns
- Step 3 | Move form fields to the new column
- Step 4 | Adjust the grid rows
Editor X is transitioning to Wix Studio, our new platform for agencies and freelancers.Learn more about Wix Studio
When creating forms on Editor X, you're not confined to a single column showing all your fields one after the other. Using a responsive CSS grid, you can add as many columns as you need to keep your form organized.
Step 1 | Add a column to your form
Forms in Editor X are made up of a CSS grid, so you can add as many columns and rows as you need.
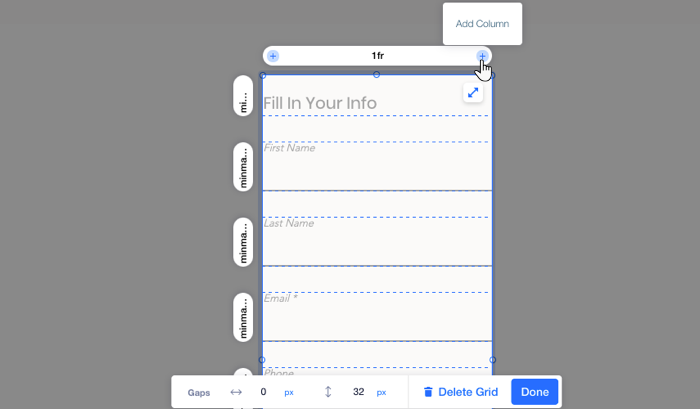
To add a column to your form:
- Click the form in Editor X.
- Click Edit Grid.
- Hover over the column heading and click the Add Column icon
 to add more.
Step 2 | Change the size of your form columns
Once you add the number of columns you need, you can change their size in two different ways:
- Drag the handles on the horizontal and vertical gridlines to the position you want.
Show me how

- Click a column heading and enter the exact size while choosing the relevant unit (e.g., px, percentage).
Show me how

Not sure which unit to use?
To learn more about the grid units, click here.
Step 3 | Move form fields to the new column
After setting up your columns in the desired width, move the form fields on the grid using drag and drop.

Step 4 | Adjust the grid rows
As your form fields are now split between multiple columns, you may want to adjust or even remove some rows.
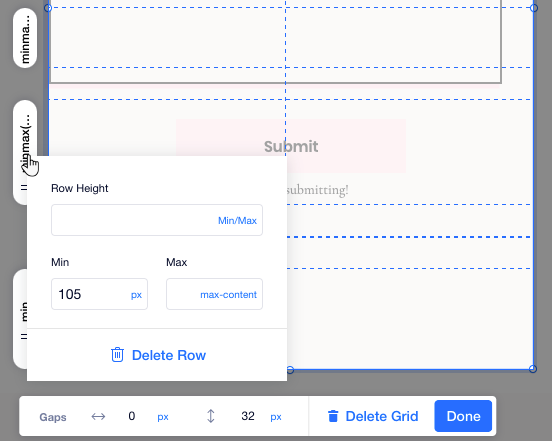
To resize or delete a row:
- Click the form in Editor X.
- Click Edit Grid.
- Click the relevant row heading on the grid.
- Do one of the following:
- Adjust the row height.
- Click Delete Row to remove it from the grid.