Editor X: Adding a Custom Cursor
5 min read
Editor X is transitioning to Wix Studio, our new platform for agencies and freelancers.Learn more about Wix Studio
A custom cursor adds a unique touch of branding to your site. Apply a custom cursor to a page, section or a specific element visitors interact with (e.g. container, image, etc). Use one of our many suggestions or upload your own cursor, setting its size so it meets your needs.
Tip:
You can use any JPG, PNG or SVG file. To ensure the cursor is visible, verify that it has a clear border, in a color that contrasts the background.
In this article, learn how to:
Tip:
You can add different cursors to a parent element and its child to tailor the experience even more. When visitors interact with the child element, they see its specific cursor – not the one you applied to the parent element.
Adding a custom cursor
Change the cursor that appears when visitors interact with a page, section or element. You can choose from many different designs or upload your own image file (e.g. JPG, PNG, SVG).
Which elements can show a custom cursor?
Note:
Changes you make to your cursor don't show on the canvas as you're editing your site. To see your cursor in action, go to Preview or view your live site.
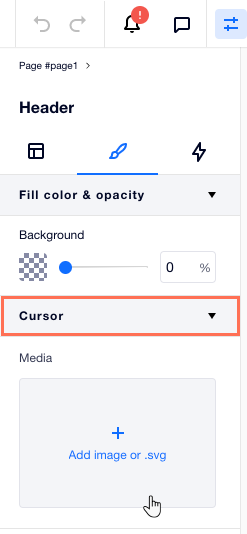
To add a custom cursor:
- Select the relevant page, section or element in Editor X.
- Click the Inspector icon
 at the top.
 - Click the Design tab
 .
. - Click Cursor.
- Add your cursor:
- Click + Add.
- (In the Media Manager) Choose one of the suggested cursors, or click + Add image or .svg to upload your own file.
- When ready, click Add to Site.
- (Optional) Click Preview at the top right to see how the cursor looks on your site.
What's next?
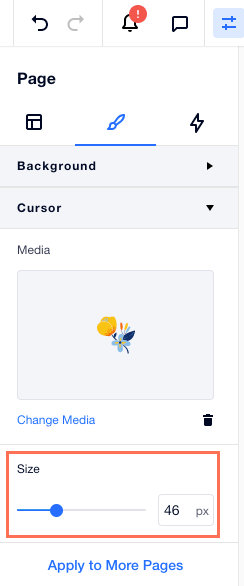
- When applying a cursor to a page, you can click Apply to more pages to quickly add it to other site pages.
- You can customize your cursor per breakpoint, choosing a different image or size.
Resizing the custom cursor
Change the size of your cursor so it looks ideal on your site.
We recommend keeping the size of your cursor between 16x16 and 128x128 pixels. If the cursor is larger than the recommended size, your visitor's browser might not show it at all. If it's smaller, visitors are able to see it but not clearly.
To resize the custom cursor:
- Select the relevant page, section or element in Editor X.
- Click the Inspector icon
 at the top.
 - Click the Design tab
 .
. - Click Cursor.
- Drag the slider under Size.
Tip:
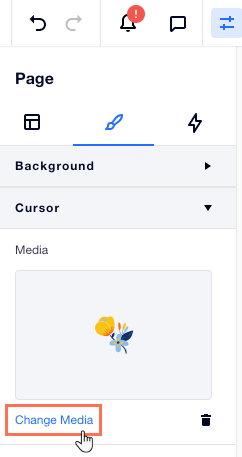
The preview you see under Media is how your cursor looks on your live site, in the actual size you define.
Changing the custom cursor
You can always replace a custom cursor you've previously added. Choose one of our suggestions or upload a new file.
To change the custom cursor:
- Select the relevant page, section or element in Editor X.
- Click the Inspector icon at the top.
- Click the Design tab .
- Click Cursor.
- Click Change Media.
- (In the Media Manager) Choose or upload a new cursor.
- Click Update.
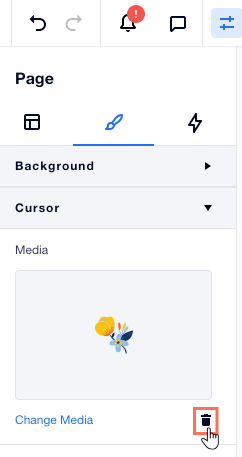
Removing the custom cursor
You can always change your mind and remove the custom cursor. This means your visitors go back to seeing the regular, default cursor.
To remove the custom cursor:
- Select the relevant page, section or element in Editor X.
- Click the Inspector icon at the top.
- Click the Design tab .
- Click Cursor.
- Click the Remove icon
 next to Change Media.