ADI: Adding Forms to Your Site
6 min read
In this article
- Adding a contact form
- Adding a subscribe form
- Adding other types of forms
- Customizing a form's fields
- Upgrading Wix Forms with a Premium plan
- FAQs
Every site built using Wix ADI automatically contains a contact form. You can also add more forms to your site to allow your visitors to email you with specific details, such as job applications, feedback, price quotes and more.
In this article, learn more about:
Adding a contact form
If you deleted the contact form and want to re-add it, or if you want to add an additional contact form to your site, follow the steps below.
You can choose if you want the contact form to be a section on an existing page, or a whole "contact" page. You can only have one contact form per page.
To add a contact form:
- Go to the page that you want to add the contact form to.
- Click Add on the top bar.
- Choose from the options below:
- Click Section to Page: Add a contact form to the section of the page.
- Click Contact.
- Click or drag a section to your site.
- Click Page: Add a contact form to the page you are currently on.
- Click Contact in the Add Page panel.
- Click a contact page layout to add it to your site.
- Click Section to Page: Add a contact form to the section of the page.

Want to place your contact form on more than one page?
Save yourself time by duplicating your form and adding it to your page(s) of choice.
Adding a subscribe form
Add a subscribe form to your site to easily build your mailing list. Everyone who signs up using the form is automatically added to your contact list with a 'Subscriber' label, so you can send them newsletters and updates.
You can add a subscribe form to your page, or to the footer of your site.

Learn how to add a subscribe form to a page
Learn how to add a subscribe form to your site's footer

Adding other types of forms
As well as a contact or subscribe form, you can choose from several ready made forms available in the ADI Builder, including forms for job applications, feedback, price quotes and more.
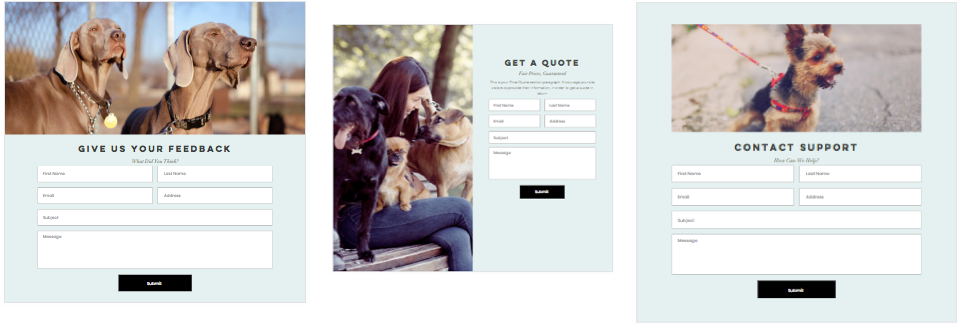
To add a form to your site:
- Go to the page that you want to add the form to.
- Click Add on the top bar.
- Click Section to Page.
- Scroll down to Forms and select the one you want to add (e.g. Feedback Form, Job Application etc).
- Click or drag the section design you want to use to your site.
Customizing a form's fields
Add, edit and reorder the fields in your form in ADI to make it look just as you want.
Important:
- You must upgrade to add more than 10 fields to a form, or to add a file upload link.
- After editing any of your form's aspects, you will need to re-activate any automations linked to your form.
To customize the fields in your form:
- Click the section that contains your form in the ADI builder.
- Click Edit next to Form.
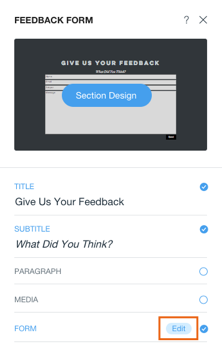
- Choose what you want to do:
I want to add a new field
 .
.I want to edit an existing field
I want to delete a field
I want to reorder my fields
 icons under Manage Choices to move fields up or down within your form.
 Upgrading Wix Forms with a Premium plan
The Wix Forms features you can use depend on the Website Premium plan or Business and eCommerce Premium plan you choose. You can create up to 4 forms per month for free.
Click a Premium plan below to learn about the Wix Forms features and capabilities that are included in that plan.
Notes:
- Accepting payments with Wix Forms is only available with Business and eCommerce Premium plans.
- The file upload field, signature field and file download features are only available with Business and eCommerce Premium plans.
Website Plans
Business & eCommerce Plans
Note:
The available Premium plans may differ depending on your geographic location. You can find detailed information about which plans are available to you on the Upgrade page.
FAQs
Click a question below to learn more about forms.
How do I see my form submissions?
How do I change the design of a form?
